
Related Manuals for MERLYN MB3B


Summary of Contents for MERLYN MB3B
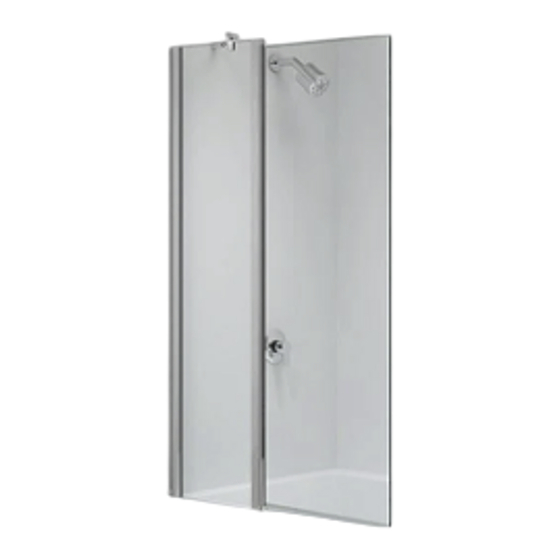
- Page 1 MB3B Two Panel Bath screen NOTE: Please ensure the bathscreen Is installed on the inside of the bath top. inside edge BT007 / T-031...
- Page 2 Wall profile cover Moving Glass Panel Screw Cover Cap Clip 2SS009 2SS009 SP0MOBY002L/R Wall profile 2SP12 Bracket bottom Leakfree SP0LF02 LR8387C Wall Plug Bracket top Leakfree SP0LF01 A2403001 Screw(4X40mm) Screw(3.5X30mm) SP0M7029 Stabilising Bar Screw Cover Cap foam plastics LP-123 BSYS023C 2SS008 Fixed Glass Panel Screw(4X12mm)
- Page 3 1. Silicone on the bath edge if not siliconed previously fig 1. FIG 1 2. Insert the fixed panel B into the wall profile.Do not fix to the wall profile fig 2. FIG 2 The right direction The left direction Top Bracket SP0LF01 Bottom Bracket...
- Page 4 3.Fit the bottom clear seal SP0LFCS on to the bottom of the bathscreen fig 3 . Apply silicone as shown in fig 3A firstly. FIG 3 Bottom lnside lnside lnside lnside lnside LR8387C bath.Fig 4. screen edge FIG 4 5. 5. LR8387C Screw A2403001, fix wall profiiles to wall.Fig 5.
- Page 5 6. Drill 3 holes top,middle and bottom through the wall profile and fixed panel using a 3mm steel drill bit. Using the Screws A2401201,and screw cover caps 2SS008 and screw cover caps clips 2SS009 fix the hinge upright to the wall profile in 3 places.Fig 6.
- Page 6 8. Place moving panel into the bottom pivot bracket and fix the top pivot bracket into position as shown in 8A – 8C”. bath.Fig 8. SP0MOBY002L/R and BSYS025C FIG 8 BOTTOM Sealing.FIg 9 Inside and outside : and outside. where the fixed panel and hinge bracket sit on the bath inside and outside. Silicone Seal 50mm up where the hinge upright and the fixed panel glass over lap.
Need help?
Do you have a question about the MB3B and is the answer not in the manual?
Questions and answers