Advertisement
Quick Links
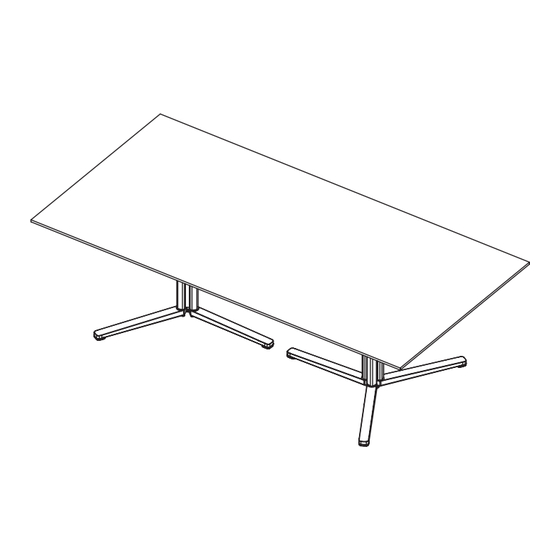
Islands Collection by Knoll
Hardware Shown For Reference
(A) 6TD40174 screw FH,1/4-20X1
(D) 6TD40175 screw BHSCS, M8-1.25X14
(G) 6TD4003101 frame connector plug
(K) 6TD40177 glide
(N) 6TD4006601 mount cover
(R) 6TD4017901 MX3 trough mount
(T2) 6TD40107XX frame rail
(W) 6TD4002901R RH frame end connector
© Knoll 2022
MX Conference Tables
®
(B) 6TD4010201 screw T-F,FL,1/4-20X5/8
(E) 5134130 screw SM PNP#14X1
(H) 6TD40033 glide pad
(L) M8 T slot nut
(P) 6TD40139XX MX3 spine
(S) 6TD4017902 MX4 trough mount
(U) 6TD4010801 frame end rail
(X) 6TD4005601 frame inline connector
Installation Instructions
(C) 6TD4008901 screw 1/4-20X1.5,T-F
(F) 5136120 screw MACH FLP 1/4-20X3/4
(J) 6TD40036 glide
(M) 6TD4002601 frame end cap
(Q) 6TD40141XX MX4 spine
(T) 6TD40107XX frame rail
(V) 6TD4002901L LH frame end connector
(Y) 6TD40145XX spine cover
Part Number: 6TD00062
Page 1 of 6
Advertisement

Related Manuals for Knoll Islands MX


Summary of Contents for Knoll Islands MX
- Page 1 Installation Instructions Islands Collection by Knoll MX Conference Tables ® Hardware Shown For Reference (A) 6TD40174 screw FH,1/4-20X1 (B) 6TD4010201 screw T-F,FL,1/4-20X5/8 (C) 6TD4008901 screw 1/4-20X1.5,T-F (D) 6TD40175 screw BHSCS, M8-1.25X14 (E) 5134130 screw SM PNP#14X1 (F) 5136120 screw MACH FLP 1/4-20X3/4...
- Page 2 Islands Collection by Knoll MX Conference Tables ® Hardware Shown For Reference (continued) (Z) 6TD40137 MX foot (AA) 5118113 screw FLP #10X7/8 (AB) 3TA403101 wood biscuit (AC) 5340410 mend plate (AD) 3TA403001 ZIP bolt 1. Assembly of MX-Base Fig. 1 (Fig.
- Page 3 Islands Collection by Knoll MX Conference Tables ® 2. Assembly of table frame Fig. 2 (Fig. 2 and Fig. 3) 2.1 Orient the frame rail, item (T), as per Fig. 2A and Fig. 2C. Note: Skip to step 2.4 for all tables less than or equal to 120"...
- Page 4 Islands Collection by Knoll MX Conference Tables ® 3. Assembly / joining individual worksurfaces Fig. 4 together (Fig. 4 and Fig. 5) Note: Step 3 is only for tables wider than 120". 3.1 Lay worksurfaces upside down on a soft non scratching surface, rectilinear worksurfaces shown for example.
- Page 5 Islands Collection by Knoll MX Conference Tables ® 4. Installation of assembled table frame with Fig. 6 worksurface (Fig. 6) Note: Step 4 is only for tables 120" and less. 4.1 Lay worksurface upside down on a soft non scratching surface, rectilinear worksurface shown for example.
- Page 6 Islands Collection by Knoll MX Conference Tables ® 6. Installation of mount cover Fig. 9 (Fig. 9 and Fig. 10) 6.1 Orient the mount cover, item (N), as per Fig. 9. 6.2 Slide and center mount cover, item (N), into space above trough mount.
Need help?
Do you have a question about the Islands MX and is the answer not in the manual?
Questions and answers