Advertisement
Quick Links
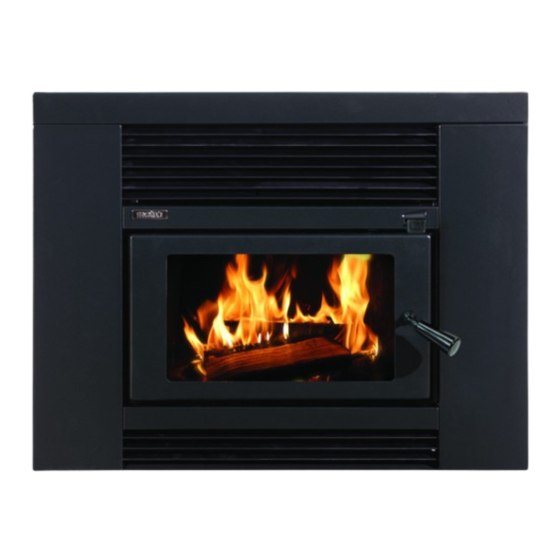
SMART INSERT
VZCC INSTALLATION
Vented Zero Clearance Cabinet installation manual
Installation important information ...................................................................... Page 1
Stages of installation ................................................................................................. Page 2
Construction and preparation of the wall opening/cavity ................ Page 3
Installing the VZCC ..................................................................................................... Page 5
19 Oropuriri Road, New Plymouth 4312
info@metrofires.co.nz | www.metrofires.co.nz
Installing the Smart Insert firebox ..................................................................... Page 6
Installing the ECO Built-In flue kit ......................................................................Page 7
Floor protector requirements ............................................................................... Page 9
Fitting the fascia ...........................................................................................................Page 11
Advertisement

Related Manuals for metrofires VZCC


Summary of Contents for metrofires VZCC
- Page 1 Installing the ECO Built-In flue kit ..............Page 7 Construction and preparation of the wall opening/cavity ....Page 3 Floor protector requirements ................Page 9 Installing the VZCC ..................... Page 5 Fitting the fascia ......................Page 11 19 Oropuriri Road, New Plymouth 4312...
-
Page 2: Important Installation Information
The function of the Metro Smart Insert Vented Zero Clearance Cabinet diameter liner (VZCC) is to enable the Metro Smart Insert and LTD Smart Insert wood spigot fires to be installed into a timber framed wall replacing a masonry chimney at a fraction of the cost. -
Page 3: Stages Of Installation
STAGE 3 Timber cavity construction Vented Zero Clearance Cabinet Insert firebox preparation and preparation and liner spigot installation and installation into the VZCC STAGE 4 STAGE 5 STAGE 6 ECO Built-In flue kit Fit wall lining and floor protector Fascia fitment and completion... - Page 4 VZCC to support the installation. You will also require additional framing to fix the wall lining below the VZCC. The VZCC box can sit directly on the framing but we recommend fitting a floor to provide seismic fixing points for the VZCC.
- Page 5 Venting through the top of the enclosure using the ‘ECO Option Kit’ with As the VZCC is built into an enclosure, the enclosure must be vented the Metro ECO Built-In flue kit. If you choose to vent the enclosure with using one of the three options detailed below.
- Page 6 Installing the Vented Zero Clearance Cabinet Position the VZCC into the wall opening you have created. Slide the VZCC into place and check the VZCC is central by ensuring the clearance between each side of the cabinet and the sides of the opening are equal.
- Page 7 STAGE 3 - PREPARATION OF THE INSERT FIREBOX / INSTALLATION INTO THE VZCC Installing the Smart Insert firebox into the VZCC Ensuring both cabinets are aligned and central with front return folds while also being flush with the front of the wall lining. Using the two...
- Page 8 250mm diameter outer casing spigot of the VZCC. With both arms and angled sections of the weather butterfly (A) facing up, fit it into the stainless steel ECO cowl top (B) and secure in When the flue system is in its final position, the top of the outer position through the holes provided with stainless steel rivets.
- Page 9 STAGE 4 - INSTALLATION OF THE METRO ECO BUILT-IN FLUE KIT Fit the ECO cowl top (B) into the ECO cowl housing (C). Push both sections together until the swage ring on (B) rests completely on the open end of the cowl housing (C). Drill through the two pre-punched holes in the ECO cowl housing and secure these two sections together with stainless steel rivets.
- Page 10 (behind the fascia) and must be a minimum width of 890mm. VZCC onto a combustible floor require an insulated floor protector that Note: You will need to raise the VZCC by the same amount as the complies with AS/NZS 2918 and this installation manual.
- Page 11 VZCC spigot adapter Insert firebox Insulated floor Insulated floor protector protector VZCC VZCC INSULATED FLOOR PROTECTOR CONCEALS VZCC MOUNT RUNNERS Fascia base rail (ALL FLOOR TYPES) *140mm+ ALL FLOORING TYPES (ELEVATED INSTALLATION) ALL FLOORING TYPES (Insulated floor protector conceals mount runners)
- Page 12 STAGE 6 - FASCIA FITMENT Mantel clearance DO NOT lift the fascia by the louvres as they can bend. If you haven’t already fitted the door, do so now ensuring the spacer A timber or combustible mantel must not project more than 150mm from washer is placed on top of the hinge pin as indicated in Diagram 13 the finished wall lining and there must be a minimum distance of 460mm (Inset A).
Need help?
Do you have a question about the VZCC and is the answer not in the manual?
Questions and answers