metrofires Tiny Rad Woody Installation & Owner's Operation Manual

metrofires Tiny Rad Woody Installation & Owner's Operation Manual

Freestanding wood fires

Advertisement

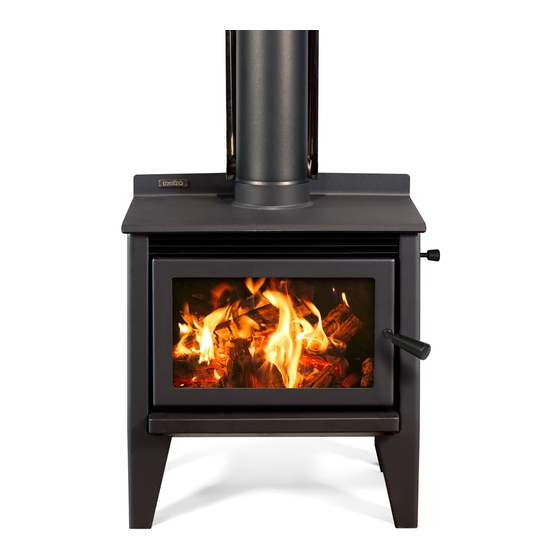
Wood Fire Installation & Owner's Operation Manual
Freestanding Wood Fires
Important information ..................................... 2
Assembling your Metro fire ............................. 2
Floor protector ............................................... 4
Flue installation .............................................. 5
Wetback installation ....................................... 6
Clearances and specifications ........................ 7
Important operation information ..................... 8
Optional wetbacks .......................................... 9
Getting to know your Metro fire ..................... 10
Operating your Metro fire .............................. 10
Cleaning and maintenance .......................... 11
Troubleshooting ........................................... 12
Metro Fires warranty .................................... 13
Replacement parts .................................. 14-15
Heating accessories ...................................... 16
19 Oropuriri Road // New Plymouth 4312
info@metrofires.co.nz // www.metrofires.co.nz

Advertisement

Table of Contents
loading
Need help?

Need help?

Do you have a question about the Tiny Rad Woody and is the answer not in the manual?

Questions and answers

Subscribe to Our Youtube Channel

Summary of Contents for metrofires Tiny Rad Woody

  • Page 1: Table Of Contents

    Clearances and specifications ......7 Metro Fires warranty ........13 Important operation information ..... 8 Replacement parts ........14-15 Where to install a Metro fire in your home ..9 Heating accessories ........16 19 Oropuriri Road // New Plymouth 4312 info@metrofires.co.nz // www.metrofires.co.nz...
  • Page 2: Important Information

    WARNING! CAUTION! Important Information Important Information WE HIGHLY RECOMMEND YOU READ THIS ENTIRE • Mixing of appliance or flue-system components from different • sources or modifying the dimensional specification or components MANUAL AS INCORRECT OPERATION, MISUSE AND/OR may result in hazardous conditions. Where such action is considered, LACK OF MAINTENANCE WILL VOID THE WARRANTY the manufacturer should be consulted in the first instance •...
  • Page 3 Assembling your Metro wood fire Diagram 1 Please note: You should only assemble this wood fire if you are suitably Cook top grill experienced in wood fire assembly and installation. (convection models only) Metro pedestal and base model fires To eliminate freight damage, the pedestal base has been packaged inside the firebox.
  • Page 4: Floor Protector

    Floor protector size, construction and fitting Pioneer manufacture an extensive range of Pioneer ‘Ash Floor Protectors’ Preparing the mount plate which comply with the minimum floor protector requirements of AS/NZS2918:2001, and can be installed with any freestanding Metro Diagram 3 wood fire.
  • Page 5: Flue Installation

    A copy of the ECO Flue System installation manual can be downloaded writing by the testing authority is considered to be in breach of all from metrofires.co.nz, or a copy can be obtained from your Metro retailer. approvals granted Any alternative flue system must comply with and be installed as detailed •...
  • Page 6: Wetback Installation

    All wetbacks are fitted to the inside rear wall of the firebox, with the eventually block the coil causing the wetback to fail exception of the Tiny Rad Woody, clean air Wee Series models and the Classic Rad model. Side wetback position for these models is to the outside •...
  • Page 7: Clearances And Specifications

    ECO Tiny Ped and ECO Tiny Rad models are 92mm left of the flue centre shown below are detailed in millimetres, with a Pioneer double flue • The Tiny Rad Woody model is 184mm left of the flue centre shield fitted to the appliance. Measurements are taken from the following •...
  • Page 8: Important Operation Information

    WARNING! CAUTION! Important Information Important Information WE HIGHLY RECOMMEND YOU READ THIS ENTIRE • This appliance should be maintained & operated at all times in • accordance with this instruction manual MANUAL AS INCORRECT OPERATION, MISUSE AND/OR LACK OF MAINTENANCE WILL VOID THE WARRANTY •...
  • Page 9: Where To Install A Metro Fire In Your Home

    Distance from your Metro to the storage cylinder will affect the amount of hot water produced Side Wetback • Tiny Rad Woody • Wee Rad & Wee Rad Base • Your climate & the manner in which you will ‘fire’ your Metro will •...
  • Page 10: Getting To Know Your Metro Fire

    Getting to know your Metro wood fire Operating your Metro fire is simple and you will quickly learn how to get the best from it. First take a minute to familiarise yourself with your new Metro. • Raise the door handle anti-clockwise until the latch releases, and then slowly pull the door open.
  • Page 11: Cleaning And Maintenance

    Cleaning and maintenance for your Metro wood fire Your Metro fire will give you many years of efficient service with minimal To remove the excess ash your Metro should not be operating. maintenance if operated correctly using seasoned fuel. Your Metro fire must •...
  • Page 12: Troubleshooting

    Troubleshooting your Metro wood fire If your Metro is installed correctly, your fuel is dry and you operate your Air turbulence and/or negative air pressure influences around the flue fire correctly, you will find it to be a pleasure to use. Metro’s many years of termination can be caused by too close or overhanging trees or natural/ experience within the wood heating industry has shown that dissatisfaction artificial ridges etc.
  • Page 13: Metro Fires Warranty

    Warranty details for your Metro wood fire Metro wood fires are manufactured in New Zealand, using the highest CAUTION! quality of materials, workmanship and the latest manufacturing techniques, Important Information which is why we offer a full 10 year firebox warranty and a 1 year parts warranty for your peace of mind.
  • Page 14: Replacement Parts

    • ECO Tiny Ped • ECO Tiny Rad Tiny Woody Promet Set Tiny Woody Baffle Side Wetback 500-2004 500-2504 450-0275 • Tiny Rad Woody Wee/R1 Promet Set Wee/R1 Baffle 500-2005 500-2505 No wetback can be fitted • R1 to this appliance...
  • Page 15 Parts guide for your Metro – Promet, baffles and wetback options Hairline cracks in the promet extension are not uncommon and will have Note: Impact damage when loading wood and burning wood which is not no adverse effect on the operation and performance of your Metro wood properly seasoned, i.e.
  • Page 16: Heating Accessories

    Visit the Metro website: metrofires.co.nz to view Metro’s ‘video demos’ showing the latest in wood fire technology energy saving options. You can view the entire Metro product range, find out where your nearest Metro retailer is located or simply check out the latest specifications, installation requirements and emission and efficiency data for the Metro of your choice.

Table of Contents