Table of Contents
Advertisement
Quick Links
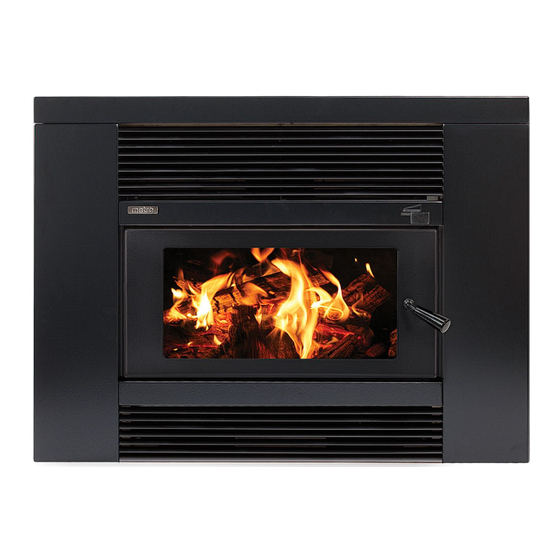
Wood Fire Installation & Owner's Operation Manual
Installation Important information ................... 2
Preparing the wall/opening cavity .................. 3
Installing your Metro ...................................... 4
Floor protector requirements ......................... 5
Flue and wetback Installation ......................... 6
Operation Important information .................... 7
Where to install a Metro in your home ............ 8
Getting to know your Metro ........................... 8
Operating your Metro .................................... 8
Cleaning and maintenance ...................... 9-10
Troubleshooting ........................................... 11
Metro warranty ............................................ 12
PO Box 11, Inglewood 4347, New Zealand
Ph (06) 756 6520 • Fax (06) 756 6540
info@metrofires.co.nz • www.metrofires.co.nz
Advertisement
Table of Contents

Related Manuals for metrofires ECO Mega Smart


Summary of Contents for metrofires ECO Mega Smart
-
Page 1: Table Of Contents
Wood Fire Installation & Owner’s Operation Manual ECO Mega Smart Built-In Installation Important information ....2 Where to install a Metro in your home .... 8 Preparing the wall/opening cavity ....3 Getting to know your Metro ......8 Installing your Metro ........4 Operating your Metro ........ -
Page 2: Installation Important Information
250mm diameter outer casing. fingers under the louvres. Stage 1 – Unpacking and familiarisation The function of the Metro ECO Mega Smart Built-In is to The Metro eCO Mega Smart Built In enable the fire to be installed into a timber framed wall Having read the three critical bullet points above, unpack and replacing a masonry chimney at a fraction of the cost. -
Page 3: Preparing The Wall/Opening Cavity
Diagram 2 of this page are not required. • If the ECO Mega Smart Built-In is built into an enclosure 9MM PROMINA BOARD OR that is not open/vented to the ceiling cavity, the... -
Page 4: Installing Your Metro
Built-In cabinet is 3-4mm behind the front face of the wall lining (Diagram 3). Note: if you intend constructing a brick fascia in front of the wall lining then the front edge of the ECO Mega Smart Built-In cabinet should be 3-4mm behind the front face of the bricks. •... -
Page 5: Eco Mega Smart Built-In
Stage 4 – Building / installing the floor protector ECO Mega Smart Built-In The Metro ECO Mega Smart Built-In requires an insulating floor protector, minimum requirement is 18mm thick Promina board 621MM or equivalent, finished with a non combustible tile or similar. -
Page 6: Flue And Wetback Installation
200mm diameter inner casing and a 250mm diameter outer casing. Stage 7 – metro ECo mega Smart Built In – Water heater fitting instructions Box Contents: 7. Smear a liberal amount of Pioneer fire cement over the •... -
Page 7: Operation Important Information
WaRNINg! Important Information • WE HIGHLY RECOMMEND YOU READ THIS ENTIRE • Do not use flammable liquids or aerosols to start or MANUAL AS INCORRECT OPERATION AND/OR LACK rekindle the fire OF MAINTENANCE WILL VOID THE WARRANTY • Never operate your Metro with the door ajar, •... -
Page 8: Where To Install A Metro In Your Home
“low to high”. then close the door ensuring the latch is secure. Never operate with the door open or not latched securely, except on start up – see below. ECO MEGA SMART BUILT-IN AIR CONTROL Operating your Metro wood fire Start up... -
Page 9: Cleaning And Maintenance
To remove the excess ash your Metro should not be operating. The front panelling of your Metro ECO Mega Smart Built-In will be coated with one of two coating systems, both can be • Open the door, and using a hearth shovel or similar, cleaned with a damp cloth when the Metro is not operating. -
Page 10: Cleaning And Maintenance
Cleaning and maintenance for your Metro wood fire Flue systems • Close the door and slide the air control to the left. Should be checked annually, particularly the bottom end • Once on the roof, remove the cowl from the top of flue system and sweep the flue pipe using a 150mm-diameter of the lower flue section at its rear lock formed joint. -
Page 11: Troubleshooting
Troubleshooting your Metro wood fire If your Metro is installed correctly, your fuel is dry and you If your metro didn’t smoke, but its starting too and is operate it correctly you will find it to be a pleasure to use. getting worse: Metro’s many years of experience within the wood heating The pipe is in need of a clean. -
Page 12: Metro Warranty
Warranty details for your Metro wood fire Metro wood fires are manufactured in New Zealand, using • It is critical that the fire not be operated with over worn, the highest quality of materials, workmanship and the latest faulty or missing door seals. Door seals will harden over manufacturing techniques, which is why we offer a full 10 year time and become over-worn (3-4 year’s) this will cause air firebox warranty and 1 year parts warranty for peace of mind.
Need help?
Do you have a question about the ECO Mega Smart and is the answer not in the manual?
Questions and answers