Advertisement
Quick Links
Owner's Manual
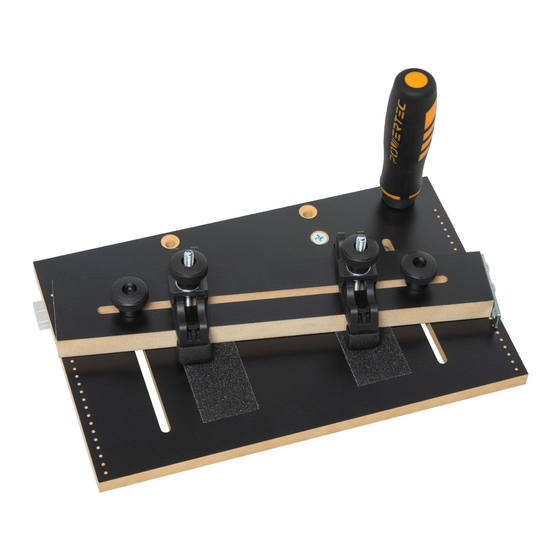
Small Tapering Jig with Clamps
Visit us on the web at www.powertecproducts.com
You will need this manual for safety instructions, operating procedures, and warranty.
Put it and the original sales invoice in a safe, dry place for future reference.
Model No. 71875
24-0104
Advertisement

Related Manuals for PowerTec 71875


Summary of Contents for PowerTec 71875
- Page 1 Model No. 71875 Owner's Manual Small Tapering Jig with Clamps Visit us on the web at www.powertecproducts.com You will need this manual for safety instructions, operating procedures, and warranty. Put it and the original sales invoice in a safe, dry place for future reference.
- Page 2 TABLE OF CONTENTS PRODUCT SPECIFICATIONS SECTION PAGE Base (MDF) ..... . . 11-1/2"x 7-5/16"x 1/2" MDF Adjustable Fence with Stop Plate . . 11-1/2"x 2"x 11/16" SAFETY RULES Miter Bar (Aluminum) .
- Page 3 GENERAL SAFETY RULES FOLLOW ALL STANDARD SHOP SAFETY CAUTION PRECAUTIONS, INCLUDING: Think safety! Safety is a combination of operator common sense • Keep children and visitors at a safe distance from work area. and alertness at all times when tool is being used. •...
- Page 4 PARTS AND CONTENT UNPACKING Figure 1 Refer to Figure 1 Check for shipping damage. Check immediately whether all parts and accessories are included. ITEM DESCRIPTION Base (MDF) Adjustable Fence with Stop Plate Aluminum Miter Bar Hold Down Clamps Adjustment Knobs Clamp Blocks Nylon Adjustment Screws, #10-32 Screws, 1/4"-20 x 3/4"...
- Page 5 Secure the Handle: Trim the Base to Fit the Table Saw Being Used: See Figure 5. From the underneath the base, insert the 5/16"-18 x 1" Flat Head Screw (M) through the hole near the rear edge of the base. Place NOTE: Some saws will not require the Jig/base to be trimmed.
- Page 6 OPERATION The Adjustable Stop: See Figure 7. WARNING Place the workpiece tight against the Adjustable Fence with For your own safety, read all of the rules and precautions before the eventual narrow end flush against the Adjustable Stop on operating tool. the fence.
- Page 7 Straight Line Ripping: Figure 10 See Figure 10. The miter bar MUST be removed when straight line ripping. 1. Remove the Miter Bar from the Jig Base. The table saw's fence is used to set the cutting width and guide the cut. 2.
- Page 8 30 - DAY SATISFACTION GUARANTEE POLICY During the first 30 days after the date of purchase, if you are dissatisfied with the performance of this POWERTEC tool for any reason, you may return the tool to the retailer from which it was purchased for a full refund or exchange. You must present proof of purchase and return all original equipment packaged with the original product.
Need help?
Do you have a question about the 71875 and is the answer not in the manual?
Questions and answers