Advertisement
Quick Links
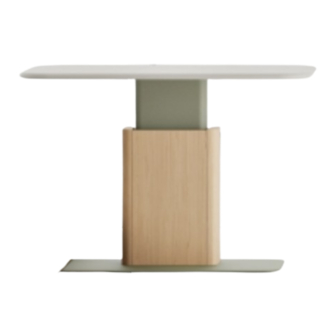
Advertisement

Related Manuals for Ofs Ally casegoods


Summary of Contents for Ofs Ally casegoods
- Page 1 Ally casegoods assembly instructions...
- Page 2 Ally casegoods assembly instructions Table of contents Fixed height desk Wall mount height adjustable desk Wall panels ofs.com imagine a place® 800.521.5381 Assembly instructions...
- Page 3 Ally casegoods assembly instructions Fixed height desk Tools/hardware required: Tape Measure Level Cordless Driver #2 Phillips or Quad Bit Begin by determining where the wardrobe unit will be located laterally along the wall. Once the location has been set, using a tape measure and level, start marking the lines where the wooden knife rails will be placed (Figure A).
- Page 4 Ally casegoods assembly instructions Fixed height desk, continued The worksurface brackets can now be installed onto the wall. Using (Figure B) as a guide, mark the locations where the brackets will be placed. The top face of the worksurface brackets should be aligned with the top face of the bracket on the wardrobe unit.
- Page 5 Ally casegoods assembly instructions Wall mounted height adjustable desk Tools/hardware required: Tape Measure Level Cordless Driver Begin by determining where the desk will be located laterally along the wall. Once the location has been set, lightly mark where the outer ends of the pedestal touch the wall. (Figure A) Next, temporarily power the desk and raise the worksurface to its highest position.
- Page 6 Ally casegoods assembly instructions Wall mounted height adjustable desk, continued The desk must be fastened to the wall by attaching the back panel of the pedestal to the wall. It is recommended that at least four anchor points be placed near the outermost points. It is also recommended to have a dedicated power source installed in the architectural wall that is located within the opening of the back panel of the pedestal.
- Page 7 Ally casegoods assembly instructions Wall panel Tools/hardware required: Tape Measure Level Cordless Driver #2 Phillips or Quad Bit 7/16" Wrench Rubber Mallet Begin by determining where the wall panel will be positioned on the wall and lightly mark the location of the top of the wall panel. Once the location has been set, using a tape measure and level, start marking the lines where the wooden knife rails will be placed.
- Page 8 Ally casegoods assembly instructions Wall panel, continued The left and right wall panel units can now be connected to each other. The left wall panel contains the alignment dowels and seam trim while the right wall panel will accept these components.
Need help?
Do you have a question about the Ally casegoods and is the answer not in the manual?
Questions and answers