Advertisement
Quick Links
Instruction Sheet
Oiler Ethernet Interface
This document shows you how to setup and use the Oiler Ethernet Interface Option with the
SmartPAC PRO control. The Oiler ethernet interface option enables you to communicate with and
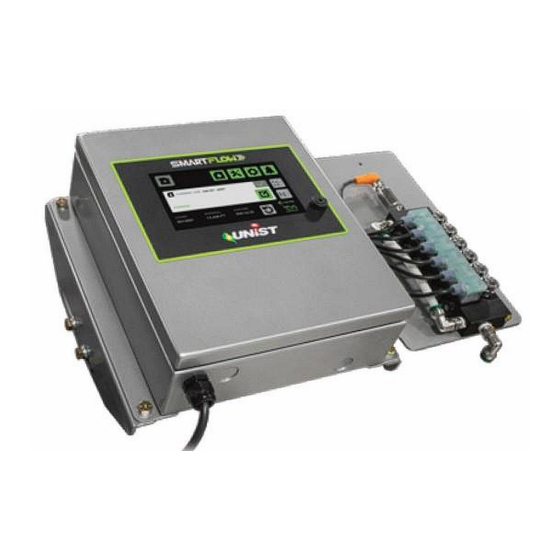
program the Unist SmartFlow® controller using the SmartPAC PRO system. The SmartPAC PRO
along with the Unist SmartFlow® controller can be used to control the fluid supply to a Uni-Roller®
S2, as well as many other control applications.
This document is organized in the following sections:
•
Upgrading SmartPAC PRO Firmware, next.
•
Unist SmartFlow® Oiler Setup, page 2.
•
SmartPAC PRO Initialization Oiler Setup, page 4.
•
SmartPAC PRO Program Mode Oiler Setup, page 7.
•
SmartPAC PRO Program Mode Setup, page 8.
Upgrading SmartPAC PRO Firmware
To use the Oiler Ethernet Interface, you must be running SmartPAC PRO with the Oiler Ethernet
Interface (part no. 9688632) as an installed option. Instructions for ordering and receiving updated
firmware and installing the firmware on your SmartPAC PRO are provided in Appendix B of the
SmartPAC PRO user manual or the Upgrading SmartPAC PRO Firmware instruction sheet, which
accompanies all firmware upgrade orders.
Figure 1. SmartPAC PRO Installed Options Showing Oiler Ethernet Option
Instruction Sheet
Oiler Ethernet Interface
Wintriss Controls Group
Rev. A December 2021
978-268-2700
1144200
9688632
Page 1
toll free 800-586-8324
Advertisement

Subscribe to Our Youtube Channel
Related Manuals for Unist SmartFlow

Summary of Contents for Unist SmartFlow
- Page 1 SmartPAC PRO control. The Oiler ethernet interface option enables you to communicate with and program the Unist SmartFlow® controller using the SmartPAC PRO system. The SmartPAC PRO along with the Unist SmartFlow® controller can be used to control the fluid supply to a Uni-Roller® S2, as well as many other control applications.
- Page 2 To use a Unist SmartFlow® controller with a SmartPAC PRO, do the following: 1. Connect the Unist Controller to your Local Area Network via the RJ-45 port which is located on the top left of the circuit board (see Figure 3). Use a standard CAT-5 ethernet cable to connect to this port.
- Page 3 USB Backup and Restore Instruction Sheet 1137400 Figure 4. Unist SmartFlow® Controller Board Showing Communication Jumper 3. Then, access the Communication settings menu on the Unist controller. To enable communications (Disabled by factory default), press on the next to “RUN SIGNAL INPUT”.
- Page 4 USB Backup and Restore Instruction Sheet SmartPAC PRO Initialization Oiler Setup Next, the SmartPAC PRO initialization settings must be configured to communicate with the Unist SmartFlow® controller. To do so perform the following steps: 1. Turn the PROG/RUN key to PROG. On the Main Program Menu, press the INITIALIZATION MENU button (Figure 6 below).
- Page 5 Figure 9. Oiler Ethernet Setup Menu Default Settings. 6. Select the “Oiler Type” button and toggle it so that it displays “Unist Smartflow”. Next, Select the “Oiler’s IP Address” button and enter in the static IP address assigned to the Unist controller in the IP address entry window (see Figure 10).
- Page 6 1137400 USB Backup and Restore Instruction Sheet Figure 10. Oiler Ethernet IP Address Setup Window. 7. Select the “Comms Enabled” button and toggle it to TRUE as shown in Figure 11. 8. Once the previous steps are performed, press the “Apply Changes” button. After you apply changes the SmartPAC PRO will display the message “Settings Applied”.
- Page 7 Figure 12. Tool Program Menu showing Oiler Control 2. The Unist SmartFlow Job number screen will display (see Figure 13), these job numbers are setup in the Unist system. This screen will tell the SmartFlow system which job to load for this tool.
- Page 8 1137400 USB Backup and Restore Instruction Sheet RELOAD CURRENTLY LOADED TOOL IF YOU CHANGE IT If you change settings for a tool that is currently loaded, you should load the tool again after you make the settings. If you do not re-load the tool, the old settings will be used. 4.
- Page 9 Figure 17. Run Mode Oiler Control Screen 3. This screen will display whether the Unist SmartFlow controller is running or not as well as displaying the current oiler control job number that is being used. If the controller is not running, please refer back to the Initialization oiler setup section and/or the Unist SmartFlow Oiler user manual which you received with your controller.
Need help?
Do you have a question about the SmartFlow and is the answer not in the manual?
Questions and answers