Table of Contents
Advertisement
Quick Links
Advertisement
Table of Contents

Related Manuals for Ironton 54411


Summary of Contents for Ironton 54411
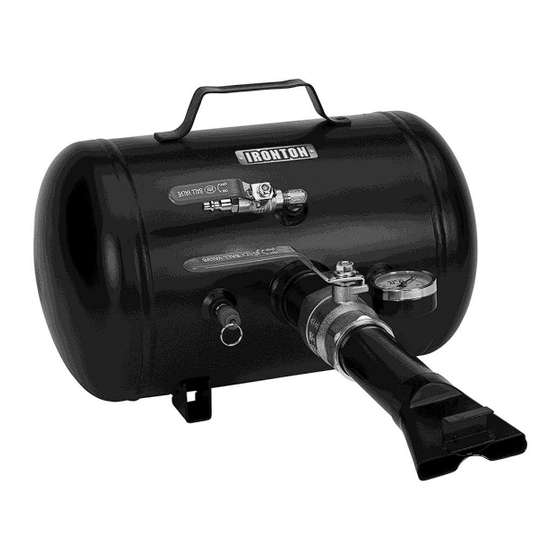
- Page 1 5-Gallon Air Bead Seater Owner’s Manual WARNING: Read carefully and understand all ASSEMBLY AND OPERATION INSTRUCTIONS before operating. Failure to follow the safety rules and other basic safety precautions may result in serious personal injury. Item #54411 SAVE THESE INSTRUCTIONS...
- Page 2 Thank you very much for choosing an Ironton™ product! For future reference, please complete the owner’s record below: Serial Number/Lot Date Code: ________________________________ Purchase Date: ____________________________________________ Save the receipt, warranty, and this manual. It is important that you read the entire manual to become familiar with this product before you begin using it.
-
Page 3: Table Of Contents
Table of Contents Intended Use ............................4 Technical Specifications ........................4 Important Safety Information ....................... 4 Specific Operation Warnings ....................... 6 Assembly Instructions .......................... 6 Before Each Use ............................ 6 Operating Instructions .......................... 6 Maintenance ............................9 Troubleshooting ............................ 9 Parts Diagram ............................ -
Page 4: Intended Use
Intended Use This Ironton 5-Gallon Air Bead Seater seats tough beads on ATVs and most truck tires, and can be used as a regular air tank. Technical Specifications Property Specification Max. air pressure 120PSI Air tank 25ft. ASME certified tank... - Page 5 Do not allow the air bead seater to come into contact with an electrical source. The tool is not insulated and contact will cause electrical shock. Keep children and bystanders away from the work area while operating the tool. Do not allow children to handle the air bead seater.
-
Page 6: Specific Operation Warnings
Specific Operation Warnings ⚠WARNING Do not exceed the maximum rated pressure. Wear ANSI Z871. Compliant safety goggles, hearing protection, and heavy duty gloves. Only use an air compressor rated to fill the tank. Be sure the area is clear of bystanders or hazardous materials before operating. ... - Page 7 2. Open the air intake valve (#7) to fill the air tank (#1) to the desired air pressure. Once this pressure has been reached, as indicated by the pressure gauge (#6), close the air intake valve (#7). Note: It’s not always necessary to fill the tank to capacity. Some tires can be seated with as little as 20 PSI (Fig.2).
- Page 8 2. Position the tire and rim on the tire stand (not provided) so that the lower side wall of the tire is slightly off the floor (Fig.3). 3. Make sure to seat the lower tire bead onto the rim. 4. Before seating the bead, make sure the tank flange (#5) is facing up.
-
Page 9: Maintenance
Maintenance Maintain your air tank and bead seater. 1. Check the air bead seater regularly for damage or signs of wear and make sure that the tank is inspected on an annual basis. Note: Never tighten or loosen fittings when the air bead seater is charged. 2. -
Page 10: Parts Diagram
Parts Diagram Parts List Reference Description Quantity Air Tank Air Release Valve Air Release Handle Threaded Barrel Tank Flange Pressure Gauge Air Intake Valve Fill Valve Safety Relief Valve Handle Replacement Parts For replacement parts and technical questions, please call Customer Service at 1-800-222-5381. ... -
Page 11: Limited Warranty
Northern Tool and Equipment Company, Inc. ("We'' or "Us'') warrants to the original purchaser only ("You'' or ''Your'') that the Ironton product purchased will be free from material defects in both materials and workmanship, normal wear and tear excepted, for a period of one year from date of purchase. - Page 12 Distributed by: Northern Tool & Equipment Company, Inc. Burnsville, Minnesota 55306 www.northerntool.com Made in China Page 12 of 12...
Need help?
Do you have a question about the 54411 and is the answer not in the manual?
Questions and answers