
Related Manuals for J-Tech Digital JTD-3136


Summary of Contents for J-Tech Digital JTD-3136
- Page 1 V1.0 USER MANUAL 24 Port AVoIP Network Switch JTD-3136 | JTECH-NS24V3 J-TECH DIGITAL INC. 9807 EMILY LANE STAFFORD, TX 77477 TEL: 1-888-610-2818 E-MAIL: SUPPORT@JTECHDIGITAL.COM...
- Page 2 Scan the QR code below or visit https://resource.jtechdigital.com/products/3136 to view and access detailed digital resources regarding this unit.
- Page 3 Safety Instructions: Before using this product, please carefully read the following safety instructions to ensure its proper use and keep this manual for future reference: To prevent electric shock, do not attempt to open the product. Only qualified personnel should perform any repairs or maintenance. Always place the product on a stable, flat surface to prevent it from falling.
-
Page 4: Table Of Contents
Table of Contents 1. Introduction 2. Product Highlights 3. Package Contents 4. Hardware Specifications 5. Software Specifications 6. Application 7. Web Management 7.1 Port Tools > Port Setting 7.2 Port Tools > Port Routing 7.3 Port Tools > Presets 7.4 System > User Manage 7.5 System >... -
Page 5: Introduction
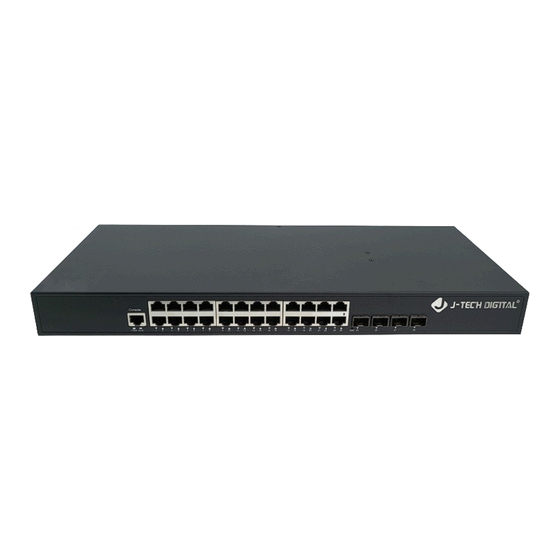
1. Introduction The J-Tech JTECH-NS24V3 is a Layer 3 network management switch equipped with 24 Gigabit Ethernet Ports and 4 x 10 Gigabit SFP+ Ethernet Ports. It facilitates Layer 3 static routing along with a maximum switching capacity of 128Gbps. Specifically tailored for AV over IP distribution, it incorporates an intuitive web-based management system for seamless input/output routing control. -
Page 6: Hardware Specifications
4. Hardware Specifications Item Details Ethernet Ports 24 x Gigabit Ethernet Ports along with 4 x SFP+ Ports Console Port 1 x RS45 - RS232 Serial Port (115200, 8, N, 1) Init Key Press and hold for >5s to reset switch to factory settings Power 1 x AC 100~240V 50/60Hz Power Consumption... -
Page 7: Application
Static ARP Add, delete, burn-in time setup/check Group-broadcasting PIM, IGMPV1/V2/V3, MLD (IPV4) DHCP client Relay repeater, DHCP snooping Suplex transfer check mechanism 6. Application One - Many Setup Transmitter HDMI Input Source Ethernet Ethernet Receiver Receiver Receiver... - Page 8 Many - Many Setup Input Source Input Source Input Source Transmitter Transmitter Transmitter Ethernet Ethernet Receiver Receiver Receiver...
-
Page 9: Web Management
7. Web Management The JTECH-NS24V3 offers a user friendly web management system which can be accessed and configured through an Ethernet port. Default IP Address: 192.168.168.254 Default Username: admin Default Password: admin 7.1 Port Tools > Port Setting Ability to change the Mode of the ports. For instance, changing an Input Port into an Output Port or vice versa. -
Page 10: Port Tools > Port Routing
7.2 Port Tools > Port Routing Ability to create VLANs with the check of a box. For instance, you can make on Input Port route to Multiple Output ports. Will allow device to function like a Matrix. 7.3 Port Tools > Presets Ability to create and name presets. -
Page 11: System > User Manage
7.4 System > User Manage Ability to add, edit or delete users. (Default Username: admin Default Password: admin) 7.5 System > System Config Ability to assign the switch a different IP address and subnet mask. -
Page 12: System > System Status
7.6 System > System Status Ability to view and edit system information, such as system name, location, contact etc. 7.7 System > Upgrade Firmware Upgrade or Backup Firmware via TFTP (Trivial File Transfer Protocol) or HTTP (Hypertext Transfer Protocol) using .bix filetypes. -
Page 13: System > Reboot
7.8 System > Reboot Used to restart the device. 7.9 System > Restore Factory Used to restore switch to default factory setting. All user settings will be lost. 7.10 Port Cable Test > Copper Test Check the RJ45 cable connected by Port, labeled GE1- GE24 and view its Copper Test Results. The results will show under Cable Status: Port, Result and Length (Meters) -
Page 14: Maintenance
8. Maintenance Clean this unit with a soft, dry cloth. Never use alcohol, paint thinner, or benzine to clean. 9. Warranty If your product does not work properly because of a defect in materials of workmanship, our company (referred to as “the warrantor”) will, for the length of the period indicated as below, “Parts and Labor (1) Year”, which starts with the date of original purchase (“Limited Warranty period”), at its option either (a) repair your product with new or refurbished parts, or (b) replace it with a new or a refurbished product. - Page 15 Servicer, or damage that is attributed to acts of God. There are no express warranties except as listed under “Limited Warranty Coverage”. The warrantor is not liable for incidental or consequential damages resulting from the use of this product or arising out of any breach of this warranty.
- Page 16 WWW.JTECHDIGITAL.COM PUBLISHED BY J-TECH DIGITAL INC. 9807 EMILY LANE STAFFORD, TX 77477 TEL: 1-888-610-2818 E-MAIL: SUPPORT@JTECHDIGITAL.COM...
Need help?
Do you have a question about the JTD-3136 and is the answer not in the manual?
Questions and answers