Advertisement
Quick Links
April, 2021
PME5555
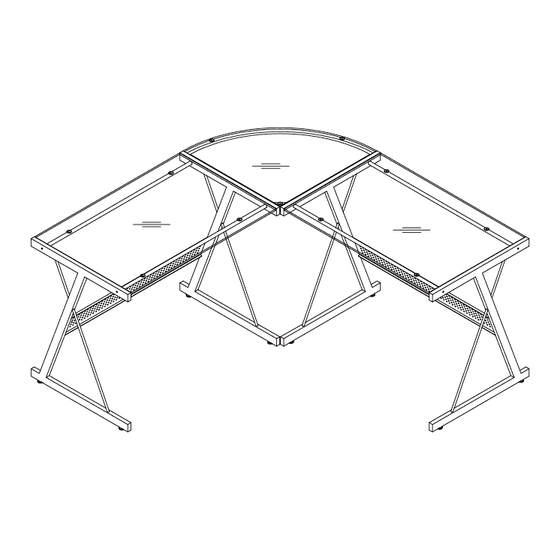
GLASS & METAL "L" DESK
Assembly Instructions - Important:
Carefully unpack and identify each component before attempting to assemble. Refer to parts list. Please take care when
assembling the unit and always set the parts on a clean, soft surface. If you require any assistance with assembly, parts or
information on other products, please visit our website: www.officestar.net or call or write us.
Advertisement

Summary of Contents for OSP Home Furnishings PME5555
- Page 1 April, 2021 PME5555 GLASS & METAL “L” DESK Assembly Instructions - Important: Carefully unpack and identify each component before attempting to assemble. Refer to parts list. Please take care when assembling the unit and always set the parts on a clean, soft surface. If you require any assistance with assembly, parts or...
-
Page 2: Limited Warranty
Monday through Friday 8:00 a.m. - 5:00 p.m. Pacific Time. To make a warranty claim, contact Parts Department. Provide model number, proof of purchase, description of the problem and obtain return authorization. At its option OSP Home Furnishings will: (a) Supply compatible components of current manufacture. - Page 3 PARTS (1) Side Frame (4 PCS) (2) Corner Frame (1 PC) (4) Rear Panel (2 PCS) (3) Crossbar (4 PCS) (6) Corer Glass (1 PC) (5) Glass Top (2 PCS)
-
Page 4: Hardware List
HARDWARE LIST DRAWING DESCRIPTION SIZE QUANTITY Floor Leveler 8 PCS Bolt 6 x 54 x 10mm 4 PCS Bolt 6 x 32 x 10mm 4 PCS Allen Wrench 1 PC Screw 4 x 12 x 8mm 8 PCS Rubber Support 11 PCS *extra hardware is provided for your convenience* THE BELOW PARTS ARE PRE-ASSEMBLED &... - Page 5 STEP 1 STEP 2 DO NOT FULLY TIGHTEN SCREWS...
- Page 6 STEP 3 DO NOT FULLY TIGHTEN BOLTS STEP 4 DO NOT FULLY TIGHTEN BOLTS...
- Page 7 STEP 5 STEP 6 APPLY FIRM PRESSURE TO ALIGN & FULLY TIGHTEN ALL SCREWS & BOLTS...
-
Page 8: Weight Limits
WEIGHT LIMITS...


Need help?
Do you have a question about the PME5555 and is the answer not in the manual?
Questions and answers