Advertisement
Quick Links
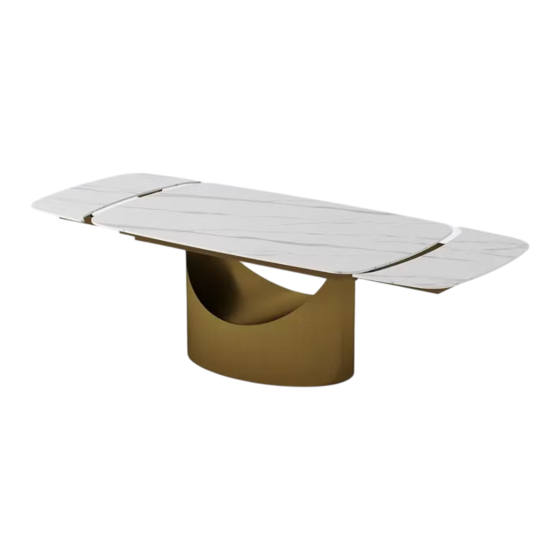
1. Set the table.
3. Installation completed.
2. Align the mounting holes for the frame and legs
underneath the table and tighten them with screws.
Wrench 1
Assembly instructions
DT009WGD240G Installation
The number of people needed for installation : 2
Please read the manual carefully before
①
installing this product. And strictly follow
the installation process
Please take good care of this manual
②
Hexagonal machine
for your next installation
wire ( M8*15mm)+Gasket
③ Note: Before installation, screw all the
screws to 1/2 of the length of the
installation. After all screws are half
screwed in, tighten them all together.
Parts list
Serial
Shape
number
A
B
C
D
E
F
G
On a red ribbon are furniture
installation accessories
Quantity
Spare
Name
required for
quantity
installation
Hexagonal
4
1
machine
wire ( M8*15mm)
4
1
Gasket
1
0
Wrench 1
1
0
Wrench 2
Mechanical
0
2
adjustable feet
can be screwed
TotaL 1 page; page 1
Advertisement

Related Manuals for POVISON DT009WGD240G


Summary of Contents for POVISON DT009WGD240G
- Page 1 1. Set the table. 2. Align the mounting holes for the frame and legs underneath the table and tighten them with screws. Assembly instructions DT009WGD240G Installation The number of people needed for installation : 2 Wrench 1 Please read the manual carefully before ①...
- Page 2 How to solve the problem of gaps and misalignment on the tabletop after the extendable dining table is assembled? 1. If the function panel is found to be unevenly protruding out of the 2. Find a wrench and loosen the screws in the 4 cargo recessed main panel, it can be adjusted by the bottom screw holes in a clockwise direction, just loosen screws.
Need help?
Do you have a question about the DT009WGD240G and is the answer not in the manual?
Questions and answers