Advertisement
Quick Links
1. Align the positioning holes on the plate bracket inside the removal plate and cabinet, put it on, and then
gently press it to tighten it.
2. First take out the drawer of the side cabinet, align the mounting holes of the side cabinet and the centre
cabinet, put in the cross machine wire and tighten it, connect the side cabinet and the centre cabinet, then
put the drawer back.
Assembly instructions
wide margin
facing out
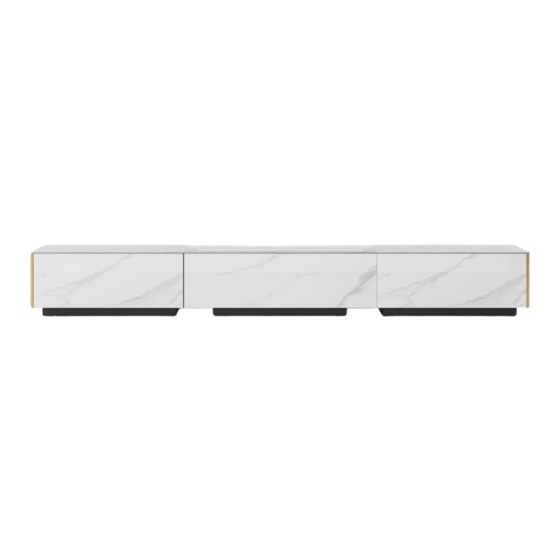
TS8132W260 Installation
The number of people needed for installation : 2
Please read the manual carefully before
①
installing this product. And strictly follow
the installation process
Please take good care of this manual
②
for your next installation
Note: Before installation, screw all the
③
screws to 1/2 of the length of the
installation. After all screws are half
screwed in, tighten them all together.
On a red ribbon are furniture
Parts list
Serial
Shape
number
A
十字机丝(M8*25mm)
B
C
D
E
F
G
installation accessories
Quantity
Spare
Name
required for
quantity
installation
8
0
TotaL2 page; page 1
Advertisement

Related Manuals for POVISON TS8132W260


Summary of Contents for POVISON TS8132W260
- Page 1 1. Align the positioning holes on the plate bracket inside the removal plate and cabinet, put it on, and then gently press it to tighten it. Assembly instructions wide margin facing out TS8132W260 Installation The number of people needed for installation : 2 Please read the manual carefully before ① installing this product. And strictly follow...
- Page 2 3. For the right cabinet installation, just repeat step 2. Assembly instructions TS8132W260 Installation The number of people needed for installation : 2 Please read the manual carefully before ① installing this product. And strictly follow the installation process Please take good care of this manual ②...
- Page 3 Disassembly and assembly instructions for two bottom buffer rail drawers 1.Two-section bottom buffer guide rail. Disassembly buckle Pull out the disassembly buckle of the two guide rails below the drawer at the same time. Gently pull the drawer The way to up, and then you can teardown drawer: take the drawer down.
- Page 4 Instructions for disassembling and assembling the top sintered stone of the center cabinet (In the event of a cracked rock slab requiring replacement) separate the cabinets on the left and right sides. 2. As shown in the picture, Side panel Back panel unscrew the 12 screws on the upper side of the side...
- Page 5 1.Plug in the power for the cabinet. 2.Press the function key on the remote control to start the cabinet. (The remote control for the device is paired at the factory and can be used directly.) User guide Do not push or pull the drawers with your hands.
- Page 6 Use the forward and backward keys on the remote 6. After adjusting the position, you can use the laser control to adjust the laser projector to the optimal projector to control the opening and closing of the cabinet. projection distance. (After adjusting the position of User guide the cabinet, wait for 30 seconds for the position setting to be completed.
Need help?
Do you have a question about the TS8132W260 and is the answer not in the manual?
Questions and answers