Advertisement
Quick Links
RC201
1
Please Recycle
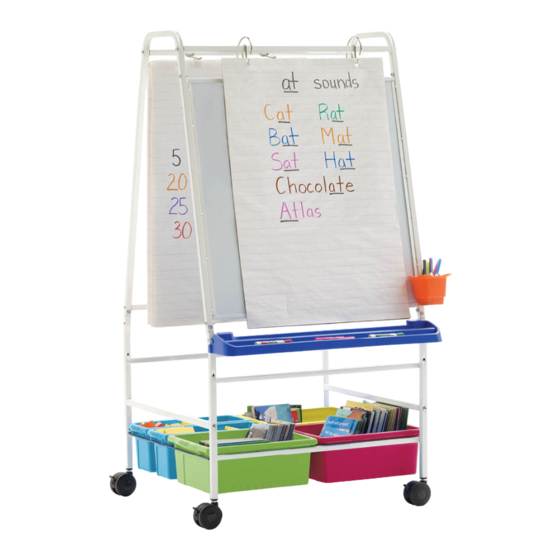
Reading Writing Center
Assembly Guide
Check out our other products online at www.copernicused.com
For assistance, please contact us by telephone at 1-800-267-8494 or email at info@copernicused.com.
Have your packing slip ready for reference.
RC201 - Version B - Released February 13, 2024 - Copernicus Educational Products Inc.
Advertisement

Summary of Contents for Copernicus RC201
- Page 1 Check out our other products online at www.copernicused.com For assistance, please contact us by telephone at 1-800-267-8494 or email at info@copernicused.com. Have your packing slip ready for reference. Please Recycle RC201 - Version B - Released February 13, 2024 - Copernicus Educational Products Inc.
- Page 2 10 business days from product Frame & Tub Warranty assembly. By registering your product, you will be entered into a draw to win Copernicus product. Make a Warranty Claim We offer a Lifetime Warranty on almost everything we make. Please call...
- Page 3 This product is intended for indoor comercial use only. To reduce the risk of fire or electric Indoor Use shock, do not expose this product to rain or moisture. The internal components are not Only sealed from the environment. RC201 - Version B - Released February 13, 2024 - Copernicus Educational Products Inc.
- Page 4 (Not to Scale) 10 lbs Weight Limit 5 lbs Weight Limit Magnetic Marker Chart Paper Hang Holder Tags 4mm Allen Key 3mm Allen Key Hex Wrench RC201 - Version B - Released February 13, 2024 - Copernicus Educational Products Inc.
- Page 5 Long Stretcher Bottom Frame Bottom Frame 4mm Allen Key (718mm) (Left) (Right) Build Two Bottom Frames Screws face toward stretchers (Left) Side View Connectors (Right) face inward RC201 - Version B - Released February 13, 2024 - Copernicus Educational Products Inc.
- Page 6 Attach Wire Tub Channels Connectors face inward Actual Size: You will need: (Not to Scale) Short Stretcher (635mm) 4mm Allen Key Install Short Stretchers Connectors face inward RC201 - Version B - Released February 13, 2024 - Copernicus Educational Products Inc.
- Page 7 Step #6 Hardware Bag Remove paper wrap from these connectors (4x) Check for wedge nut inside all connectors See page #5 for details These 4 holes face inward RC201 - Version B - Released February 13, 2024 - Copernicus Educational Products Inc.
-
Page 8: Install Casters
If you cannot push the casters in by hand, try placing an adjustable wrench between caster wheels and then tapping with a rubber mallet. RC201 - Version B - Released February 13, 2024 - Copernicus Educational Products Inc. - Page 9 Middle wire faces down You will need: (Not to Scale) Open Tub Small Tub 10 lbs Weight Limit 5 lbs Weight Limit Install Tubs RC201 - Version B - Released February 13, 2024 - Copernicus Educational Products Inc.
- Page 10 Pull out spring loaded hooks to install into hole You will need: (Not to Scale) Chart Paper Loop Chart Paper Peg Hook Hook Install Chart Paper Hooks RC201 - Version B - Released February 13, 2024 - Copernicus Educational Products Inc.
- Page 11 Make sure the hang tags are spaced evenly from center of chart paper. Use First Completed Chart Paper Hang Chart Paper on Chart Paper Peg Hooks as Positioning Template For the Rest RC201 - Version B - Released February 13, 2024 - Copernicus Educational Products Inc.


Need help?
Do you have a question about the RC201 and is the answer not in the manual?
Questions and answers