
Related Manuals for Copernicus Tech Tub Tec600C


Summary of Contents for Copernicus Tech Tub Tec600C
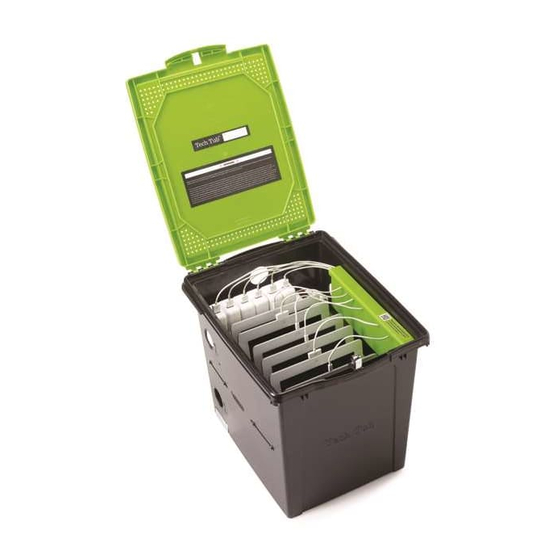
- Page 1 ® Tech Tub for Chromebooks TEC600C Assembly Guide TEC600C_2017_A Please Recycle TEC600C - Version A - Released May 5, 2017 - Copernicus Educational Products Inc.
- Page 2 ® Tech Tub for Chromebooks TEC600C Assembly Guide TEC600C_2017_A Life Time Year Tub and Lid Component Warranty Warranty TEC600C - Version A - Released May 5, 2017 - Copernicus Educational Products Inc.
- Page 3 72 consecutive hours. Turn off power strip before unplugging. Power Strip Specifications Read the electrical specifications of any electronic equipment you are using with your Copernicus products. Failure to read these specifications and follow their instructions could result in damage to your equipment or personal injury.
- Page 4 Locking Pin (1) Padlock (2) Cable Hook (2) Power Strip (1) Locking Block (1) Cable Management Channel (1) Spacer (2) Rail (2) Power Strip Bracket (2) Divider (6) TEC600C - Version A - Released May 5, 2017 - Copernicus Educational Products Inc.
- Page 5 (25515) M6 Washer Power Strip Bracket M6 Lock Nut (232281) Locking Pin (31079) M6 x 70mm Locking Block Screw (31078) Padlock Allen Key 4mm Cable Hook TEC600C - Version A - Released May 5, 2017 - Copernicus Educational Products Inc.
- Page 6 The title of each step states what you will be doing. Review the text and the pictures as you build the unit. TEC600C - Version A - Released May 5, 2017 - Copernicus Educational Products Inc.
- Page 7 Power strip cord end Keep your power strip upside Pay close attention to down as shown. This will make the assembly easier! orientation of power strip. TEC600C - Version A - Released May 5, 2017 - Copernicus Educational Products Inc.
- Page 8 Pull power strip cable out of the Tech Tub ® completely. This will make the installation of the power Run power strip cable strip easier! out of the bottom back hole. TEC600C - Version A - Released May 5, 2017 - Copernicus Educational Products Inc.
- Page 9 Lock Lid with Padlock Note: Padlock will not lock without key Plug cable directly into wall outlet. DO NOT PLUG THIS POWER STRIP INTO ANOTHER POWER STRIP. TEC600C - Version A - Released May 5, 2017 - Copernicus Educational Products Inc.
- Page 10 Allen Key 4mm Mount Locking Block Label facing Washer goes upwards INSIDE tube Washer goes UNDER tube Table Countertop Underside Drilled holes from Step 6 Section View TEC600C - Version A - Released May 5, 2017 - Copernicus Educational Products Inc.
- Page 11 Locking Block is completely in channel. Secure Locking Pin with Padlock Slide Locking Pin through hole on on other side. ® Tech Tub TEC600C - Version A - Released May 5, 2017 - Copernicus Educational Products Inc.
- Page 12 Feed excess cables down through the space between the tub and power strip. To keep cables organized, use hook & loop straps secure cables around power adapter. TEC600C - Version A - Released May 5, 2017 - Copernicus Educational Products Inc.
- Page 13 Cable Management Continue steps 1 & 2 for the remainder of the devices. TEC600C - Version A - Released May 5, 2017 - Copernicus Educational Products Inc.
- Page 14 You could use this system to also keep track of your devices! Carrying your Tech Tub ® ® Use the Handles along the sides of the Tech Tub for easy lifting and carrying. Handle Handle Handle Handle TEC600C - Version A - Released May 5, 2017 - Copernicus Educational Products Inc.
- Page 15 Leave a minimum of 15-1/2” (395mm) of space from Locking Block of space from Locking Block Drill here Snap Side Snap Side of Tech Tub ® TEC600C - Version A - Released May 5, 2017 - Copernicus Educational Products Inc.
Need help?
Do you have a question about the Tech Tub Tec600C and is the answer not in the manual?
Questions and answers