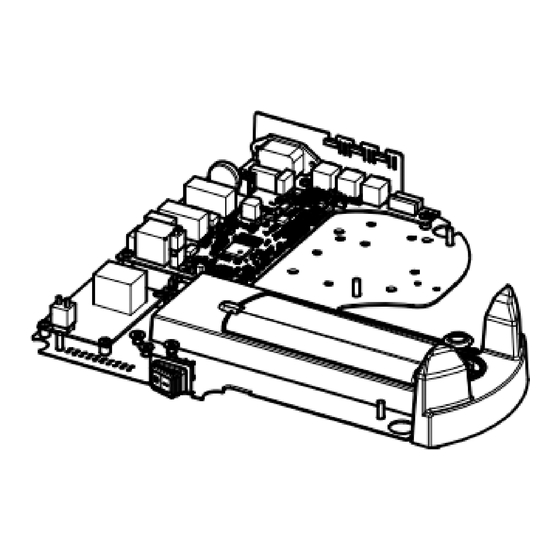
Buchi R-80 Replacement Manual
Base
Hide thumbs
Also See for R-80:
- Operation manual (62 pages) ,
- Replacement manual (3 pages) ,
- Replacement manual (2 pages)
Advertisement
Quick Links
Replacement Guide
Base R-80
Unlock more insights and guidance through our media re-
sources:
www.buchi.com/r-80/service
NOTE
Reading and following the instructions in this doc-
ument does not replace reading and following the
instructions in the operation manual.
4 This operation must be performed by qualified,
authorized and trained technicians, consistent
with the local applicable regulations.
4 Only carry out the service described in this
section.
4 Use only genuine BUCHI spare parts in order
to ensure correct operation and preserve the
warranty.
4 Carry out the service described in this section
to extend the lifetime of the instrument.
Base R-80
Base R-80 100 − 120 V, complete
Base R-80 220 − 240 V, complete
Tools
Torx size 10
Torx size 20
Replacing the Base R-80
BÜCHI Labortechnik AG
Meierseggstrasse 40
Postfach
CH-9230 Flawil 1
E-Mail: quality@buchi.com
Order no.
Image
11080626
11080627
Order no.
Image
none
none
CAUTION
Electrical voltage at conductive parts
Risk of electric shock
u
Observe general safety regulations when handling electri-
cal equipment.
Work on electrical equipment must be performed by au-
u
thorized and qualified personnel.
Disconnect the power plug before opening the instru-
u
ment.
Do not touch any live parts.
u
CAUTION
ESD protective area
Damage to sensitive components
u
Use electrostatic discharged protective procedures.
u
Make sure you are properly grounded before touching
any internal materials.
Precondition:
R Instrument is disconnected from
the main supply.
u
Remove all connections.
u
Remove all accessories.
u
Remove all glass parts.
u
Remove the heating bath.
u
Move the rotary drive arm in base
position. (All the way up.)
u
Hold the height adjustment stopper
as shown in the graphic.
u
Remove the height adjustment
stopper through the notch in the
toothed rack.
u
Remove the lower cable and tubing
fixture.
11594591A en
Base R-80
04.2024
Advertisement

Subscribe to Our Youtube Channel
Summary of Contents for Buchi R-80
- Page 1 4 Only carry out the service described in this CAUTION section. 4 Use only genuine BUCHI spare parts in order to ensure correct operation and preserve the ESD protective area warranty. Damage to sensitive components 4 Carry out the service described in this section to extend the lifetime of the instrument.
- Page 2 Install the height adjustment stopper through the notch in the toothed rack. Attach the two ribbon cables. Secure the base cover with the height adjustment stopper. Reposition the two weights on the base plate. Replacement Guide Base R-80...
- Page 3 Place the instrument back in the upright position. Attach the cable and tubing fix- ture. Hold the height adjustment stop- per as shown in the graphic. Install the height adjustment stopper through the notch in the toothed rack. Replacement Guide Base R-80...


Need help?
Do you have a question about the R-80 and is the answer not in the manual?
Questions and answers