Advertisement
Table of Contents
- 1 Table of Contents
- 2 1/ Location / Mounting
- 3 2/ Association of the Wireless Room Thermostat with the Gateway
- 4 3/ Configuring the Room Thermostat
- 5 4/ Return to Initial Settings
- 6 4.1 Deleting Wireless Associations
- 7 Initialising the Room Thermostat Settings
- 8 5/ Technical Characteristics
- Download this manual
Advertisement
Table of Contents

Subscribe to Our Youtube Channel
Summary of Contents for DELTA DORE TA RF
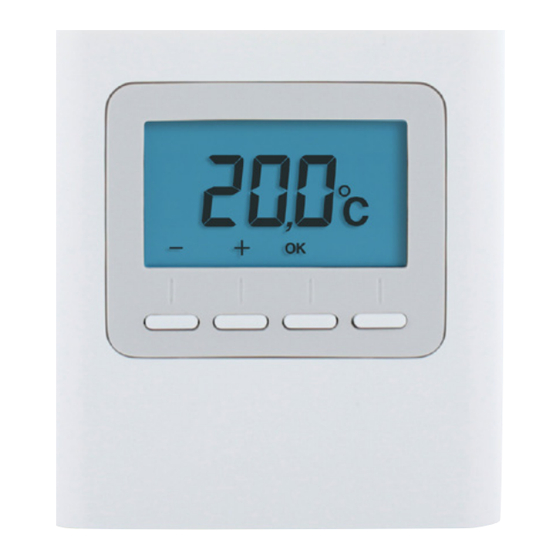
- Page 1 DELTA 8000 TA RF Wireless room thermostat for Delta 8000 system Installation instructions...
-
Page 2: Table Of Contents
CONTENTS 1/ Location / mounting 2/ Association of the wireless room thermostat with the gateway 3/ Configuring the room thermostat 4/ Return to initial settings 4.1 Deleting wireless associations 4.2 Initialising the room thermostat settings 18 5/ Technical characteristics... -
Page 3: 1/ Location / Mounting
1/ LOCATION / MOUNTING Since the temperature measurement sensor is inside the unit, you must install the thermostat flush-mounting box: - on an accessible wall at a height of 1.50 m ~1,50 m - away from heat sources (fireplaces, sunlight) and draughts (windows, doors) IMPORTANT: Do not install the thermostat on a wall in contact with the outdoors or with an... -
Page 4: 2/ Association Of The Wireless Room Thermostat With The Gateway
2/ ASSOCIATION OF THE WIRELESS ROOM THERMOSTAT WITH THE GATEWAY ❶ On the gateway, press and hold the left hand ❶ side button for 3 seconds until LED 1 flashes, then release. ❷ On the room thermostat, press and hold the 1st and the 4th button for 3 seconds, then release. - Page 5 2/ ASSOCIATION OF THE WIRELESS ROOM THERMOSTAT WITH THE GATEWAY Output number 1 to 16 depending on the system. 0 Underfloor heating (by default) Transmitter type 1 Heater 2 Ceiling or ductable 0 Zone thermostat Thermostat type 1 Master thermostat CF05: the Master thermostat enables the centralised use of ON/OFF and HEAT/COOL (at least one Master thermostat is required in an...
-
Page 6: 3/ Configuring The Room Thermostat
3/ CONFIGURING THE ROOM THERMOSTAT ❶ From the OFF mode. Press and hold the 2nd HEAT/COOL button from the left for 5 seconds. Release. Temperature On/Off mode management management management ❷ Tap the OK button. Release. On the Master ❸ The screen displays CF01. controlled On all zones On all zones... - Page 7 3/ CONFIGURING THE ROOM THERMOSTAT Correction of the measured +/- 5°C in increments of 0.1°C (0°C by default) temperature 0 Setting display (default selection) Temperature displayed (after activating the thermostat) 1 Display of the measured temperature. 0 No ban (default selection) Ban on the Cool regulation on the thermal zones of the Room Temperature 1 Ban...
- Page 8 3/ CONFIGURING THE ROOM THERMOSTAT Activation of the window/door magnetic 0 Not activated contact function (the room thermostat switches to Frost Protection mode if the 1 Activated (default selection) window/door magnetic contact is activated). 'Presence detection' function 0 Not activated (the thermostat lowers its setting in the 1 Activated (default selection) event that no presence is detected).
-
Page 9: 4/ Return To Initial Settings
4/ RETURN TO INITIAL SETTINGS 4.1 DELETING WIRELESS ASSOCIATIONS If the display does not return to 00, this means ❶ From the OFF mode. Press and hold the 2nd that some products are not responding. To delete button from the left for 5 seconds. Release. them, start again with Ln04 (Ì). -
Page 10: Initialising The Room Thermostat Settings
4/ RETURN TO INITIAL SETTINGS 5/ TECHNICAL CHARACTERISTICS 4.2 INITIALISING THE ROOM THERMOSTAT • Power supplied by 2 batteries: SETTINGS - Alcaline 1.5V, LR03 (AAA) provided, or - Lithium 1.5 V, LR03 (AAA), 1200 mAh, This menu restores the system to factory settings. •... - Page 11 www.deltadore.com...


Need help?
Do you have a question about the TA RF and is the answer not in the manual?
Questions and answers