Do you have a question about the Verto 15.0 and is the answer not in the manual?
Questions and answers
Rayan Moussawi
July 2, 2025
Dear Fronius Support Team,
I hope this message finds you well.
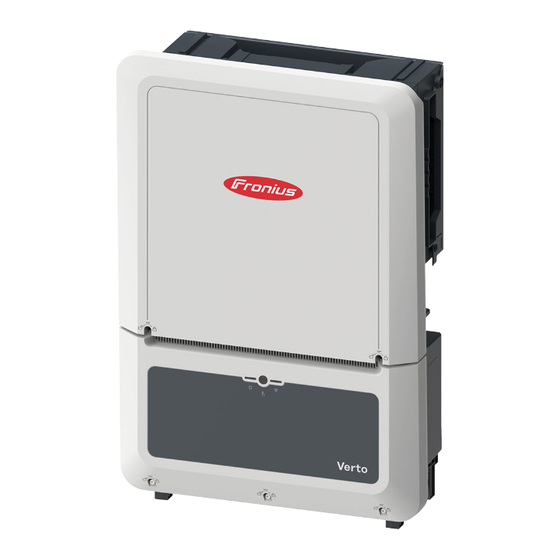
We are currently preparing to install the Fronius Verto 33 inverter, and we are in the process of manufacturing a custom frame to support it. However, we were unable to find any reference or documentation specifying the exact distance between the bolts of the wall mounting bracket.
Could you kindly provide us with the technical drawing or exact bolt-hole dimensions (center-to-center distances) of the mounting bracket for the Verto 33 inverter? This information is critical to ensure proper fit and alignment during installation.
Thank you in advance for your support.
Best regards,
Rayane Moussawi
Civil Engineer
1 comments:
Mr. Anderson
August 26, 2025
The pre-drilled holes on the mounting bracket are intended for screws with a thread diameter of 6–8 mm (0.24–0.32 inches).


Need help?
Do you have a question about the Verto 15.0 and is the answer not in the manual?
Questions and answers
Dear Fronius Support Team, I hope this message finds you well. We are currently preparing to install the Fronius Verto 33 inverter, and we are in the process of manufacturing a custom frame to support it. However, we were unable to find any reference or documentation specifying the exact distance between the bolts of the wall mounting bracket. Could you kindly provide us with the technical drawing or exact bolt-hole dimensions (center-to-center distances) of the mounting bracket for the Verto 33 inverter? This information is critical to ensure proper fit and alignment during installation. Thank you in advance for your support. Best regards, Rayane Moussawi Civil Engineer
The pre-drilled holes on the mounting bracket are intended for screws with a thread diameter of 6–8 mm (0.24–0.32 inches).
This answer is automatically generated