Table of Contents
Advertisement
Quick Links
Advertisement
Table of Contents

Related Manuals for Vent-Axia 427477B


Summary of Contents for Vent-Axia 427477B
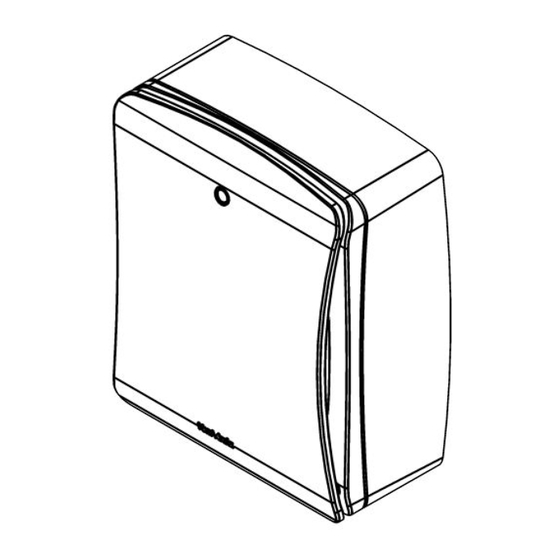
- Page 1 SOLO Plus Centrifugal Bathroom/Toilet Fan Installation and Wiring Instructions Stock Ref. N° 427477B (P) 427478C (T) 427479C (HT) 427480B (TM) 220-240V~50Hz PLEASE READ INSTRUCTIONS IN CONJUNCTION WITH THE ILLUSTRATIONS. PLEASE SAVE THESE INSTRUCTIONS IPX4...
-
Page 3: Safety And Guidance Notes
For wall installations a Wall Kit (25 41 02 White / 25 41 00 Brown) can be used. An optional filter is also available (449265). Please see our catalogue or web site (www.vent-axia.com) for more information on System 25/50 and for alternative ducting and termination options. -
Page 4: Panel Mounting (Flush)
3. Remove the Spigot Ring from inside the carton and clip over the Spigot Adaptor making sure the lip on the Spigot Ring locates firmly inside the groove on the Spigot Adaptor (Fig 2). Ensure that the Spigot Adaptor is firmly located onto the Base Housing and the shutter is still securely fastened and fully functional. -
Page 5: Servicing And Maintenance
IMPORTANT: Do not link across terminals 1 and 2. The SOLO Plus P 427477B models do not have the ability to switch from ‘constant trickle’ to Normal or High speed Boost. The fan can switch from Off to either Trickle, Normal or High speed (Fig 9). For Constant Trickle, Normal or High speed (with no boost option), switch the Pull-cord (P model only) into the On position and cut the string. - Page 6 2. If a filter is fitted, remove the filter and wash in warm soapy water. 3. Wipe the inlets and front face with a damp cloth until clean. 4. Once the filter is dry it can be replaced. The fan has sealed for life bearings, which do not require lubrication. ...
- Page 7 TM models the sensor lead must be disconnected Fig. 7. Settings 427477B P & 427480B TM models only Top view of PCB cover showing pot locations LED position jumper location and terminal location (Not on P model) Timer adjuster...
- Page 8 Fig. 10. Settings 427478C T & 427479C HT models only Top view of PCB cover showing pot location jumper location and terminal location LED position Will “Blink” in Comfort Mode Cable Clamp must be used with surface Speed adjuster: To INCREASE the Boost wiring.
- Page 9 Fig. 11. P/TM wiring diagram Pullcord on P model only Fig. 12. T/HT wiring diagram...
-
Page 10: Product Fiche
PRODUCT FICHE For Residential Ventilation Units (Complying Commission Delegated Regulation (EU) No 1254/2014) Name: Vent-Axia Vent-Axia Vent-Axia Vent-Axia Solo Plus HT - Solo Plus TM - Model ID (Stock Ref.) : Solo Plus P - 427477 Solo Plus T - 427478... - Page 12 Vent-Axia guarantees its products for two years from date of purchase against faulty material or workmanship. In the event of any part being found to be defective, the product will be repaired, or at the Company’s option replaced, without charge, provided that the product:- •...
Need help?
Do you have a question about the 427477B and is the answer not in the manual?
Questions and answers