Advertisement
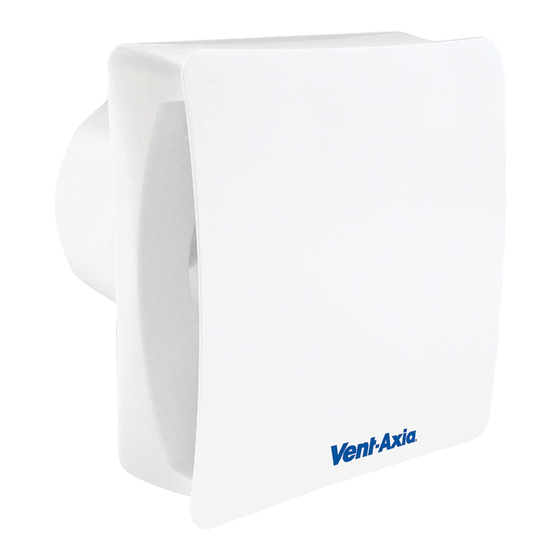
Silent Fan
Installation and Wiring Instructions
220-240V~50Hz
PLEASE READ INSTRUCTIONS IN CONJUNCTION WITH ILLUSTRATIONS.
PLEASE SAVE THESE INSTRUCTIONS.
Installation and Wiring Instructions for the Silent Range Extractor Fans.
Stock Ref. N°
446658B
- VASF100B
446659B
- VASF100T
477436B
- VASF100HT
479085
- VASF100BV
479086
- VASF100TV
479087
- VASF100HTV
479088
- VASF100TC
479089
- VASF100HTC
IPX5
Advertisement
Table of Contents

Related Manuals for Vent-Axia VASF100B


Summary of Contents for Vent-Axia VASF100B
- Page 1 Silent Fan Installation and Wiring Instructions Stock Ref. N° 446658B - VASF100B 446659B - VASF100T 477436B - VASF100HT 479085 - VASF100BV 479086 - VASF100TV 479087 - VASF100HTV 479088 - VASF100TC 479089 - VASF100HTC 220-240V~50Hz PLEASE READ INSTRUCTIONS IN CONJUNCTION WITH ILLUSTRATIONS.
- Page 2 D. The Fan should only be used in conjunction with the appropriate Vent-Axia products. E. The Fan should only be used in conjunction with fixed wiring. F. When the Fan is used to remove air from a room containing a fuel- burning appliance, ensure that the air replacement is adequate for both the fan and the fuel-burning appliance.
- Page 3 provide full disconnection under over voltage category III, the instructions state that means for disconnection must be incorporated in the fixed wiring in accordance with the wiring rules. L. Ensure the grille is fully engaged onto the fan chassis using all clips.
- Page 4 MAINTENANCE. Fixed Speed Range – Fig1, 2, 3, 4 & 5 VASF100B – Basic - Remote or light switch operation. 2 Speed options selectable at install. VASF100T – Timer* - Overrun timer adjustable 5-30min. 2 Speed options selectable at install.
- Page 5 2. Wipe the inlets and front face with a damp cloth until clean. The fan has sealed for life bearings, which do not require lubrication. Fig.1: VASF100B, VASF100BV 220-240V ~ 50Hz 3 AMP Fig.2:...
- Page 6 4 clips on the rear of the cover and slide to the left until you hear a “click”. Fig.4: VASF100B , VASF100T Timer Adjustment: To REDUCE the operating time, use a small screwdriver to turn the adjuster ANTI-CLOCKWISE.
- Page 7 Fig.5: VASF100HT Humidity Adjustment To INCREASE SET POINT, turn the adjuster clockwise. This makes the controller LESS sensitive. To REDUCE SET POINT, turn the adjuster anti-clockwise. This makes the controller MORE sensitive. Humidity Speed selection (JP2). Adjustment The fan is factory set to low speed with jumper JP2 fitted. To activate the low speed setting remove jumper JP2.
- Page 8 Vent-Axia guarantees its products for two years from date of purchase against faulty material or workmanship. In the event of any part being found to be defective, the product will be repaired, or at the Company’s option replaced, without charge, provided that the product:- ...
Need help?
Do you have a question about the VASF100B and is the answer not in the manual?
Questions and answers