
Related Manuals for Axxess AXi-GMBOX1


Summary of Contents for Axxess AXi-GMBOX1
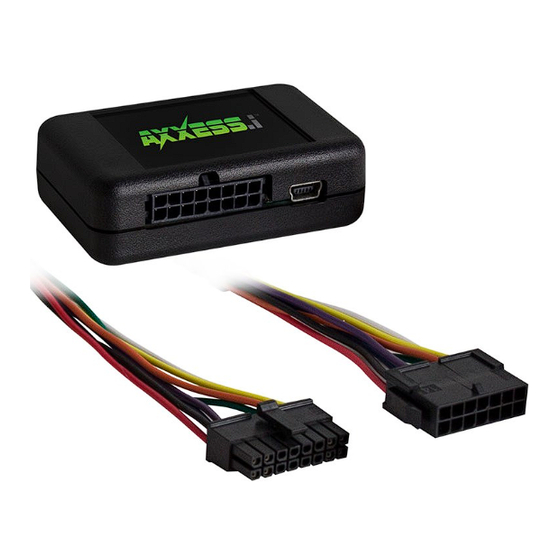
- Page 1 AXi-GMBOX1 INSTALLATION MANUAL PLEASE REVIEW THIS INSTALLATION MANUAL CAREFULLY BEFORE BEGINNING ANY WORK COMPATIBLE PLUG & PLAY WIRING HARNESSES AXI-GM1-C AXI-GMMLX-C AXI-GMQUAD1-C AXI-GMDTS-C AXI-GMSTS-C AXI-UNI-CAM-C...
-
Page 2: Table Of Contents
Table Of Contents ………………………………….………. PRECAUTIONS.……………………………………..…...3 WIRING LEGEND AND DESCRIPTION…………4-5 ASSIGNMENT OF SWITCHES…………….………….6 FEATURE PROGRAMMING…….……….………...7-8 DEVICE SETTINGS MENU…..…………………..…...9 FAQ………………………………………………..…….10 QUICK START GUIDE ………………………...…11-12 IMPORTANT WARNING This product includes instructions for installation which must be carefully followed. The instructions are worded in such a manner to assume that the installer is capable of completing these type of electronic installations. -
Page 3: Precautions
Using protective blankets to cover front seats, interior of the vehicle and center console. Always install a fuse 6-12 inches away from AXXESS.i interface, 5 amp fuse should be used. Always secure AXXESS.i interface with Velcro or double side tape to prevent rattling of the interface. -
Page 4: Wiring Legend And Description
Purple Wire: Speed pulse output. Connect purple wire to radio side of vehicles speed pulse wire. Micro USB: Used for programing and updating. AXi-GMBOX1 must be programmed with a vehicle specific software before installation starts. Please see pages 7-9 for details. - Page 5 Wiring legend and description Additional connections when AXi-GMBOX1 is installed with AXi-UNI-CAM-C camera harnesses. Connections in addition to wires shown on page 4. Camera Input 1: Factory or aftermarket camera input. Camera Input 2: Front camera input. Camera Input 3: Left camera input.
-
Page 6: Assignment Of Switches
ON positing this information will be available in AXi harness installation manual. For most installations fig.2 and fig.3 shows correct switch position. To access switches remove cover by removing two screws in each corner of AXi-GMBOX1 fig.2 ON CTS fig.3... -
Page 7: Feature Programming
After installation is complete go to your start menu locate folder with AXXESS.i online updater and run the program. We have built in AXXESS.i Team Viewer feature and live chat for tech support in case you have any question during update and require immediate support. - Page 8 Connect AXi-GMBOX1 to your PC with micro USB cable. (cable not supplied must be purchased separately) Step One: Select make model year or click search to show all vehicles. Step Two: Select vehicle software for installation. Step Three: Click install.
-
Page 9: Device Settings Menu
Device Settings Menu Front Camera-Place check mark if installing aftermarket front view camera. (make sure front camera doesn't have reverse image) Rear Camera-Place check mark if installing aftermarket rear view camera. Left Camera-Place check mark if installing left side view camera. Right Camera-Place check mark if installing right side view camera. -
Page 10: Faq
Q: I shift vehicle in reverse gear I get a blank screen but no camera image on the screen? A: In all installation cases of AXi-GMBOX1 camera input is already present in a vehicle from factory, AXi-GMBOX1 only activates this input. If blank screen is displayed when vehicle in reverse, check camera RCA and power connection. -
Page 11: Quick Start Guide
DISCLAIMER: WARNING!!! WARNING!!! AXXESS.i is designed to be used only when the vehicle is immobilized. The driver is responsible for maintaining full attention while operating a motor vehicle. The removal or bypassing of safety features in AXXESS.i products will result in termination of warranty.
Need help?
Do you have a question about the AXi-GMBOX1 and is the answer not in the manual?
Questions and answers