Advertisement
Quick Links
Advertisement

Related Manuals for Quality Heating QH-H5 Prestige Series


Summary of Contents for Quality Heating QH-H5 Prestige Series
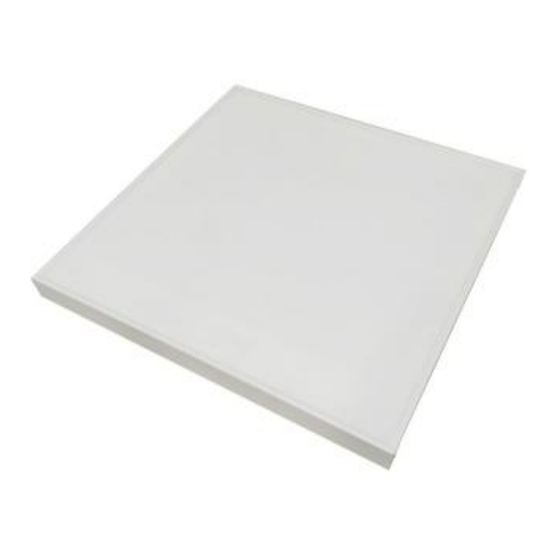
- Page 1 CEILING PANEL HEATER INSTRUCTION MANUAL...
-
Page 2: Table Of Contents
SYMBOLS CONTENT Warning This signal word indicates a hazard with an average risk level which, if not avoided, can result in serious 1┃WARNING & PRECAUTION injury or death. 2┃FEATURES Warning of electrical voltage 3┃TECHNICAL INFORMATION This symbol indicates dangers to the life and health of persons due to electrical voltage. -
Page 3: Warning
supervision or instruction concerning use of the 1┃WARNING & PRECAUTION Read this manual carefully before starting or using the appliance in a safe way and understand the hazards device. Always store the manual in the immediate vicinity involved. of the device or its site of use! Children aged from 3 years and less than 8 years shall not plug in, regulate and clean the appliance or Read all safety warnings and all instructions. - Page 4 also well grounded. when the device is not in use. • The devices will draw more current than small appliances, so a separate 5A • Do not use the device under any circumstances if any damages on the mains socket is required. plug or power cable.
- Page 5 3┃TECHNICAL INFORMATION A: Heating Device ×1 B: Hanging Units × 2 H5 series C: Metal Expansion Tubes × 4 D: Screws × 4 Heating element Carbon E: Spring Toggles × 4 F: Washers × 4 Heating way Far infrared heating G: Screws ×...
- Page 6 before mounting and wiring. a. Concrete ceiling Installation • Power input cords must be well grounded! Step1: Measure and mark the correct distances "a" and "b" on the concrete • Do not suspend panels by heating power cord or power input cord! •...
- Page 7 b. Gypsum boards ceiling Installation Ceiling Step1: Measure and mark the correct distances "a" and "b" on the concrete ceiling where you want to install. PUSH Panel 1. Please note that the spring toggles (E) are designed for gypsum boards or wooden ceilings with a thickness ranging from 9-18mm. Left long frame It is forbidden to be used on gypsum board ceilings with a thicknesses less than 9mm.
-
Page 8: Warning Of Electrical Voltage
7┃TROUBLESHOOTING alcohol-based to dampen the cloth. Wipe the housing dry after cleaning Problem Reason Measure It has noise when Due to the structure stress It is a normal 9┃STORAGE original charged with of the heat insulator. phenomenon. electricity Don't worry about it. When the device is not being used, observe the following storage conditions: The surface of the Due to the thermal... -
Page 9: 10┃Technical Annex
10┃TECHNICAL ANNEX 11┃DISPOSAL Information requirements for electrical local space heaters Item Unit Type of heat input, for electric storage local space heaters only (select one) manual heat charge control, with integrated thermostat The icon with the crossed-out waste bin on waste manual heat charge control with room and/or outdoor electrical or electronic equipment stipulates that this equipment electronic heat charge control with room and/or outdoor... -
Page 10: 12┃Optional Control Modes (Additional Instructions)
signal from the remote-controller . 12┃OPTIONAL CONTROL MODES (Additional instructions) 2. The remote-controller acquires the room temperature with its integrated This product has 3 control modes to choose from sensor and transmit signal to the receiver to turn on/off heating device as A Use common switch Type 86 ≥10 A control mode the ambient temperature changing, in order to maintain a constant room B With built-in remote thermostat control mode... - Page 11 Note: Programming mode has a time-out limit whereby if no buttons are press button ℃/℉ and MODE buttons at same time to pair the pressed within 3-5seconds, it reverts back to the main screen. remote-controller and receiver until long beep sound. Note: 5+2 Programming Mode 1) Pairing should be finished within 1 minute, or else you need to re-power...
- Page 12 starting time will be executed ON first, and the group with an earlier C: Instruction for Control and Operation Way C ending time will be executed OFF, until the next group turns ON. Ⅰ. Product Description 4) The programmed time / temperature setting will be restored with the Internal WIFI thermostat are normally built in H5 series panel heaters, next program entry in the memory.
- Page 13 change with new batteries if the battery symbol gets flashing, or else the and sends out the paring code to indicate that paring is taking place, there remote will not be able to control the heaters. will be one beep sound from heater after success. Note:1.Please turn off the heaters that you do not want to be paired 3.
- Page 14 3. Power on the heater and it will beep automatically. Long press the " " and "+" button of the remote control to pair it with the heater. Long press the button of the remote control for 6 seconds until the blue indicator of the heater flashes, now the heater is ready for Wi-Fi setting.
- Page 15 3) Share device: you can share the control of this thermostat to other mobile Ⅶ. Operation Instructions numbers/email addresses if they have been registered in “Smart Life” 1. Main view of the Smart Life APP after heater connected successfully as APP.
- Page 16 If the connection between remote and the built in receiver breaks and the temperature data can't be received for 5 minutes, the APP will display --.-, and the heater will stop heating, meanwhile, the mobile will get a warning message. If the connection is done again, the APP will display real room temperature.
Need help?
Do you have a question about the QH-H5 Prestige Series and is the answer not in the manual?
Questions and answers