Subscribe to Our Youtube Channel
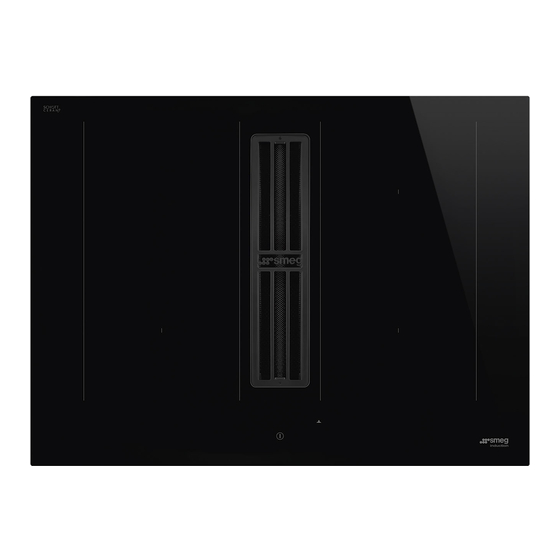
Summary of Contents for Smeg HOBD472D2
- Page 1 LIBRETTO DI USO USER MANUAL MANUEL D’UTILISATION GEBRAUCHSANLEITUNG GEBRUIKSAANWIJZING MANUAL DE USO LIVRO DE INSTRUÇÕES PARA UTILIZAÇÃO РУКОВОДСТВО ПО ЭКСПЛУАТАЦИИ HOBD482D2 HOBD472D2...
- Page 2 ..........................3 ..........................19 ..........................34 ..........................51 ..........................67 ..........................83 ..........................99 ..........................115...
-
Page 3: Safety Information
tracted before the earth wire if it 1. SAFETY INFORMATION comes loose. • The manufacturer cannot be For your own safety and held responsible for any dam- correct operation of the age resulting from incorrect or appliance, please read inadequate installation. this manual carefully be- fore installation and oper- •... - Page 4 prevent any exhaust back- • Cleaning and maintenance flow. When the cooking appli- must not be carried out by ance is used together with children, unless they are su- other appliances using non- pervised by an adult. electrical power sources, the •...
- Page 5 graph on Cleaning and main- • The appliance is not designed tenance. to be started using an external timer or a separate remote- • Always guarantee adequate controlled system. ventilation of the room when the appliance is used in con- WARNING: Danger of fire: do junction with other appliances not place objects on the cooking...
-
Page 6: Cleaning And Maintenance
2. USE • The suction hood has been designed solely to eliminate cooking fumes dur- ing domestic use. • Never use the appliance for purposes Regeneration procedure: other than those for which it has been • Wash in the dishwasher at a MAX designed. -
Page 7: Installation Requirements
• Remove encrusted dirt, for example hesives can cause deformation and milk that has overflowed during boil- detachment. ing, using a scraper pad suitable for • The kitchen unit must have sufficient vitreous ceramic, while the hob is still space to allow for electrical connec- hot. -
Page 8: Environmental Aspects
• The connection terminals can be ac- • If it is possible, always put the lids on cessed by removing the junction box the cookware. cover. • Place the pan on the hob before you • Check that the domestic power sup- switch it on. -
Page 9: Control Panel
If the pan is removed during operation The functions which can be selected are or an unsuitable pan is used, the symbol always visible on the control panel, but with a dimmed light. Select the functions appears on the display. by touching the corresponding symbol. - Page 10 3. While holding down , start press- Select the digit with and press “8” in ing the zone digits, proceeding anti- the power bar. clockwise. Select the front left digit and select the correct setting. See the following table for the specifica- tions: Value on the power bar KW Notes...
- Page 11 Cooking zone The timer allows a specific cooking area to be switched off when the set time expires. timer The cooking areas can be programmed individually because each one has its own timer. To enable: With the cooking area in operation, press to access the timer management controls for that zone.
-
Page 12: Cooking Table
Pause function This function allows you to pause/restart any active function on the hob, by reducing the power available in the cooking zone and resetting all the functions. If the Pause function is not disabled with 10 minutes, the hob automatically switches off. To enable: With a pan on the hob and the cooking zone selected, press and hold the Pause func- tion key for at least 1 second. - Page 13 13. USER MENU Func- This function is only available if Automatic mode is tion deactivated. Automatic mode is deactivated by pressing “A”. CUSTOMISATION Delay Press the suction hood Digit and set a speed on the power bar. Before carrying out the procedure it is advisable to read the Press the Timer management Digit, which was dis- entire paragraph.
-
Page 14: Power Management Function
• stainless steel (including partial) – Once the correct value has been entered, confirm by • aluminium with ferromagnetic coating touching and holding for 2 seconds. or ferromagnetic plate – To exit the menu without saving, press To determine if a pot or pan is suitable, If no operation is carried out the user menu will close after 1 minute. -
Page 15: Troubleshooting
These types of noise can be described This noise occurs with pans made up of as follows: layers of different materials, and also when these are used at maximum level Light buzz (like the noise made by a and on two cooking areas. The noise transformer) will stop or decrease when the heat This noise is produced when cooking... -
Page 16: Technical Data
Total maximum power (hob and 3.02 Kw Product identification hood) Type: 4300 Model: HOBD482D2 Model: HOBD472D2 Please see the identification plate af- fixed to the bottom of the product. The manufacturer makes continual im- provements products. this reason, the text and illustrations in these instructions for use may change without warning. - Page 17 1,2 Flexible cooking area 1 + 2 In bridge 3,4 Flexible cooking area 3 + 4 In bridge Parameter Value Dimensions (mm) Electrical and heating element data Cooking area 2100 W; Power Boost: 210 x 190 1,2,3,4 3000 W Flexible cooking 3000 W;...


Need help?
Do you have a question about the HOBD472D2 and is the answer not in the manual?
Questions and answers