Table of Contents
Advertisement
Quick Links
For The Warranty Terms & Conditions, Please Refer To Warranty Certificate.
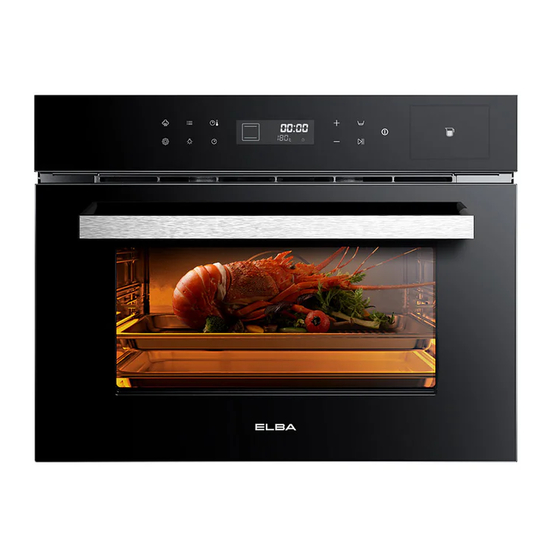
BUILT-IN STEAM OVEN
MODEL: ESGO-N6088D(BK)
OWNER'S MANUAL
Please read this manual carefully before
operating your set.
Retain it for future reference.
Record model number and serial number of
the set.
See the label attached on the set and quote this
information to your dealer when you require
service.
Advertisement
Table of Contents

Related Manuals for Elba ESGO-N6088D


Summary of Contents for Elba ESGO-N6088D
- Page 1 BUILT-IN STEAM OVEN MODEL: ESGO-N6088D(BK) OWNER’S MANUAL Please read this manual carefully before operating your set. Retain it for future reference. Record model number and serial number of the set. See the label attached on the set and quote this information to your dealer when you require service.
-
Page 2: Important Safeguards
23. Children should be supervised to ensure that they do not play with the appliance. 24. Never use any accessories or parts from other manufacturers or that ELBA does not specifically recommend. -
Page 3: Danger Of Fire
Warning! ➢ DANGER OF BURNS & RISK OF SCALDING The food cooked in this appliance, the cookware used and the surface of the appliance can get very hot. Hot steam is emitted at the bottom left of the unit. Hot steam may remain in the inside of the appliance and on the door after cooking. -
Page 4: Danger Of Explosion
• The device is intended for heating food and beverages. Drying of food or clothing and heating of warming pads, slippers, sponges, damp cloth and similar may lead to risk of injury, ignition or fire. • Always remove grease residues in the device, as these residues can otherwise ignite ➢... - Page 5 INSTALLATION GUIDELINE • The device can be installed in a 600 mm wide built-in wall cabinet • A space of 50 mm must be left behind the cabinet. • A 250 cm° ventilation shaft is required so that sufficient fresh air can be supplied and the warm exhaust air can be discharged.
-
Page 6: Product Descriptions
PRODUCT DESCRIPTIONS 1. Safety Door Lock 7. Perforated Tray 2. Air and Steam Outlet 8. Grill Rack 3. Control Panel 9. Baking Tray 4. Water Tank 10. Water Absorber 5. Side Rack 11. Hand Glove 6. Water Tank Accessories Usage 1. -
Page 7: Safety Device
Note: • The device may only be operated when the water tank has been correctly inserted. • The ventilator can continue running afterwards to cool down the device. • Steam can be produced for up to an hour when the water tank is filled to the maximum level. (at 100°C) •... -
Page 8: Control Panel
CONTROL PANEL Steam Assistant The steam function can be added during convection / hot air / grill functions. There are 3 levels with different intensity. Multi-Stage Cooking This function can be used to program up to two cooking sequences in a succession. Function Selection To switch between the functions. - Page 9 NOTIFICATION IN DISPLAY There are different notifications in the display, which are briefly explained here as follows: Displays the selected operating mode / function. You can find more detailed information under "Operating modes" Cooking Time End time of pre-set cooking Clock and time (00:00 —23:59) Display of temperature.
-
Page 10: Operation And Handing
OPERATION AND HANDING 1. The power levels and time required for cooking / warming up food items depends on the starting time, the quantity and the type and consistency of the food, etc. Use the shortest indicated cooking time and extend the cooking procedure as necessary. 2. - Page 11 Adjustable Standard Default Working Icon Temperature Function Temperature in °C Minutes Range °C Grill + Fan 50-220** 50-250** Hot Air 50-100*** Steam Superheat Steam 101-250*** Step 1: Hot Air 30 Step 1: 40 Baking Bread Step 2: 180 top and Step 2: 28 bottom element 60-80***...
-
Page 12: Temperature Setting
➢ TEMPERATURE SETTING • Press once so the temperature display flashes. Then adjust the desired temperature by press . Then, for a quick start without setting the time, start with Note: The temperature can be adjusted at any time during the cooking process. ➢... -
Page 13: Multi-Stage Cooking
➢ MULTI-STAGE COOKING • Select the desired function, set the desired temperature and cooking time, start with • Press three times, flashes in the display and you can now program the end time. Set the required time with and then confirm . -
Page 14: Cleaning And Maintainance
CLEANING AND MAINTAINANCE Please observe the following safety notices, before you commence with cleaning the device: • The appliance must be cleaned regularly and any food residues must be removed. • The cooking chamber is hot after it is used. There is a danger of burns! Wait until the device has cooled down. - Page 15 IV) Descaling Function • Depending on the hardness of the water, you should descale the device every 6-8 weeks. • The integrated descaling reminder also remind you by flashing in the display and the device will beep. • You can end the alarm by pressing any button. But you will be reminded again the next time you use the device.
-
Page 16: Troubleshooting
TROUBLESHOOTING In the event of a fault, an error code will appear in the display, it describes the cause of the fault. Error code Description Solution E-1/ Overheating protection is reset Overheating protection after the device has cooled down Function test necessary. Contact Temperature relay malfunction customer service Function test necessary.
Need help?
Do you have a question about the ESGO-N6088D and is the answer not in the manual?
Questions and answers