
Subscribe to Our Youtube Channel
Related Manuals for Space-Ray Apollo


Summary of Contents for Space-Ray Apollo
- Page 1 ® INSTALLATION MANUAL Electric Shortwave Radiant Heater For Internal Use Model Apollo...
-
Page 2: Table Of Contents
Content Important Introduction Specification Installation 4.1 Wall installation 4.2 Suspended installation Lamp Replacement 5.1 Handling a replacement lamp emitter 5.2 Fitting a new lamp emitter Warranty Recycling Information Declaration of conformity... -
Page 3: Important
1. Important the heater which will get hot during use. CAUTION! When using Spaceray electric heaters, basic • Arrange the mains supply cord so it cannot be precautions should always be followed to reduce the risk tripped over or damaged. of fire, electric shock, and injury to persons, including the following: •... -
Page 4: Introduction
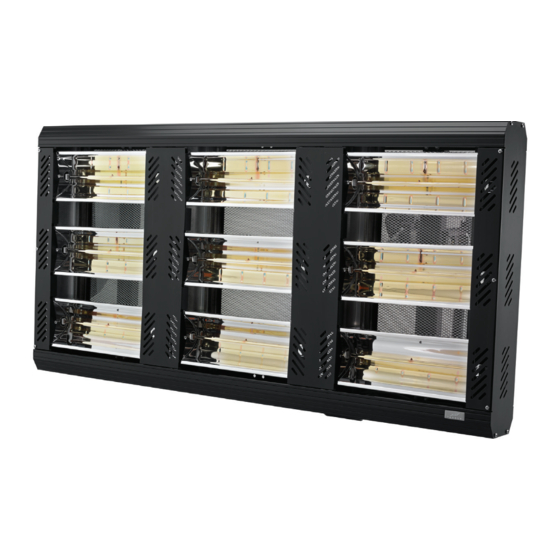
2. Introduction 4. Installation The Apollo internal heater produces radiant heat like the CAUTION sun, warming people and objects rather than the air in Always isolate the heater from the mains supply when between. It is designed to blend into environments old mounting or adjusting the heater position. -
Page 5: Wall Installation
All other models have a terminal box in which the mains supply cord can be connected from a control device. Warning: This appliance MUST be earthed. WARNING! CAUTION! CAUTION: Please observe the minimum safe distance between the heater body and any inflammable surfaces. CAUTION: All installations must be in accordance with CAUTION! the latest electrical safety regulations. -
Page 6: Lamp Replacement
Remove finger marks with a soft cloth and methylated spirits or rubbing alcohol. Finger marks will burn into the lamp emitters quartz glass causing premature failure. 5.2 Fitting a new lamp emitter 1. Disconnect the power supply to the heater. 2. - Page 7 Fig. 9 5. Remove the lamp holding clips (Fig. 9) by squeez- ing the clip together and lifting away as shown in Fig. 10. 6. Slide the lamp out through the extrusion feeding one way first with the wire and then the oppo- site way to take out and remove.
-
Page 8: Warranty
6. Warranty This product carries a full 24 month warranty from origi- nal date of purchase when used in accordance with these instructions. This excludes lamp* when used in a com- mercial application, which then carry a 30 day warranty from original date of purchase. - Page 9 ® Tel: +44(0)1473 830 551 Fax: +44(0)1473 832055 www.spaceray.co.uk info@spaceray.co.uk Gas Fired Products (UK) Ltd Chapel Lane Claydon Ipswich Suffolk, IP6 0JL FACTORIES: IPSWICH, ENGLAND - CHARLOTTE, N.C, U.S.A Apollo Manual August 2023...
Need help?
Do you have a question about the Apollo and is the answer not in the manual?
Questions and answers