Sign In
Upload
Download
Table of Contents
Contents
Add to my manuals
Delete from my manuals
Share
URL of this page:
HTML Link:
Bookmark this page
Add
Manual will be automatically added to "My Manuals"
Print this page
×
Bookmark added
×
Added to my manuals
Manuals
Brands
Compak Manuals
Coffee Grinder
E5
User manual
Compak E5 User Manual
Hide thumbs
1
2
Table Of Contents
3
4
5
6
7
8
9
10
11
12
13
14
15
16
17
18
19
20
21
22
23
24
25
26
27
28
29
30
31
32
33
34
35
36
page
of
36
Go
/
36
Contents
Table of Contents
Bookmarks
Table of Contents
Table of Contents
Safety
Description
Instructions
Identification
Technical Characteristics
External Components
Installation
Adjustment
Operation
Settings
Cleaning
Maintenance
Declaration of Conformity
Advertisement
Quick Links
1
Instructions
2
Adjustment
3
Settings
4
Maintenance
Download this manual
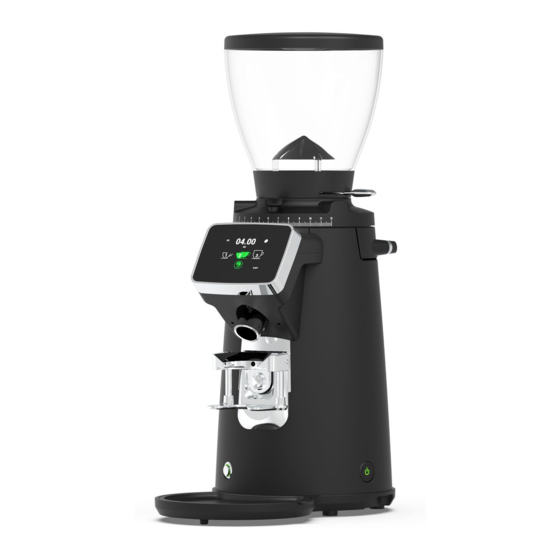
E5-E6-E8-E10
COFFEE GRINDER
USER MANUAL
Table of
Contents
Previous
Page
Next
Page
1
2
3
4
5
Advertisement
Table of Contents
Need help?
Do you have a question about the E5 and is the answer not in the manual?
Ask a question
Questions and answers
Related Manuals for Compak E5
Coffee Grinder Compak E5 OD Instruction Manual
(32 pages)
Coffee Grinder Compak E6 OD Instruction Manual
Essential on demand (30 pages)
Coffee Grinder Compak E6 OD Instruction Manual
(28 pages)
Coffee Grinder Compak E6 User Manual
(36 pages)
Coffee Grinder Compak E8 User Manual
(36 pages)
Coffee Grinder Compak K3 Instruction Manual
Professional espresso (24 pages)
Coffee Grinder Compak F10 Master Conic OD Instruction Manual
(23 pages)
Coffee Grinder Compak K3 TOUCH Instruction Manual
Professional gourmet (22 pages)
Coffee Grinder Compak RETAIL R140 Instruction Manual
(22 pages)
Coffee Grinder Compak K3 Instruction Manual
(23 pages)
Coffee Grinder Compak FRESH ON DEMAND Instruction Manual
(26 pages)
Coffee Grinder Compak K-6 Instruction Manual
(84 pages)
Coffee Grinder Compak K-3 Elite Instruction Manual
(12 pages)
Coffee Grinder Compak A-8 Automatic Instruction Manual
(10 pages)
Coffee Grinder Compak PKF Instruction Manual
(41 pages)
Coffee Grinder Compak PK 100 Instruction Manual
(28 pages)
This manual is also suitable for:
E6
E8
E10
Table of Contents
Print
Rename the bookmark
Delete bookmark?
Delete from my manuals?
Login
Sign In
OR
Sign in with Facebook
Sign in with Google
Upload manual
Upload from disk
Upload from URL


Need help?
Do you have a question about the E5 and is the answer not in the manual?
Questions and answers