Table of Contents
Advertisement
Quick Links
Advertisement
Table of Contents

Subscribe to Our Youtube Channel
Related Manuals for Planet FWA-2100-NR


Summary of Contents for Planet FWA-2100-NR
- Page 1 Industrial 5G NR Outdoor Unit (ODU) FWA-2100-NR Quick Installation Guide...
-
Page 2: Table Of Contents
3.2 Wiring the Ethernet Cable Installation ..........6 3.3 Wall Hanging and Pole Mounting Installation ........7 4. Starting Web Management ..............9 5. Recovering Back to Default Configuration ..........12 6. Discovery through PLANET NMS Controller ..........13 7. Customer Support ................14... -
Page 3: Package Contents
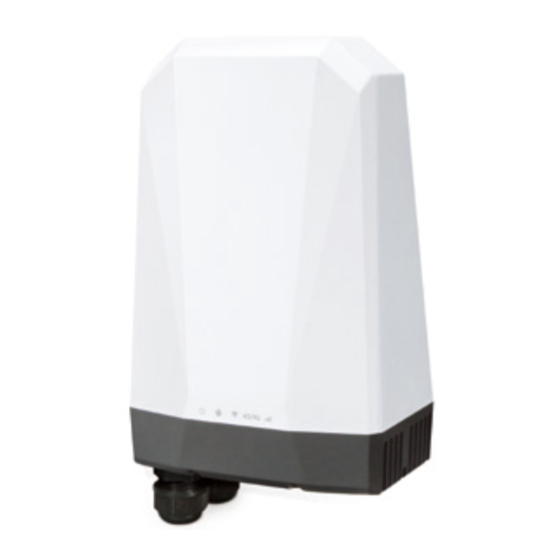
1. Package Contents Thank you for purchasing PLANET Industrial 5G NR Cellular Outdoor Unit, FWA-2100-NR. The description of this model is as follows: Model Name Description Industrial 5G NR Outdoor Unit (ODU) with 1-port Gigabit FWA-2100-NR PoE PD “5G ODU” is used as an alternative name in this Quick Installation Guide. -
Page 4: Requirement
2. Requirement z Workstations running Windows 10/11, MAC OS X or later, Linux, UNIX, or other platforms are compatible with TCP/IP protocols. z Workstations are installed with Ethernet NIC (Network Interface Card) z Ethernet Port Connection Network cables -- Use standard network (UTP) cables with RJ45 connec- tors. -
Page 5: Hardware Installation
3. Hardware Installation Refer to the illustration and follow the simple steps below to quickly install your 5G ODU. 3.1 SIM Card Installation A. Unscrew the two screws on the device’s cover to remove the cover. B. Insert the SIM card as directed by the SIM card interface. SIM 2 SIM 1... -
Page 6: Wiring The Ethernet Cable Installation
C. Put back the device’s cover and tighten the screws. A Nano SIM card with 5G NR and 4G LTE subscription 3.2 Wiring the Ethernet Cable Installation By following the steps in the picture from left to right, put the network cable into the waterproof connector, and tighten the connector. -
Page 7: Wall Hanging And Pole Mounting Installation
3.3 Wall Hanging and Pole Mounting Installation Wall hanging Step 1: Lock the base to the device. Step 2: Connect the wall bracket to the base and fasten the screws. Step 3: Drill 4 holes with a 3mm diameter on the wall. The horizontal and vertical distances between the 2 holes are 69.5mm and 45mm, respectively. - Page 8 Step 5: The switch, shown in the picture below, can now be hung on the wall. 1 Place against a wall 69.5mm 3mm Screw 45mm 2 Hang up 4G/5G Pole mounting To install the base and wall bracket, refer to Step 1 and Step 2 in Device Installation (Wall Hanging).
-
Page 9: Starting Web Management
4. Starting Web Management The following shows how to start up the Web Management of the 5G ODU. Note the 5G ODU is configured through an Ethernet connection. Please make sure the manager PC must be set to the same IP subnet address. For example, the default IP address of the 5G ODU is 192.168.1.1, then the manager PC should be set to 192.168.1.x (where x is a number between 2 and 254), and the default subnet mask is 255.255.255.0. - Page 10 Logging in to the Cellular Gateway 1. Use Chrome 98.0.xx or above Web browser and enter IP address http://192.168.1.1 (the factory default IP address or the one that you have just changed in console) to access the Web interface. 2. When the following dialog box appears, please enter the default user name “admin”...
- Page 11 3. After entering the password, the main screen appears as shown in Figure 4-3. Figure 4-3: Web-based Main Screen of Cellular Gateway Now, you can use the Web management interface to continue the Cellular Gateway management or manage the Cellular Gateway by console interface. Please refer to the user’s manual for more.
-
Page 12: Recovering Back To Default Configuration
15 seconds. After the device is rebooted, you can log in the management Web interface within the same subnet of 192.168.1.xx. Dual Nano SIM Card Slot 802.3at PoE+ LAN Reset button Figure 5-1: FWA-2100-NR Reset Button... -
Page 13: Discovery Through Planet Nms Controller
Follow the steps below to discover the managed FWA-2100-NR through PLANET NMS controller (NMS-500/NMS-1000V). Please ensure each managed FWA-2100-NR uses a different static IP in the same subnet before physically connecting to the managed network. Please regularly check PLANET website for the latest compatible list of the controller FWA-2100-NR in each firmware version. -
Page 14: Customer Support
7. Customer Support You can browse our online FAQ resource and User’s Manual on PLANET Web site first to check if it could solve your issue. If you need more support information, please contact PLANET support team. PLANET online FAQs: https://www.planet.com.tw/en/support/faq.
Need help?
Do you have a question about the FWA-2100-NR and is the answer not in the manual?
Questions and answers