Advertisement
Quick Links
As this item contains many parts, please read the installation
instruction carefully before installation . Please use tools
properly and carefully. If you have any questions about the
product and installation, please contact us.
service@vabchesofficial.com
Our professional after-sales team will serve you online all
J9P002
da
y.
1-21
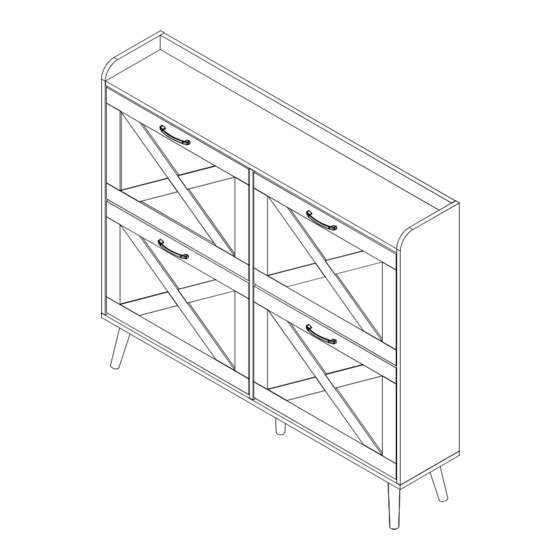
Because it's a narrow
cabinet,it must
permanently fixed to
the wall with included
anti-tipping device to
prevent the cabinet
from tipping over.It will
be very stable and safe
when locked on the
wall.
Please see page 15 for
steps to lock the wall.
Advertisement

Related Manuals for VABCHES J9P002


Summary of Contents for VABCHES J9P002
- Page 1 J9P002 Because it's a narrow cabinet,it must permanently fixed to the wall with included anti-tipping device to prevent the cabinet from tipping over.It will be very stable and safe when locked on the wall. Please see page 15 for steps to lock the wall.
-
Page 2: Before You Start
Before You Start Read through each step carefully and follow the proper order Separate and count all your parts and hardware Give yourself enough room for the assembly process Have the following tools: Flat Head Screwdriver, #2 Phillips Head Screwdriver and Hammer Caution: If using a power drill or power screwdriver for screwing, please be aware of to slow down and stop when screw is tight. -
Page 3: Board Identification
Board Identification Not actual size Top panel Left side panel Right side panel Upper back panel Qty:1 Qty:1 Qty:1 Qty:1 Bottom panel Upper back brace Lower back brace Neutral board Qty:1 Qty:1 Qty:1 Qty:1 Shoe box bottom Shoe box back Shoe box layer Left door panel Qty:4... -
Page 4: Part List
Part List Φ7.8x30 Φ15x12 Φ6x35 Φ7x48 Φ4x14 Φ4x20 M4x20 M4x8 Φ8xΦ4x60 4-21... - Page 5 Part List Cam Lock Fastening System The opening must point toward the edge of the board 5-21...
- Page 6 Board Identification Not actual size 6-21...
- Page 7 STEP1 Φ7.8x30 Φ6x35 7-21...
- Page 8 STEP2 Φ15x12 Φ7.8x30 Φ6x35 8-21...
- Page 9 STEP3 Φ7.8x30 Φ15x12 Φ6x35 Attention : the 2 holes are on the bottom of the board(4) not the top, pay attention to the direction of the hole position. 9-21...
- Page 10 STEP4 Φ7.8x30 Φ15x12 Note: If the holes are not aligned in this step, please check whether the direction of the board(4) in the previous step is installed wrong. 10-21...
- Page 11 STEP5 Φ7.8x30 Φ7.8x30 Φ15x12 Φ6x35 Φ7x48 11-21...
- Page 12 STEP6 Φ7x48 Φ4x14 12-21...
- Page 13 STEP7 Rotate adjustable feet(J) to adjust overall balance. 13-21...
- Page 14 STEP8 Φ4x20 Assemble the other side Be careful not to install the door stopper upside down,as the screws will screw through the wooden board. 14-21...
- Page 15 STEP9 Φ8xΦ4x60 Wall / Wall / Cabinet must permanently fixed to the wall with included anti-tipping device to prevent the cabinet from tipping over. .Mark the drill position on the wall with a pencil. Wall / .Drill holes on the marked position using a bit. Gently insert the wall anchor (S) into the drilled hole with the help of a hammer.
- Page 16 STEP10 Φ4x14 16-21...
- Page 17 STEP11 Φ4x20 M4X20 Align the hole positions and lock the screws 17-21...
- Page 18 STEP12 Φ4x20 Align the hole positions and lock the screws 18-21...
- Page 19 STEP13 M4x8 19-21...
- Page 20 STEP14 Φ4x20 Align the hole positions and lock the screws 20-21...
- Page 21 STEP15 Φ4x20 Align the hole positions and lock the screws 21-21...