Do you have a question about the KLCOB V2 Series and is the answer not in the manual?
Questions and answers
Kamal
March 7, 2025
How do you install it on the iron base?
1 comments:
Mr. Anderson
May 14, 2025
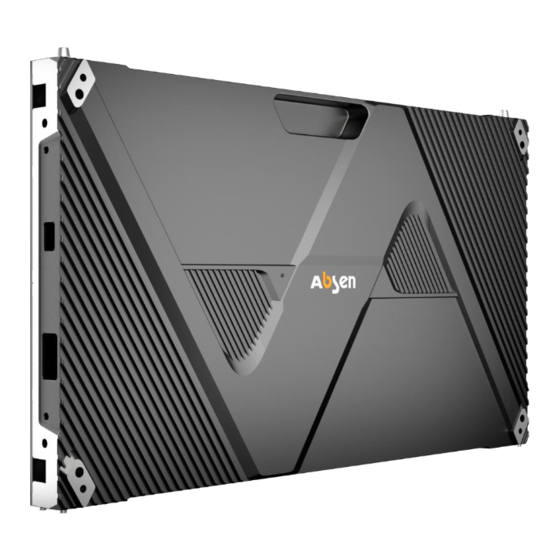
To install the Absen Series on the iron base, follow these steps:
1. Fix the hanging bar on the structure. 2. Align the screw holes of the panel with the hanging bar and fix the panel using screws. 3. Install additional panels and tighten screws in four directions. 4. Install the inner connection pieces. 5. Connect the network and power cables. 6. Complete the module installation.
Note: The maximum lifting capacity should not exceed 20 panels, and inner connection pieces are required.


Need help?
Do you have a question about the KLCOB V2 Series and is the answer not in the manual?
Questions and answers
How do you install it on the iron base?
To install the Absen Series on the iron base, follow these steps:
1. Fix the hanging bar on the structure.
2. Align the screw holes of the panel with the hanging bar and fix the panel using screws.
3. Install additional panels and tighten screws in four directions.
4. Install the inner connection pieces.
5. Connect the network and power cables.
6. Complete the module installation.
Note: The maximum lifting capacity should not exceed 20 panels, and inner connection pieces are required.
This answer is automatically generated