Table of Contents
Advertisement
Advertisement
Table of Contents

Subscribe to Our Youtube Channel
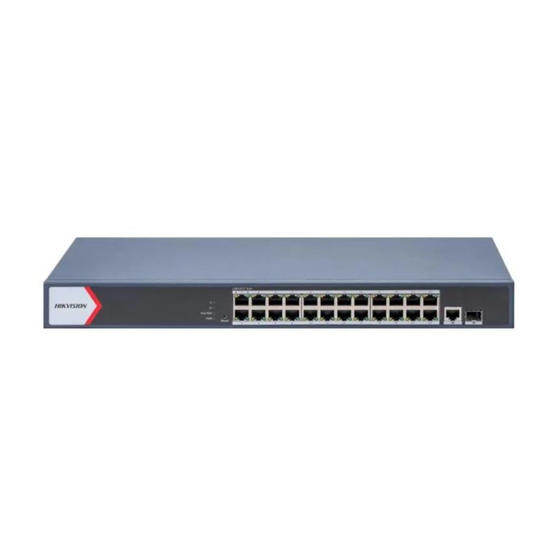
Related Manuals for HIKVISION DS-3E1526P-EI


Summary of Contents for HIKVISION DS-3E1526P-EI
- Page 1 Smart Managed Switch Web User Manual UD33916B...
- Page 2 Any part of the Document, including text, pictures, graphics, ● etc., belongs to Hikvision. No part of this Document may be excerpted, copied, translated, or modified in whole or in part by any means without written permission. and other Hikvision's trademarks and logos are ●...
- Page 3 THE PRODUCT, EVEN IF HIKVISION HAS BEEN ADVISED OF THE POSSIBILITY OF SUCH DAMAGES OR LOSS. YOU ACKNOWLEDGE THAT THE NATURE OF THE INTERNET ● PROVIDES FOR INHERENT SECURITY RISKS, AND HIKVISION SHALL NOT TAKE ANY RESPONSIBILITIES FOR ABNORMAL OPERATION, PRIVACY LEAKAGE OR OTHER DAMAGES RESULTING FROM CYBER-ATTACK, HACKER ATTACK, VIRUS INFECTION, OR OTHER INTERNET SECURITY RISKS;...
- Page 4 Preface Applicable Models This manual is applicable to smart managed switches. About Defaults Default administrator account: admin ● Super IP address: 10.180.190.200 ● Note The default user name admin needs to be activated for first- ● time login. The default IP address of the switch is dynamically assigned. ●...
- Page 5 Symbol Conventions The symbols that may be found in this document are defined as follows. Symbol Description Indicates a hazardous situation which, if not avoided, Danger will or could result in death or serious injury. Indicates a potentially hazardous situation which, if not avoided, could result in equipment damage, data Caution loss, performance degradation, or unexpected...
-
Page 6: Table Of Contents
Contents 1 Introduction ............. 1 2 Activation and Login ..........1 3 Device Information ........... 3 3.1 Device Overview ........... 3 3.2 Port Status ............4 3.3 Network Status ............. 5 4 Network Configuration ..........7 5 Device Configuration ..........8 5.1 Port Configuration .......... -
Page 7: Introduction
1 Introduction Smart managed switches support management via web, supporting functions such as activation and login, device overview, network configuration, device configuration, and system maintenance. Note The functions supported vary with device models. If there are differences between the figures shown in this manual and the actual interfaces of your device, the latter prevails. - Page 8 2. Set a password and confirm the password. Note The password should contain 8 to 16 characters, including at least two types of the following categories: uppercase letters, lowercase letters, digits, and special characters. 3. Optional: Check Cloud Management. The Hik-Connect service is enabled. 4.
-
Page 9: Device Information
3 Device Information After logging in to the switch web, you can obtain detailed information about the switch, including the device overview information, port status information, and network status information. 3.1 Device Overview You can view or edit the device overview information on the Overview page. -
Page 10: Port Status
Figure 3-4 Number of VLANs Added Cloud Platform Connection Status Figure 3-5 Cloud Platform Connection Status The Cloud Platform module shows whether the device is connected to Hik-Connect. If the cloud platform is connected, scan the QR code to add the ●... -
Page 11: Network Status
Figure 3-7 Port Details Connection Status The connection status of a port: Connected or Disconnected. Port Status Enable or disable a port. Ports are enabled by default. Actual Rate/Duplex The actual rate and duplex mode of a port. Configured Rate/Duplex The default value is Auto/Auto. - Page 12 Figure 3-9 Network Device Discovery Query Port MAC Address You can query the MAC address(es) learned by each port. Go to Network Monitoring → MAC Address , select the desired port from the Port drop-down list, and click Search. The MAC address(es) learned by the port and type(s) of the MAC address(es) are displayed in the list below.
-
Page 13: Network Configuration
Cable Detection is a function that detects the statuses of Ethernet port cables, for example, to check whether there is a short circuit or an open circuit in the receiving or sending direction of a cable, and if any, to locate the faulty cable. Go to Network Monitoring →... -
Page 14: Device Configuration
Figure 4-2 Cloud Platform Configuration Note It takes several minutes for reconnecting to Hik-Connect service. SADP Configuration Figure 4-3 SADP Configuration Enable SADP Server or SADP Agent as required. Note After SADP server is enabled, devices supporting SADP can be ●... -
Page 15: Configure Link Aggregation
Figure 5-1 Configure Port Attributes 2. Select the desired port(s) and configure the parameters. Port Status Enable or disable the selected port(s). Once a port is disabled, no data will be transmitted on it. Rate/Duplex The data transmission speed of a port or the duplex mode of a port. -
Page 16: Configure Long-Range Mode
4. Set Aggregation Group No.. Note The number of aggregation groups allowed varies. 5. Click Save. 6. Optional: Edit the aggregation group. 1) Click an existing aggregation group, for example, 2) Select the desired port(s) on the left port panel to add to the group, or deselect the desired port(s) on the right to delete from the group. -
Page 17: Configure Port Mirroring
Steps 1. Go to L2 Configuration → Port Isolation . Figure 5-4 Configure Port Isolation 2. Select the desired port(s) on the left port panel. Note You can also click on the right to batch select or deselect all ports. 3. -
Page 18: Configure High-Priority Port
Only one port can be set as the monitoring port (mirroring port). Mirroring Direction Ingress The data received by the source port will be under monitoring. Egress The data sent by the source port will be under monitoring. Egress and Ingress Both the data received by and the data sent from the source port will be under monitoring. - Page 19 Steps 1. Go to L2 Configuration → STP . Figure 5-7 STP Configuration 2. In STP Configuration, toggle on Enable STP. 3. Set STP parameters as required. Table 5-1 STP Parameters Parameter Description The value ranges from 0 to ● 61440, in an increment of 4096.
-
Page 20: Lldp Configuration
Parameter Description state when the topology changes. The value ranges from 4 to 30 seconds. The default value is 15 seconds. 4. Click Save. 5. Optional: Click Port Status or STP Status to view the status of each port or the global status of STP settings. Note The Port Status information includes the port name, path ●... -
Page 21: Configure Port Vlan
2. In VLAN Configuration, click Edit. 3. Click Add. Figure 5-9 Add VLAN(s) 4. Select an adding mode. - Single: Only one VLAN is added at a time. - Batch: Multiple VLANs are added in a batch. 5. Set VLAN ID. - Single: Enter a VLAN ID. -
Page 22: Poe Management
- TRUNK: A TRUNK port can have two or more VLANs configured on the interface, and it can carry traffic for several VLANs simultaneously. Select Type as TRUNK, set PVID, and enter Accessible VLANs. 3. Click Save. 4. Optional: View the VLAN configuration information of each port in the port VLAN details list. -
Page 23: System Maintenance
Figure 6-1 Time Synchronization 2. Set Time Zone. 3. Set Time Sync Mode. - Manual: Click to manually set the date and time, or check Sync. with Computer Time to synchronize the device time. - Hik-Connect Server Time Sync: Use the Hik-Connect server for automatic time calibration and synchronization. - Page 24 Figure 6-4 Device Backup 1. In Backup, click Export to export the configuration file containing device parameters. Figure 6-5 Export Device Parameters 2. Set a password and confirm the password for file encryption. Note Remember the password as it is required when importing device parameters.
Need help?
Do you have a question about the DS-3E1526P-EI and is the answer not in the manual?
Questions and answers