Advertisement
Quick Links
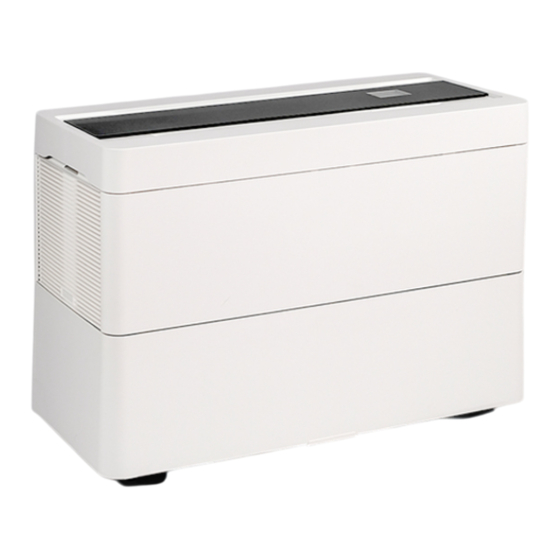
Connecting the humidifier B 600 to a WLAN
Switch on the humidifier B 600, after a short time a new network should be visible.
To do this, search the network environment on the PC or search for "Brune WLAN" under Network &
Internet settings (mobile device) and connect to it:
The IP address 192.168.4.1 should now be displayed on the device.
1
Advertisement

Related Manuals for Brune B 600


Summary of Contents for Brune B 600
- Page 1 Switch on the humidifier B 600, after a short time a new network should be visible. To do this, search the network environment on the PC or search for "Brune WLAN" under Network & Internet settings (mobile device) and connect to it:...
- Page 2 Using a web browser, enter the IP address 192.168.4.1 as shown in the device and open the start page of the network setup. Click on "Settings" to open a new menu for the WLAN configuration.
- Page 3 Finally, transfer all entries to the device with "Apply". The device now connects to the existing WLAN and receives a new IP address. It can now be controlled with the Brune Control APP (available for iOS and Android) or in the remote portal.
- Page 4 Newly obtained IP address from your network; process thus successfully completed. The humidifier B 600 is now ready for use. The humidifier B 600 can now be controlled with the Brune Control app (available free of charge for Android and iOS).
- Page 5 Activate Brune WLAN / reset network settings Press and hold the Settings button for 10 seconds. In the Network field, a counter counts down to 0. The Brune WLAN is then activated and the network settings are reset. ATTENTION! Once the countdown is complete, all settings of the WLAN/WiFi module are deleted.
- Page 6 The start page of the remote portal opens and a configuration can be made. After registering, you can use the remote portal free of charge for 30 days via a trial account.
Need help?
Do you have a question about the B 600 and is the answer not in the manual?
Questions and answers