Table of Contents
Advertisement
Quick Links
Warranty info
Proof of purchase will be required.
The guarantee does not cover faults or damage caused by incorrect
installation and/or maintenance, ordinary wear and tear, water
composition, etc.
* Please see www.methven.com for full terms and conditions of warranty
Cleaning
Your product has a high-quality finish and should be treated with care to
preserve the visible surfaces. Never use abrasives or abrasive cleaning
agents to clean this product clean regularly with contamination free warm
water and a damp soft cloth. Do not use products containing chlorine
bleach or hydrochloric acid as these can damage the product.
We have a policy of continuous improvement and reserve the right to change
specifications without notice.
METHVEN UK LIMITED
METHVEN EXPERIENCE CENTRE
3/3A STONE CROSS COURT
YEW TREE WAY
GOLBORNE
WARRINGTON
WA3 3JD
UNITED KINGDOM
INST-KRLFCTSEFLP-V1
TEL: 0800 195 1602
FAX: 0844 406 8690
EMAIL: sales@uk.methven.com
www.methven.com
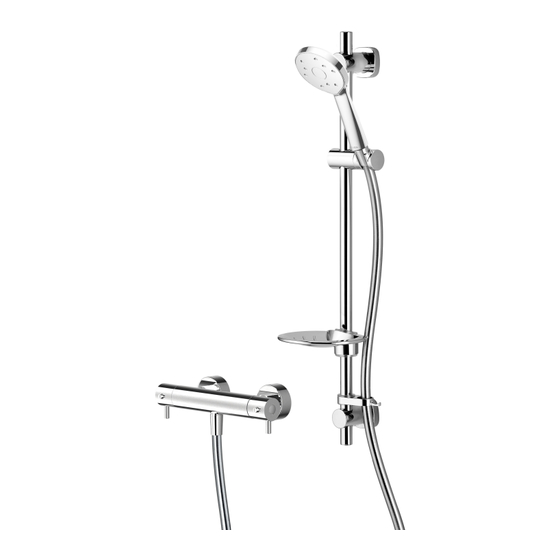
Kiri Mk2 Low Flow Shower c/w Easy
Fit Kit
KRLFCTSEFLP
Installation Guide
Technical Specification
Operating Pressure
Min:
1.0 Bar
Max:
5.0 Bar
Operating Temperature
65⁰C
Hot:
Cold:
5⁰C
Inlet Connections
15mm Compression
Advertisement
Table of Contents

Subscribe to Our Youtube Channel
Related Manuals for METHVEN Kiri Mk2


Summary of Contents for METHVEN Kiri Mk2
- Page 1 KRLFCTSEFLP composition, etc. Installation Guide * Please see www.methven.com for full terms and conditions of warranty Cleaning Technical Specification Your product has a high-quality finish and should be treated with care to preserve the visible surfaces.
- Page 2 Testing Method Please read all of the instructions be- fore installation. General Methven recommends this product is installed by a competent person in compliance with all relevant regional regulations. After installation all connenctions must be checked for leaks. All outlets used primarily for personal hygiene shall deliver water at a safe temperature as per regional regulations.
- Page 3 Installation Instructions 1) Prepare the Hot and Cold supply pipes at 150mm centres. 2) Ensure the holes for the pipes are not made too big as this will affect drilling of the screw holes for the mounting brackets. 3) Ensure that there is approximately 22mm of pipework left exposed proud of the finished tiled wall to establish the correct installation connection.
- Page 4 Installation Instructions Continued 6) Once the desired temperature is achieved re-fit the handle in the mixed 10) Place the mounting bracket over the pipework. position, so that the handle cannot be rotated any further clockwise without depressing the override button. 11) Place the olive over onto the exposed pipe.
Need help?
Do you have a question about the Kiri Mk2 and is the answer not in the manual?
Questions and answers