Advertisement
Quick Links
Dining
Patio
Assembly Manual
Kozyard LLC Products
www.kozyard.com
Copyright 2016 - 2023 Kozyard LLC. | All Rights Reserved.
Version:20231006
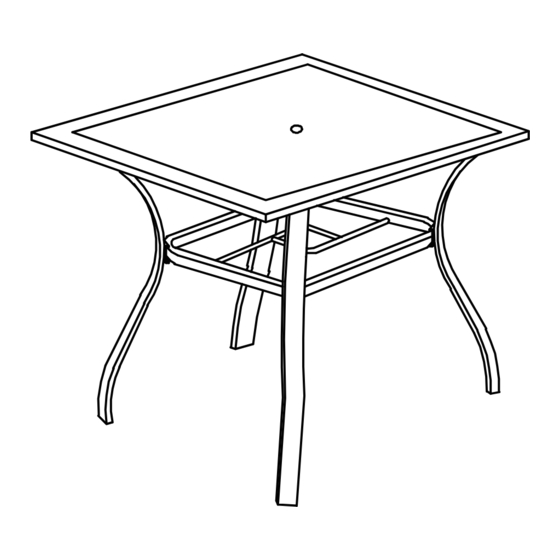
Square Table
Assembly Instructions
•
Prior to assembly, ensure that you lay out and identify all
the parts listed in the parts list.
•
Tighten all nuts and bolts securely. Hand-tighten all bolts
before use. Avoid using power tools or applying excessive
force during assembly and bolt tightening.
•
If you encounter any difficulties during assembly or if any
part is missing or damaged, please don't hesitate to
contact our customer service team via email at
info@kozyard.com or by calling our toll-free number at
866-355-0018.
Care and warranty
•
The weight capacity of this table is 110 lbs.
•
Clean the frame components with a mild soap solution,
then rinse thoroughly. Avoid using bleach, acid, or any
other solvents on either the fabric or frame components.
•
For a comprehensive warranty policy, please visit
www.kozyard.com. Be aware that warranty terms can
change without prior notification.
•
For the best performance and safety of your table, inspect
and tighten all bolts and fasteners regularly
Advertisement

Related Manuals for Kozyard KZT194BR


Summary of Contents for Kozyard KZT194BR
- Page 1 Be aware that warranty terms can change without prior notification. Kozyard LLC Products www.kozyard.com • For the best performance and safety of your table, inspect Copyright 2016 - 2023 Kozyard LLC. | All Rights Reserved. Version:20231006 and tighten all bolts and fasteners regularly...
- Page 2 Part list Part Description Connect the top (Part A) and legs (Part B) using Screws (D) and Washers (F) as illustrated in the diagram. Leg Connector M6X15 Screws M6X28 Screws Washer Allen key Reminder: All parts must be put on the carpet in the assembly.
- Page 3 Connect the leg connector (Part C) with the legs (Part B) Finally, ensure that all screws are securely tightened using screws (E) and washer (F) as indicated in the diagram. before using the product on level ground.
- Page 4 866-355-0018 Kozyard LLC © Copyright 2016 - 2023 Kozyard LLC. | All Rights Reserved.
Need help?
Do you have a question about the KZT194BR and is the answer not in the manual?
Questions and answers