Table of Contents
Advertisement
Quick Links
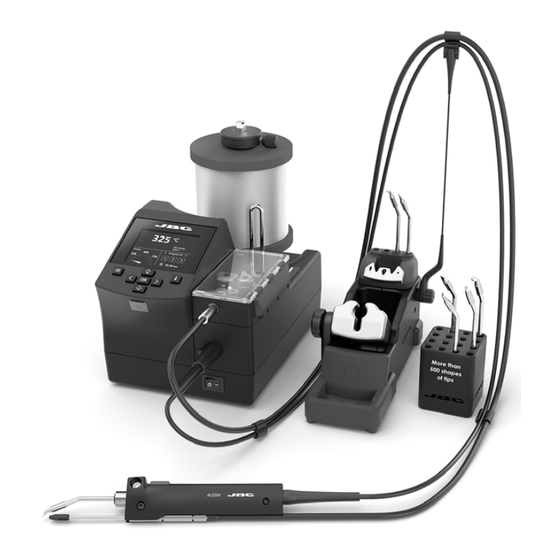
Automatic-Feed Soldering Station
This Plug & Play Guide corresponds to the following references:
1
Station with Solder Wire Perforation
Ref.
ALE-908VA (100 V)
ALE-108VA (120 V)
ALE-208VA (230 V)
ALE-910VA (100 V)
ALE-110VA (120 V)
ALE-210VA (230 V)
ALE-912VA (100 V)
ALE-112VA (120 V)
ALE-212VA (230 V)
ALE-915VA (100 V)
ALE-115VA (120V)
ALE-215VA (230 V)
ALE-916VA (100 V)
ALE-116VA (120 V)
ALE-216VA (230 V)
ALE
Station
Take a look
at the product
web page
2
Station without Solder Wire Perforation
Ref.
ALE-904A (100 V)
ALE-104A (120 V)
ALE-204A (230 V)
ALE-905A (100 V)
ALE-105A (120 V)
ALE-205A (230 V)
ALE-906A (100 V)
ALE-106A (120 V)
ALE-206A (230 V)
ALE-907A (100 V)
ALE-107A (120 V)
ALE-207A (230 V)
ALE-908A (100 V)
ALE-108A (120 V)
ALE-208A (230 V)
Video Guide
Watch the
product assembly
video.
Ref.
ALE-910A (100 V)
ALE-110A (120 V)
ALE-210A (230 V)
ALE-912A (100 V)
ALE-112A (120 V)
ALE-212A (230 V)
ALE-915A (100 V)
ALE-115A (120 V)
ALE-215A (230 V)
ALE-916A (100 V)
ALE-116A (120 V)
ALE-216A (230 V)
ALE-918A (100 V)
ALE-118A (120 V)
ALE-218A (230 V)
Advertisement
Table of Contents


Need help?
Do you have a question about the ALE-908VA and is the answer not in the manual?
Questions and answers