Table of Contents
Advertisement
Quick Links
Advertisement
Table of Contents

Related Manuals for NSB FAN ALOHA


Summary of Contents for NSB FAN ALOHA
- Page 1 Ceiling Fan Instruction Manual...
-
Page 2: Table Of Contents
Tables of Contents Parts & Accessories ………………………………………………………………………………………….……………….……………….. 2 Fan Installation Instruction……………………………………………………………………………….……………….……………….. 3 Fan Mounting ……………………………………………………………………………….……………….………………..………………... 4 Blades Assembly……………………………………………………………………………….……………….………………..…………… …5 Accessories Assembly ……………………………………………………………………………………………………………………5 Electrical Connection ……………………………………………………………………………………………………………………………6 Maintenance …………………………………………………………………………………………………….…………………………………7 Troubleshooting ……………………………………………………………………………………………………………………………………7 Safety Precaution IMPORTAN: PLEASE READ BEFORE INSTALLATION nstallation must be carried out by a qualified wiring installer 2. -
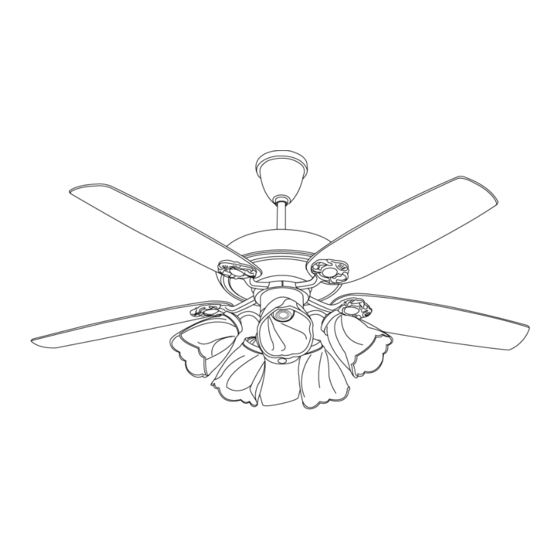
Page 3: Parts & Accessories
Parts & Accessories Canopy Yoke cover Down rod Blade arm Light kit Blades Motor Glass shades Blade holder screws Blade screws Extra screw for light kit Fibber washer Wire nut Lead Wire Balancing kits... -
Page 4: Fan Installation Instruction
Fan Installation Instruction IMPORTANT: SWITCH OFF THE ELECTRICAL MAINS THE CIRCUIT BREAKER FUSE BOX. Follow the steps below to hang your fan properly. 1. Insert the downrod through the canopy and yoke cover 2. Through the lead wire and safety cable out the top of downrod. 3. -
Page 5: Fan Mounting
Fan Mounting 1. “J” Hook mounted ,When mounting the fan, ensure that the safety cable is loop across the “J” hook. 2. “U” Hook mounted Remove the bolt, stop pin, nut, washer and rubber pulley from the downrod. Place the rubber pulley onto “U” hook and fix back the bolt, stop pin, nut and washer. Stop 3. -
Page 6: Blades Assembly
Blades Assembly Place fiber washer on screw. Insert this assembly through the blade and start the screw into the blade arm. Repeat this procedure without tightening the screw until all 3 screws have been started into the blade arm. Tighten each screw starting with center screw. Attach blade assembly to motor with provided screws and metal lock washers. -
Page 7: Electrical Connection
Electrical Connection 1. Be sure turning off the power supply before wiring the fan. 2. All electrical connections must be in accordance with local and national electrical code standards. If you are unfamiliar with proper electrical wiring connections, obtain the services from a qualified electrician. -
Page 8: Troubleshooting
Troubleshooting Check on the following before lodging a service report. SYMPTOM PROBLEM SOLUTION 1. Main cables not connected 1. Check main and branch circuit Fan not moving 2. Wire connection loose Breakers or fuse. 2. Check the line wires connections to the fan and switch housing.
Need help?
Do you have a question about the ALOHA and is the answer not in the manual?
Questions and answers