Advertisement
Quick Links
Advertisement

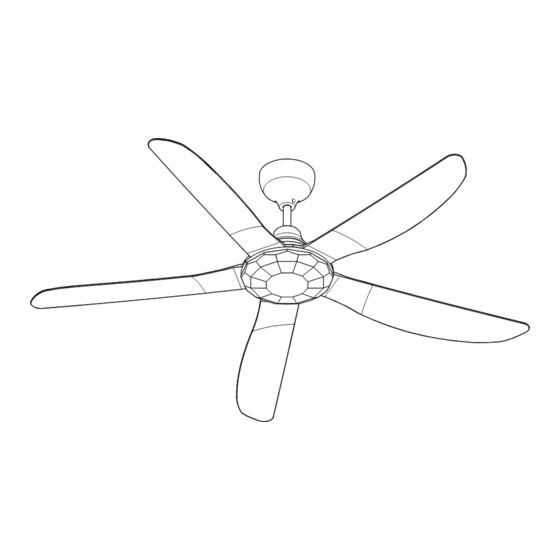
Summary of Contents for NSB FAN NEO
- Page 1 Instruction Manual Model: NEO...
-
Page 2: Table Of Contents
Contents page Contents page Page Safety precaution and warnings ............Parts and accessories ............3 - 6 Installation procedures ............Circuit diagram / Installation procedures ........... Fan blades installation procedures............Remote control ............Power supply connections / Maintenance .................... -
Page 3: Parts And Accessories
Parts and accessories Washer(s)(4pcs) Spring washer(s)(4pcs) Nut(s)(4pcs) Coupling joint(1pc) Clevis pin(4pcs) Bolt(4pcs) Receiver(1pc) Connector (1pc) Rubber pulley flap Motor assemble(1pc) (1pc) Down rod(1pc) Canopy(1pc) Fan blade(s)(5pcs) Fan blade screw(s)(15pcs) Canopy screw (1pc) Balancing weight Bottom motor cover(1pc) (2pcs) Coupling cover screw(1pc) Coupling cover(1pc) Balancing clip(1pc) -
Page 4: Installation Procedures
Installation procedures IMPORTANT: SWITCH OFF ELECTRICAL MAINS AT THE MINIATURE CIRCUIT BREAKER BOX. Step 1 - Assembly canopy and coupling cover through the down rod. Step 2 - Remove both sets of clevis pins, nuts, washers, and bolts from the motor and assemble the joint. - Page 5 Installation procedures Step 3 - Remove the clevis pin, nut, washer, and spring washer, from the bolt, and remove the bolt and rubber pulley from the down rod. Place rubber pulley onto ceiling fan hook, insert flap to rubber pulley, and align holes. Push the bolt from one side of the flap through the rubber pulley to the other side of the flap.
- Page 6 Installation procedures Step - 4 Tie safety wire across the hook as shown Step 5 - Firmly screw the safety wire with the spring washer onto the down rod ALL PICTURES SHOWN ARE FOR ILLUSTRATION PURPOSES ONLY. THE ACTUAL PRODUCT MAY VARY DUE TO PRODUCT ENHANCEMENT.
- Page 7 Installation procedures Step 6 - Wire up wires as shown NEUTRAL (Blue) Pink LIVE (Brown) Gray To MOTOR EARTH(Green/Yellow) ALL PICTURES SHOWN ARE FOR ILLUSTRATION PURPOSES ONLY. THE ACTUAL PRODUCT MAY VARY DUE TO PRODUCT ENHANCEMENT.
-
Page 8: Circuit Diagram / Installation Procedures
Circuit diagram BLACK PINK PINK YELLOW/GLEEN GRAY GRAY MOTOR YELLOW/GLEEN RECEIVER BLUE BLUE WHITE WHITE Installation procedures Step 7 - Tighten the canopy with the screw provided. Leave a gap of 3mm - 5mm between the canopy and the ceiling. Leave a 3mm to 5mm gap between the ceiling and the canopy. -
Page 9: Fan Blades Installation Procedures
Fan blades installation procedures Step 8 - Tighten the fan blades with the screws provided. Each blade uses 3 pieces of screws and 3 washers. Step 9 - Ensure screws (15pcs) for securing fan blades are tightly screwed. Each fan blade requires 3 screws and 3 washers. ALL PICTURES SHOWN ARE FOR ILLUSTRATION PURPOSES ONLY. -
Page 10: Remote Control
Remote control 2 X 1.5V AAA batteries are provided. Insert batteries into the remote control. Light on / off button Speed 1 low speed Speed 9 high speed Fan on / off button Timer buttons 1H-Fan off after 1 hour 2H-Fan off after 2 hours 4H-Fan off after 4 hours 6H-Fan off after 6 hours... -
Page 11: Power Supply Connections / Maintenance
Power supply connections Reminder : USE ONLY NSB FAN, SPECIFIC REMOTE CONTROL TO CONTROL FAN’S SPEED. DO NOT CONNECT THE FAN TO THE DIMMER SWITCH OR WALL REGULATOR. MCB Fuse box on/off switch Maintenance Due to the fan’s natural movement, connections may get loose after a period of usage, to ensure proper and safe usage, it is highly recommended to inspect and tighten all connections every 6 months. - Page 12 More than 1 meter from the wall 2.5 meters above the ground 220V-240V~50Hz ALL PICTURES SHOWN ARE FOR ILLUSTRATION PURPOSES ONLY. THE ACTUAL PRODUCT MAY VARY DUE TO PRODUCT ENHANCEMENT.
-
Page 13: How To Use Balancing Kit
How to use balancing kit PREFACE Fan wobble, may be due to irregular fan blades and/or fan blades holder. Improper assembly may also cause the ceiling fan to wobble. This balancing kit can be used to rectify wobbling problems. Dynamic blade balancing kit for ceiling fan. to the motor housing. - Page 16 NSB FAN If technical assistance is required, please contact NSB FAN customer service. NSB Home Appliances Sdn Bhd Careline number: - 1300 880 672 (NSB) www.nsb.com.my...


Need help?
Do you have a question about the NEO and is the answer not in the manual?
Questions and answers