Table of Contents
Advertisement
Quick Links
Advertisement
Table of Contents

Subscribe to Our Youtube Channel
Related Manuals for ElectrIQ eiQ-24FHD75IS-V2


Summary of Contents for ElectrIQ eiQ-24FHD75IS-V2
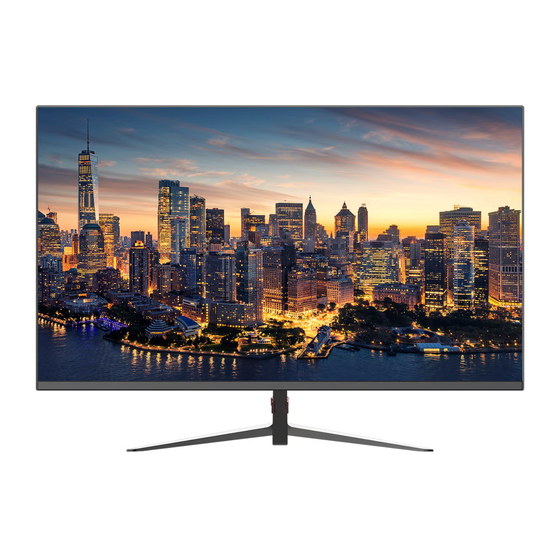
- Page 1 USER MANUAL 23.8 INCH SLIM LED MONITOR eiQ-24FHD75IS-V2 Thank you for choosing electriQ Please read the user manual before using this monitor and keep it safe for future reference Visit www.electriQ.co.uk to view our entire range of Intelligent Electricals.
-
Page 3: Table Of Contents
CONTENTS SAFETY INFORMATION WHAT’S INCLUDED MONITOR DIMENSIONS CONNECTIONS AVAILABLE ON THE MONITOR WALL MOUNTING GETTING STARTED INITIAL SET UP MENU OPTIONS LUMINANCE IMAGE SETUP COLOUR SETUP OSD SETUP RESET EXTRA TECHNICAL SPECIFICATION SUPPORT... -
Page 4: Safety Information
SAFETY INFORMATION • Read these instructions - All the safety and operating instructions should be read before this product is operated. • Keep these instructions - The safety and operating instructions should be retained for future reference. • Heed all warnings - All warnings on the appliance and in the operating instructions should be adhered to. - Page 5 • Disconnect the power immediately and seek professional help if the plug or cable is damaged, liquid has spilt onto the unit, if accidentally exposed to water or moisture, if anything accidentally penetrates the ventilation slots or if the unit does not work normally. •...
-
Page 6: What's Included
WHAT’S INCLUDED... -
Page 7: Connections Available On The Monitor
CONNECTIONS AVAILABLE ON THE MONITOR HDMI AUDIO IN DC 12V HDMI port: Used to connect a compatible device. Supports HDMI 1.4 & 2.0; VGA: Used to connect a compatible VGA device. Audio In: Used for connecting headphones, or external speakers. The audio input is used in conjunction with the VGA input if a HDMI source is in use, the sound will come from the HDMI connection. -
Page 8: Getting Started
GETTING STARTED MONITOR JOYSTICK MONITOR JOYSTICK The monitor joystick is located on the rear left side of the monitor. The joystick can be used to move up, down, left or right within the menus and pressing the joystick can be used as enter. When the monitor has no display, the monitor buttons can be used as below: Press once to turn on the monitor when plugged in. -
Page 9: Initial Setup
INITIAL SETUP Connect the monitor to a power outlet. 1. Press the POWER button on the monitor to turn it on (The indicator will be blue) 2. Connect the relevant cable to the corresponding input on the monitor. The source will be automatically detected. -
Page 10: Luminance
LUMINANCE SETTINGS BRIGHTNESS Allows the adjustment of the image brightness, according to ambient light in the room between “0-100” CONTRAST Allows the adjustment of contrast between white and black areas of the image between “0-100” ECO MODE Allows selection of image settings between the following: STANDARD, MOVIE, INTERNET and GAME. -
Page 11: Colour Setup
COLOUR SETUP SETTINGS COLOR TEMP. Allows adjustment of the colour settings between the following options: Warm, Normal, User and Cool. Allows adjustment of the red element of color for the image GREEN Allows adjustment of the green element of color for the image BLUE Allows adjustment of the blue element of color for the... -
Page 12: Reset
RESET AUTO CONFIG. Auto adjusts the image. AUTO COLOR Auto adjusts the colour of the image. RESET Returns the monitor to its factory default settings. EXTRA INPUT SELECT Allows user to choose the signal source for the display between “HDMI, VGA”. MUTE Allows Mute to be turned ON and OFF VOLUME... - Page 13 TROUBLESHOOTING Problem Solution No power Insert the plug securely into the power outlet. Ensure that the equipment is connected properly. No picture Ensure the correct input is selected. Disconnect the power and then reconnect. (The unit may No response when buttons are not be operating properly due to lightning, static, or other pressed.
-
Page 14: Technical Specification
TECHNICAL SPECIFICATION eiQ-24FHD75IS-V2 Panel Type 23.8 '' Case Type Plastic Best Resolution 1920(H) x 1080(V) Active Display Area 527.04 (H) X 296.46 (V) Pixel Pitch 0.2475 (H) x 0.2475 (V) Contrast Ratio 1000:1 Typical Brightness 250 cd/m² Response Time 5ms(G2G) Viewing Angle U/D: 89°... -
Page 15: Support
Please remember that this equipment will be further handled during the recycling process, so please be considerate when depositing your equipment. Please contact the local council for details of your local household waste recycling centres. electriQ UK SUPPORT www.electriQ.co.uk/support Call: 0330 390 3061 Office hours: 9AM - 5PM Monday to Friday www.electriQ.co.uk...
Need help?
Do you have a question about the eiQ-24FHD75IS-V2 and is the answer not in the manual?
Questions and answers