Table of Contents
Advertisement
Quick Links
Advertisement
Table of Contents

Related Manuals for Fanvil i66


Summary of Contents for Fanvil i66
- Page 1 Quick Installation Guide www.fanvil.com...
-
Page 2: Package Contents
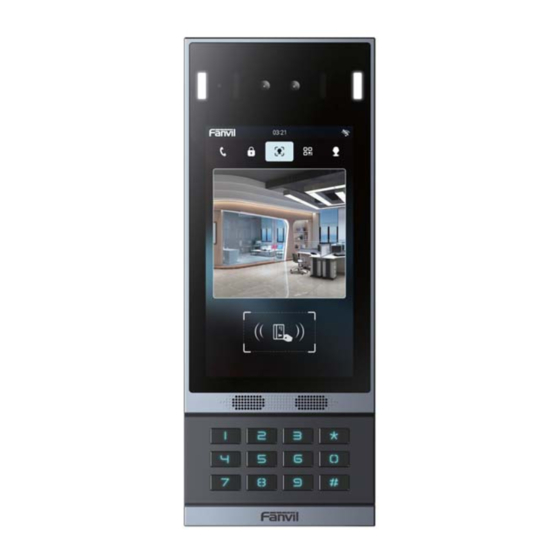
Package Contents Video Door Phone Wall Bracket 11CM i66&i67 Quick Installation Guide Quick Installation Guide Mounting Template 22CM www.fanvil.com 29CM Wall-mounting template Screws RFID Cards 2pcs connector and tool Physical specification Model Device size i66&i67 300 X 115.6 X 35 (mm) -
Page 3: Interface Description
2) Interface description Open the back cover of the device, there is a row of wiring terminals for connecting the power supply, electric lock control, etc. The connections are as follows: Description Number Ethernet interface: standard RJ45 interface, 10/100M self-adaptive, it is recommended to use Category 5 or Super Category 5 network cable Power interface: 12V/2A input, note that the top is positive and the bottom is negative... -
Page 4: Wiring Instructions
NC COM NO P USH GNB S-I S-O NC COM NO Installation Diagram Figure 3-1 Figure 3-1 The three parts of the i66, Wall mounting: Step 1: Installation preparation A.Check the following contents: KM3*30 screw x3 TA4 x 30mm screw x5... - Page 5 Installation Environment Do not install this device in the following locations: direct sunlight, high temperatures, snow frost, corrosive chemicals, and places with too much dust. Install the unit at a suitable visual height, with a recommended height of around 160cm. If it is installed indoors, please maintain a distance of at least 2 meters from light sources and at least 3 meters from doors and windows to avoid direct sunlight.
- Page 6 Step 4: Install the wall bracket, wiring and casing A. Align the screw holes of the wall bracket with the drilled holes on the wall, put in the as shown in Figure 3-4. B. Pass all the wires through the silicone plug in the middle of the bottom case, and reserve a length of 15~20CM for all wires, as shown in Figure 3-5.
- Page 7 There are two ways to query the IP of the device, as shown below: Method 1: Open the IP scan tool, click the refresh button, search and find the IP address of the device. (Download link: https://www.fanvil.com/) Method 2: Enter the dial interface, enter #*107, enter the password, enter the engineering mode, you can view the IP address of the device, and you can switch between static and dynamic IP modes.
- Page 8 Step 2: Set up a SIP account Through the assigned SIP account, configure the SIP server address, port, user name, password and number respectively. Then check [Enable] and click [Submit] to save this setting. Step 3: Set Speed Dial Keys Set the speed dial parameters of the speed dial key, as shown below, click [Submit]to save this setting.
- Page 9 Open door settings Swipe to open the door (The standard card provides the door opening function, and the add card and delete card provide the add and delete card function. Default Standard Card) Enter the name and card number (only the first 10 digits of the card number are required), click Add to add to the card list.
- Page 10 Password to open the door Enter your name and password, click Add to add to the password list. Owners and visitors can directly use the dial pad to enter "6789" (default password) or "Add password to open the door"。 NOTE: This equipment has been tested and found to comply with the limits for a Class B digital device, pursuant to part 15 of the FCC Rules.
Need help?
Do you have a question about the i66 and is the answer not in the manual?
Questions and answers