Advertisement
ALO
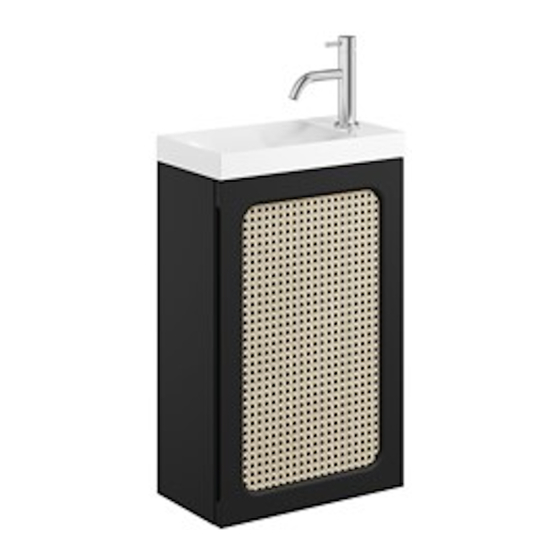
Furniture Range
i
Important Information BEFORE YOU START
Please read carefully and keep this information for further reference.
Thank you for buying a Crosswater Product. To ensure that it
works to its full potential, it needs to be fitted correctly.
Check the contents of the pack carefully before installation.
Crosswater will not be held responsible for any de-fit/re-fit
costs where faulty product has been fitted. If any fault is
found with materials or workmanship, it must be reported
immediately to the manufacturer. Remedial action will be
taken, based on information received, on condition that:
1. Full details are supplied to the manufacturer.
2. The product has not been modified or tampered with;
1
3. The manufacturer is informed of any damage/shortages
prior to installation.
4. The product has not been installed, or attempts have been
made to install.
We do not accept responsibility for any problems that may
occur through incorrect installation. This product should
only be installed by a suitably qualified plumber/installer.
Should the installation be completed by a non-qualified
person any product guarantee maybe considered invalid. For
a claim made under our warranty, written certification of your
installer's qualifications may be required.
V10623
Advertisement
Table of Contents

Related Manuals for Crosswater Alo Furniture Range


Summary of Contents for Crosswater Alo Furniture Range
- Page 1 IMPORTANT INFORMATION BEFORE YOU START Please read carefully and keep this information for further reference. Thank you for buying a Crosswater Product. To ensure that it 3. The manufacturer is informed of any damage/shortages works to its full potential, it needs to be fitted correctly.
- Page 2 BEFORE YOU START IMPORTANT INFORMATION Please read carefully and keep this information for further reference. Please check for any hidden pipes or electrical cables before drilling holes in the floor or walls. When using power tools always follow the manufacturer’s user instructions. This installation guide details fitting to a solid wall. If your bathroom has studded/ plasterboard walls, please use appropriate fixings.
- Page 3 COMPATIBILITY AL0401URx 3.8kg AL4000Fxx 10kg Rattan Finish AL4000Fxx 10kg FIXINGS...
- Page 4 INSTALLATION Determine the position and height of the unit, ensuring Measure the width and height of the fixing brackets - the recommended heights are followed. Ensure the distances B and C. Mark the wall and prepare to drill. measurements and markings you make are straight. Check that the plumbing connections from the wall are within the void provided.
- Page 5 INSTALLATION Install the wall brackets using the fixings provided. The The tap and waste fittings may now be installed, following the unit carcass can now be mounted on the wall brackets and manufacturer’s instructions. adjusted to ensure it is flush with the wall and level. Connect water and waste pipework and turn on the water supply to check for any leaks.
- Page 6 INSTALLATION Door can be adjusted as shown below: Return the door to the unit by aligning the door hinges to the brackets on the inside of the unit and slide the two components together. If reversing the handing of the door, the base of the hinges can be removed and placed on the opposite side of the carcass, using the pilot holes provided.
- Page 7 Avoid pressing heavily against the rattan as this may cause it to release from the door frame. Lake View House Rennie Drive, Dartford Kent DA1 5FU United Kingdom Part of the 0345 873 8840 Bathroom Brands Group We reserve the right to make technical modifications without prior notice. www.crosswater.co.uk...
Need help?
Do you have a question about the Alo Furniture Range and is the answer not in the manual?
Questions and answers