Advertisement
Quick Links
BATHROOM FURNITURE RANGE
Tools & equipment needed: Drill, 8mm Suitable drill bit, Screwdriver, Spirit level, Ruler/tape measure, Pencil,
Silicone sealant (clear).
IMPORTANT - Advice and safety - Please read before installation
Please read these instructions carefully before starting
installation and keep in a safe place for future reference.
Check the contents of the pack carefully before installation.
Crosswater will not be held responsible for any de-fit / re-fit costs
where faulty product has been fitted.
If any fault is found with materials or workmanship, it must be
reported immediately to the manufacturer. Remedial action will
be taken, based on information received, on condition that:
1. Full details are supplied to the manufacturer; 2. The product
has not been modified or tampered with; 3. The manufacturer is
informed of any damage/shortages prior to installation.
We do not accept responsibility for any problems that may occur
through incorrect installation.
Advice & Safety
This product should only be installed by a suitably qualified
Plumber/installer. Should the installation be completed by a
non-qualified person any product guarantee maybe considered
invalid. For a claim made under our warranty written certification
of your installers qualifications can be required.
It is advised that all doors and drawers are removed prior to
fitting to avoid unnecessary damage occurring.
Ensure the room is well heated and ventilated.
It is recommended that walls are fully tiled before furniture and
accessory installation. This ensures that the product is installed
flat to the tile face and allows product to be easily removed if
required in the future.
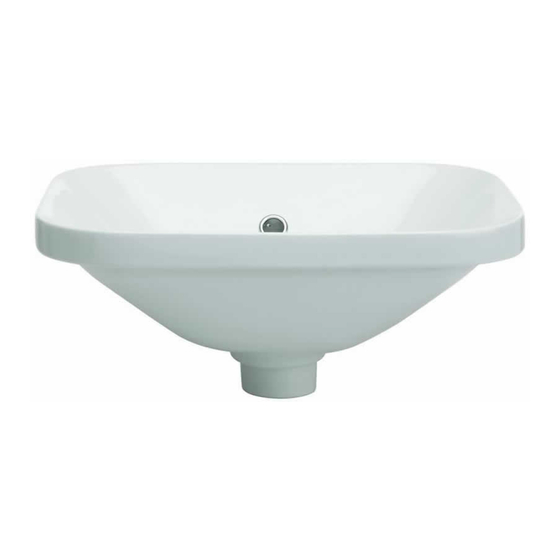
Union Furniture
700 One Drawer Basin Unit & Basin
UN4535SCW
6kgs
CT3939UAW
3.5kgs
UN7000DCN
30kgs
x2
These instructions have been prepared for your guidance, you
must exercise due care always.
Please note that some units are heavy. Always take care when
lifting, and follow health and safety guidelines. It is recommended
that 2 people carry out the installation of larger basin/vanity units.
Warning! ! Please check for any hidden pipes or electrical cables
before drilling holes in the floor or walls.
When using power tools always follow the manufacturer's user
instructions.
Do not over tighten tap or waste fittings, doing so may result in
damaging the basin.
The vanity units CAN ONLY BE installed using the fitting brackets
supplied. Before installing a wooden bathroom product into a new
property, extension or recently plastered room we strongly advise
the building/room is completely dry, well ventilated and adequately
heated prior to installation.
Care & Cleaning.
NEVER use products containing bleach, cleaners of a gritty or
abrasive nature or so called "glass and mirror" cleaning products.
Use a well wrung chamois leather or microfiber cloth for furniture
carcasses.
Ceramic fine fire clay wash basins should only be cleaned with a
mild detergent or warm soapy water; in hard water areas a good
quality limescale remover can be applied.
If any maintenance is required, then it must be carried out by a
qualified Plumber.
UNION
To ensure full working use of
x4
the drawers we recommend
the use of basin furniture
trap BTR01410W.
1
Advertisement

Related Manuals for Crosswater UNION Series


Summary of Contents for Crosswater UNION Series
- Page 1 Check the contents of the pack carefully before installation. lifting, and follow health and safety guidelines. It is recommended Crosswater will not be held responsible for any de-fit / re-fit costs that 2 people carry out the installation of larger basin/vanity units.
-
Page 2: Installation Instructions
INSTALLATION INSTRUCTIONS One Drawer Basin Unit & Basin Installation - 700 Basin Unit Step 1 Step 2 860mm 860mm 870mm 870mm Remove the drawer Pull out the drawer to its full extension, gently squeeze the locking levers Plan unit position: Basin Remove both drawers prior to outwards on both sides and pull the Decide on the position of the unit. - Page 3 Step 4 Step 5 Basin Installation b. Carefully position the basin c. Carefully position the basin d. Connect the tap and waste. a. Carefully bed in the waste down onto the unit, ensure it is down onto the unit, ensure it is Apply silicone to the join using silicone only.
- Page 4 Step 6 INDrawers front ADJUSTMENTSTALLATION INSTRUCTIONS Step 7 Front height adjustment (max. +3,5 mm) Step 8 Front tilt adjustment (max. +4,0 mm) Move the green tab until the front tilt is adjusted. Step 9 Side adjustment (max. 1,5mm) Turn the green wheel up to adjust right and down to adjust left.
- Page 5 Step 10 Depth adjustment (max. +3,5 mm) Turn the green wheel down until the depth is adjusted. Assembly and disassembly of cam bolt construction drawers. Steps Insert the screwdriver in the cam bolt and slide it to the left. The front panel is now released and can be removed. Insert the front panel i nto the drawer s ides and r epeat t he operation, insert the screwdriver in the cam bolt and slide it to the right.
- Page 6 Drawer front adjustment (+3,5 mm / -1mm) Step 2 Opening and shut adjustment. For any further information please contact Crosswater on: 0345 873 8840 Or visit our web-site at: www.crosswater.co.uk The manufacturer reserves the right to make technical modifications without prior notice.
Need help?
Do you have a question about the UNION Series and is the answer not in the manual?
Questions and answers