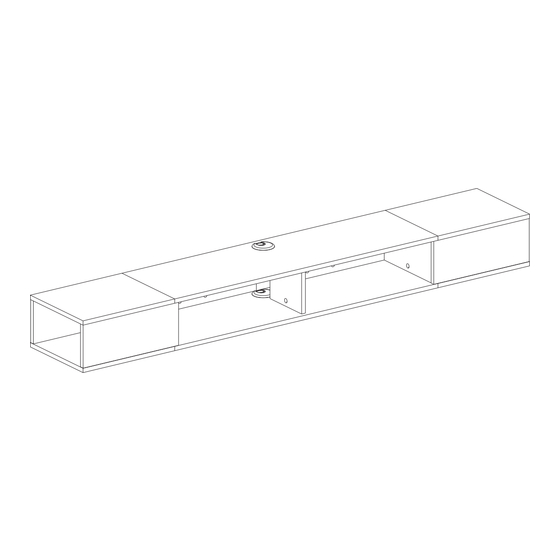
Summary of Contents for Wampat W15U2182W
- Page 1 お客様へ この度、お買い上げいただきまして、誠にありがとうございます。 なお、お買い上げの商品につきまして、ご不満やご要望などがござい Support@s-wampat.com ましたら、以下の詳細を添付し、ご遠慮なく までお問い合わせてください。 1 ご注文番号 2 商品番号 3 詳しい写真(欠陥の部分:部品が見当たらない場合はマニュアルで 〇をつけてください。) メールを頂きましたら、24時間以内にご返信いたします。 W15U2182W W15U2183G W15U2185Q ISSUED:2022.7.21...
-
Page 2: What's In The Box
What's in the box Stud Finder Φ4mm(5/32") Φ11mm(7/16") Wood Drill Wood Drill Drill Tools Requried (Not included) Pencil Screw driver... - Page 3 What's in the box A × 38 B × 54 C × 40 D × 8 E × 22 F × 2 G × 2 H × 2 I × 2 J × 2 K × 2 L × 1 Tips: Please disassemble the wall hanging accessories before hanging the product...
- Page 4 Easy to install This illustration shows how the CAM fastening system works. . Wood Stud Wall Mounting Fit for 406mm(16") , 610mm(24")stud Tools Required Esta ilustración muestra como funciona el sistema de fijación de leva. Screw (Not included) Φ4mm (5/32") Cette illustration montre comment le système de fixation de Stud Finder Pencil...
- Page 5 Easy to install . Solid Brick and Concrete Mounting Tools Required Screw (Not included) Φ11mm(7/16") Pencil Drill Wood Drill Hammer driver Level Mark the exact location of mounting holes Drill pilot holes 50mm (2") Φ11mm (7/16") Secure wall anchors Screw into drilled holes the wall with hammer...
- Page 6 Easy to install · Insert dowels(C) into panel (1). · Then insert cam locks(B)to panel(1) . · Attach panels(2)to panel(1) . · Insert and secure cam locks (C)to panels(2) · Then insert parts(D)into panel (1). to lock them with the panel (1). ·...
- Page 7 Easy to install · Insert dowels(C) into panels (1,2). x 10 · Insert dowels (C) into panels (2). · Attach panels (5) to panels (1,2). · Attach panels (7) to panels (2). · Attach panel(6) to panel (1). · Insert and secure cam locks (B) to panels (7) to lock it. ·...
- Page 8 Easy to install · Insert dowels(C) into panels (1,2). x 19 · Attach panels (8) to panels (1,2). ·Screw parts (A) into panels (3,4). · Insert and secure cam locks (B) to panels (8) to lock it.
- Page 9 Easy to install · Insert dowels (C) into panel(3). · Attach panels(4)to panel(3) . · Then insert cam locks(B)to panel (3). · Insert and secure cam locks(C)to panels(4)to lock them with · Then insert parts (D)into panel(3). the panel(3). · Then secure the cam locks(B)to lock parts(D) .
- Page 10 Easy to install · Insert dowels(C) into panels (5,6,7,8). x 11 x 16 · Attach panels (3,4) to panels (5,6,7,8). · Insert and secure cam locks (B) to panels (8) to lock it. · Insert and secure cam locks (B) to panels (5,6,7) to lock it.
- Page 11 Easy to install · Hang the cabinet onto the screws (G) carefully . · Flip 180° . · Insert parts (F) onto panels (1,3). · Secure parts (I)onto screws (G).
- Page 12 Easy to install LEFT RIGHT · Secure parts(K)onto the parts(I). · Secure parts(J) onto the screws(G), then screws and tighten screws(G) Part(J) must be installed correctly to ensure safe use .
-
Page 13: Easy To Install
Easy to install Easy to install · Stick stickers(E) on cam lock(B). x 22 LED CONTROLLER Please clean the surface before installation. Step 1: Connect the LED controller and LED cable correctly. Step 2: Plug USB cable into your TV or socket. Step 3: Tear tape behind the light strip and stick anywhere you want.


Need help?
Do you have a question about the W15U2182W and is the answer not in the manual?
Questions and answers