
Related Manuals for Wampat W18N4064W


Summary of Contents for Wampat W18N4064W
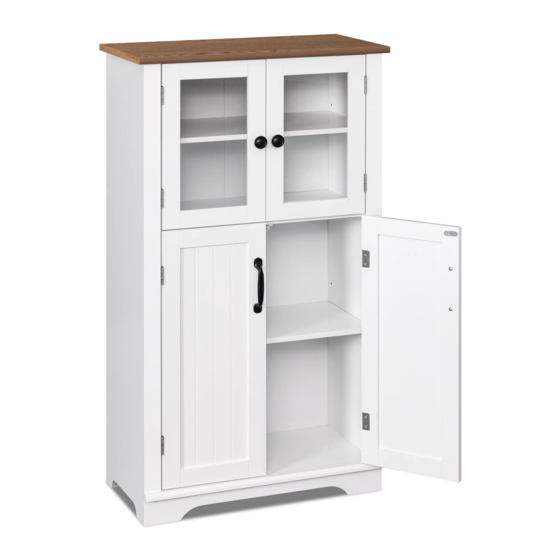
- Page 1 Assembly Instructions W18N4064W Please read this manual carefully before beginning assembly of this product.Keep this manual for future reference.
- Page 4 Bolt Screw Cam bolt Cam lock Handle Wooden dowel Ø4x18mm Ø3x12mm Ø15x10mm Ø6x35mm Ø6x30mm x 36 x 23 x 16 x 23 Screw Screw Handle Magnetic plate Magnetic catch L-iron Ø4x12mm Ø3x14mm x 12 Anchor Shelf support pin Screw Plastic wedge Hinge Ø5x25mm Ø6x30mm...
- Page 5 · Gently screw cam bolts(A) into panels(1,2). · Stick parts(Q) on panels(1,2) as shown. 3...
- Page 6 Finished edge · Attach part(J) to panel(6) with screws(I). · Insert dowel(C) into panels(6,7). · Attach panels(6,7) to panel(2). · Insert and secure cam locks(B) to panels(6,7) to lock it.
- Page 7 · Insert dowels(C) into panels(6,7). · Attach panel(1) to panels(6,7). · Insert and secure cam locks(B) to panels(6,7) to lock it.
- Page 8 x 16 x 11 · Attach parts(Q) to panels(9,10) with screws(D). · Gently screw cam bolts(A) into panels(9,10,11).
- Page 9 · Insert dowels(C) into panels(9,10), then attach panels(9,10) to panel(8). x 11 · Attach panels(8,9,10) to panels(1,2,7). · Insert and secure cam locks(B) to panels(1,2,7) to lock it.
- Page 10 ·Carefully insert panel(4) into the slot of panels(1,2,7).
- Page 11 · Gently screw cam bolts(A) into panel(3). · Attach magnetic catch(J) to panel(3) with screws(I). · Attach L-iron(K) to panel(3) with screw(L).
- Page 12 · Insert dowels(C) into panels(1,2,9,10). · Attach panel(3) to panels(1,2,9,10). · Insert and secure cam locks(B) to panels(1,2) to lock it.
- Page 13 · Secure parts(M) with screws(I).
- Page 14 Finished edge Finished edge · Insert the shelf supports(N) at the desired level and place the adjustable shelves(5) onto the shelf supports.
- Page 15 · Attach parts(H) to panels(11,12,13,14) with screws(D). · Attach parts(F) to panels(11,12) with bolts(E). · Attach parts(G) to panels(13,14) with bolts(E).
- Page 16 x 16 · Attach panels(11,12,13,14) to panels(9,10) with screws(D).
- Page 17 Note: We recommend it to be fixed to the wall to prevent the furniture from tipping over. Wall anchor and hardware are included in the package. Please make sure hardware is suitable for your walls before installation, as different wall materials may require different types of anchors.
Need help?
Do you have a question about the W18N4064W and is the answer not in the manual?
Questions and answers