
Subscribe to Our Youtube Channel
Related Manuals for Wampat W11F4040W


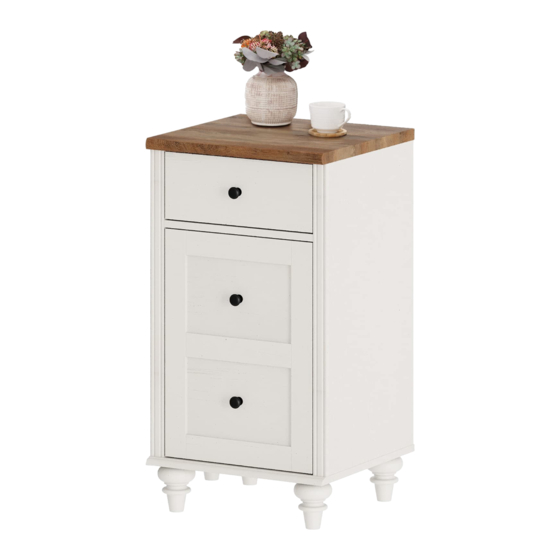
Summary of Contents for Wampat W11F4040W
- Page 1 Assembly Instructions W11F4040W Please read this manual carefully before beginning assembly of this product.Keep this manual for future reference.
- Page 4 Wooden dowel Cam lock Cam bolt Wooden dowel Cam lock Glue Ø15x12mm Ø8x30mm Ø6x30mm Ø7x34mm Ø14x11mm x 20 x 20 x 20 Screw Cam bolt Handle bolt Handle bolt Handle Magnet Ø3x14mm Ø6x29mm M4x20mm M4x12mm Screw Screw Screw Footpads Shelf support Plastic wedge Ø4x30mm Ø4x40mm...
- Page 5 ● The provided glue (A) is to secure wood dowels (B) in place.When first inserting dowels,locate the appropriate hole for the dowel,place a small amount of glue in the hole and insert the dowel.Wipe away excess glue immediately. ● In future assembly steps when dowels are necessary to attach assembly parts together, place a small amount of glue on the end of the dowel before attaching parts together.
- Page 6 x 16 · Screw cam bolts (E) into panels (1,4,15).
- Page 7 · Attach panels (5) to panels (2,3). · Insert and secure cam locks (D) to panels (2,3) to lock it.
- Page 8 · Attach legs (8) to panel (4) using screws (N). · Stick the skid pad (P) on the bottom of the legs (8). · Stick the Stickers (V) on the screws (N).
- Page 9 · Attach panel (4) to panels (2,3), · Insert and secure cam locks (D) to panes (2,3) to lock it. · Stick stickers (V) on cam locks (D).
- Page 10 · Carefully slide panel (7,16) into place along the back of the assembly.
- Page 11 · Attach panels (1,15) to panels (2,3), · Insert and secure cam locks (D) to panels (2,3) to lock it. · Attach panel (6) to panels (2,3) using parts (O).
- Page 12 x 16 x 16 · Secure parts (Q) to panels (1,2,3,4,15) using screws (R). · Attach parts (W) to panel (15) using screws (X).
- Page 13 · Attach parts (H) to panel (9) using bolts (J). · Attach parts (S) to panel (9) using screws (U).
- Page 14 · Insert part (T) into the corresponding holes of part (4). · Insert part (9) into the corresponding holes of parts (4,5). · Secure parts (T) into panel (9) with screws (U).
- Page 15 · Insert dowels (C) into panels (12,13). · Screw cam bolts (G) into panel (10).
- Page 16 · Attach panel (11) to panels (12,13) using screws (M). · Carefully slide panel (10) into place along the bottom of the assembly.
- Page 17 · Attach part (H) to panel (10) using bolts (I). · Attach panel (10) to panels (12,13). · Insert and secure cam locks (F) to panels (12,13) to lock it.
- Page 18 Slider arm Slider bracket Slider bracket · Assembled the drawers as per diagram Note : If the drawer does not go in smoothly. Press or lift the plastic release lever. Pull out the slider bracket from the slider arm. Loosen the screws on slider brackets, You can adjust up or down by a few mm.
- Page 19 WARNING Serious or fatal injuries can occur from furniture tipping over. To prevent the furniture from tipping over we recommend that it is permanently fixed to the wall. Wall anchor and hardware are included with this product. Please make sure hardware is suitable for your walls before installing, as different wall materials may require different types of anchors.
Need help?
Do you have a question about the W11F4040W and is the answer not in the manual?
Questions and answers