Advertisement
Quick Links
Advertisement

Related Manuals for Extreme Flight RC Extra 260 67


Summary of Contents for Extreme Flight RC Extra 260 67
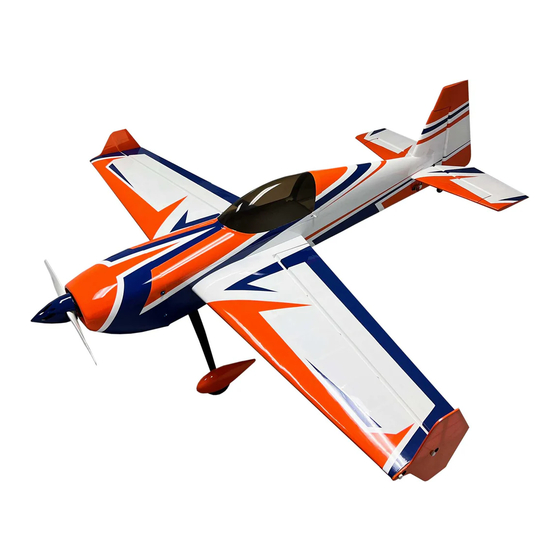
- Page 1 Receiver-Ready Aircraft by 67” Assembly Guide...
-
Page 2: Required Tools And Materials
ALL liability for the use of this product, please return it to the place of purchase immediately. Extreme Flight RC guarantees this kit to be free of defects in materials and workmanship for a period of 30 DAYS from the date of purchase. All warranty claims must be accompanied by the original dated receipt. - Page 3 Unbox and unwrap all parts, check for any damage. If you need assistance, contact your dealer. In the United States, contact Extreme Flight RC at the phone number or email address posted on our website, www.ExtremeFlightRc.com Attach the landing gear to the fuselage using screws, apply a drop of threadlocker to each screw.
- Page 4 Slick the horizontal stabilier into the slot in the fuselage. Take your time. Make sure it is right- side-up, make sure it is fully engaged into the fuselage.
- Page 5 When you have the horizontal stabilizer fully engaged into the fuselage slot and slid all of the way forward, apply thin CA glue to the joint as shown, top and bottom. Clean up any spilled CA glue with acetone and a paper towel. Allow to cure. Locate the tail filler piece. Insert the filler piece to fill the gap in the tail as shown.
- Page 6 Remove the rear screw which holds the tailwheel bracket to the fuselage a shown, and swing the tailwheel to the side.
- Page 7 Attach the rudder by sliding the rudder hinge wire in from the bottom.
- Page 8 Straighten and re-attach the tailwheel bracket and replace the screw. Add the tailwheel tiller screw into the bottom of the rudder as shown. Make sure the tailwheel and rudder move freely together. Attach the rudder pushrod to the rudder servo arm as shown, tightening the locking nut on the back side of the servo arm.
- Page 9 Attach the elevator pushrod as shown. Remove the propeller by unscrewing the nuts before powering-on your aircraft on the work- bench. Never power up your aircraft for programming or service until you remove the prop for safety.
- Page 10 Install your receiver. A capacitor is provided for the ultimate in voltage protection, plug it into any open channel. Install your wings. Install your Lipo battery and check the balance of your airplane. Lift the plane by the fuselage former immediately behind the wing tube. Move your Lipo battery forward or back until the plane hangs level in this poistion.
- Page 11 Use a cell phone with an angle-finder app or a throw gauge to set your control throws. We have recommended a high expo value for your first flights. Elevator: Low Rate 8-10 deg. 15-20% expo 3D Rate 45-50 deg. 60-65% expo XA/Tumbling rate 55 deg.
- Page 12 You can shrink these wrinkles out of the cover- ing with a covering iron or heat gun. If you have never worked with covering before, we rec- ommend you watch a covering video, such as our Extreme Flight 60” build video on YouTube,...
Need help?
Do you have a question about the RC Extra 260 67 and is the answer not in the manual?
Questions and answers