Adaptive Recognition Vidar Quick Installation Manual
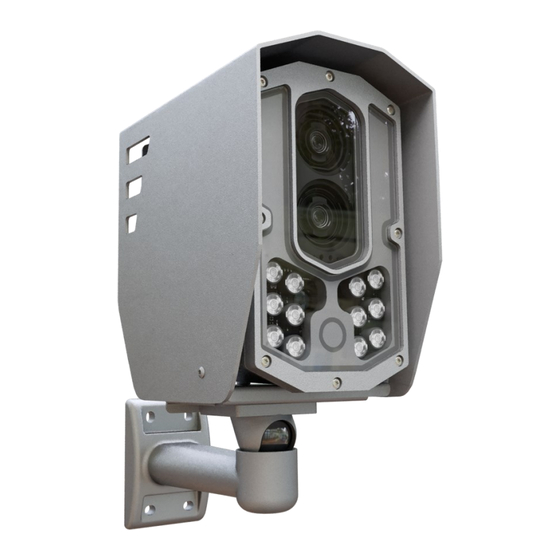
Axle counting camera
Hide thumbs
Also See for Vidar:
- User manual (188 pages) ,
- Quick installation manual (38 pages) ,
- Installation manual (29 pages)
Table of Contents
Advertisement
Quick Links
Vidar Axle Counting Camera
Quick Installation Guide
This guide contains an overview of the hardware and required
components, suggested scenarios and step-by-step guide for installation,
and safety and maintenance instructions.
© Copyright Adaptive Recognition Inc.
Adaptive Recognition America
All rights reserved.
Adaptive Recognition Hungary
Adaptive Recognition Nordic
Adaptive Recognition Singapore
Vidar Axle Counting Camera
Quick Installation Guide
REQUESTINFO@ADAPTIVERECOGNITION.COM
WWW.ADAPTIVERECOGNITION.COM
05.12.2023.
1/21
0
Advertisement
Table of Contents

Related Manuals for Adaptive Recognition Vidar


Summary of Contents for Adaptive Recognition Vidar
- Page 1 Vidar Axle Counting Camera Quick Installation Guide Vidar Axle Counting Camera Quick Installation Guide This guide contains an overview of the hardware and required components, suggested scenarios and step-by-step guide for installation, and safety and maintenance instructions. 1/21 © Copyright Adaptive Recognition Inc.
-
Page 2: Table Of Contents
Vidar Axle Counting Camera Quick Installation Guide VIDAR AXLE COUNTING CAMERA Quick Installation Guide Document version: 2023.12.05. Table of Contents Introduction ..............................3 Required components ..........................4 Hardware installation ..........................5 Camera Cable Layouts ..........................9 External Illuminator Unit ......................... 10 Accessing the camera .......................... -
Page 3: Introduction
The lateral scanning mechanism of the Vidar camera distinguishes it from conventional surveillance systems. Unlike traditional methods that focus on frontal or rear views, Vidar scans vehicles from the side. This lateral perspective allows a more detailed and nuanced understanding of vehicle characteristics. -
Page 4: Required Components
Vidar Axle Counting Camera Quick Installation Guide REQUIRED COMPONENTS The box contains: • Vidar Axle Counting Camera • Bracket (COMBUY-OTH-0035) Must have for camera operation: • Power cable (EXPCAB-C01-0370-01) • Ethernet cable (COMBUY-OTH-0440) Required for camera operation: These are not included in the box, you can purchase them directly from Adaptive Recognition: •... -
Page 5: Hardware Installation
Vidar Axle Counting Camera Quick Installation Guide HARDWARE INSTALLATION For reliable and efficient operation, selecting an optimal installation site is crucial. Please refer to the example below for a recommended camera placement: Image-Based Axle Counting with a Single, Intelligent Camera... - Page 6 Vidar Axle Counting Camera Quick Installation Guide b) The roll must be 0°. You can check the ROLL on the camera GUI here: (Maintenance > Sensors) c) Connect the cables to the designated connectors. Seal the unused cable endings with end...
- Page 7 Vidar Axle Counting Camera Quick Installation Guide Overhead installation - - when the camera is placed above the lane: • Installation height: 4 - 12 m • Maximum tracking distance for detection: 3.5 - 8 meters • The camera can capture the closer lane or the adjacent lane •...
- Page 8 Illuminator can be mounted under the camera with the same tilt The angles and distances specified in the manual were determined based on realized and operational projects. Deviation from these angles is reasonable within the limits of Adaptive Recognition knowledge base.
-
Page 9: Camera Cable Layouts
Vidar Axle Counting Camera Quick Installation Guide CAMERA CABLE LAYOUTS Power: 4 pos. M12 Male Ethernet: (8 pos. M12 X coded, Female) ..RJ45 9/21 REQUESTINFO@ADAPTIVERECOGNITION.COM Adaptive Recognition America Adaptive Recognition Nordic Adaptive Recognition Singapore WWW.ADAPTIVERECOGNITION.COM Adaptive Recognition Hungary... -
Page 10: External Illuminator Unit
Vidar Axle Counting Camera Quick Installation Guide EXTERNAL ILLUMINATOR UNIT There is a recommended option for an external illuminator, the wiring looks like this: Connecting the 36V DC power supply should be done as per the below wiring diagram: 1. Connect Camera Power Cable black wires 1 and 2 to the power supply (V-). -
Page 11: Accessing The Camera
Vidar Axle Counting Camera Quick Installation Guide ACCESSING THE CAMERA • Ensure that the camera and the computer are connected to the same network. • Enter an alternate IP address or set your computer’s IP in the 192.0.2.x subnet, where x is an integer between 1 and 254 except 3. -
Page 12: Engine Manager
Vidar Axle Counting Camera Quick Installation Guide ENGINE MANAGER This section allows the user to manage the Carmen ANPR engines and Hardware Key Licenses used in the system. This tool allows for installing, removing and configuring the Carmen ANPR engines used in the system. - Page 13 Vidar Axle Counting Camera Quick Installation Guide Hardware Key Licenses currently available in the device are listed in the License Manager section. Additional licenses (sold separately) can be installed in the Upload License menu. You should have already received your license file from your sales contact person which will enable the latest recognition engines to run on your camera.
-
Page 14: Setup Camera
Vidar Axle Counting Camera Quick Installation Guide SETUP CAMERA 9.1. STREAM SETTINGS Next, Side scan setting needs to be turned on for Sensor #1 under the Stream settings. A selector or drop-down menu will appear, always select Sensor #1. At Sensor #1, select the highest frame rate from the drop-down menu next to the highest resolution. - Page 15 Vidar Axle Counting Camera Quick Installation Guide To enable VAC option, you must enable Sidescan feature under Stream Settings menu first. With the Sidescan function is activated for Sensor #1, the user proceeds to the ANPR menu and navigates to the ANPR settings submenu. Here, within the Processing stages sub-point, the VAC function is selected.
-
Page 16: Optics
Vidar Axle Counting Camera Quick Installation Guide 9.2. OPTICS The first step is to set the appropriate Zoom-Focus. It needs to focus on having a zoom setting that includes the whole vehicle in the frame. The bottom and top of the vehicle should be fully within the frame, and the image should start where the asphalt (edge of the lane) begins. -
Page 17: Side Scan Setup
Vidar Axle Counting Camera Quick Installation Guide 9.3. SIDE SCAN SETUP Go to the Live view menu, and select the Side Scan submenu. If the lane separator is not horizontal, it is advisable to align it horizontally. If you notice any distortion in the image, use the MSQ and MQD sliders to flatten the image. -
Page 18: Detection Area
Vidar Axle Counting Camera Quick Installation Guide 9.4. DETECTION AREA By pressing the Detection Area button, you can set the desired detection area on the image where the vehicles pass entirely. To achieve the best detection zone settings, the following considerations are needed: •... -
Page 19: Result
Vidar Axle Counting Camera Quick Installation Guide 9.5. RESULT The results can be found in the ANPR Browse menu. If you choose the info button , and in the Data group section, the VAC data will be shown, if you choose it from the drop-down menu. -
Page 20: Troubleshooting
Vidar Axle Counting Camera Quick Installation Guide 10. TROUBLESHOOTING Troubleshooting: • The image is not sharp: o The correct configuration of the zoom and focus pairing is crucial to ensure that the camera captures sharp, detailed images. The typical setting for zoom is around 0, paired with the corresponding focus. -
Page 21: Contact Information
Web: adaptiverecognition.com/support/ Adaptive Recognition Hungary Technical Support System (ATSS) is designed to provide you the fastest and most proficient assistance, so you can quickly get back to business. Information regarding your hardware, latest software updates, and manuals are easily accessible for customers via our Documents Site (www.adaptiverecognition.com/doc...
Need help?
Do you have a question about the Vidar and is the answer not in the manual?
Questions and answers