Adaptive Recognition VIDAR Quick Install Manual
Digital (ip) lpr camera
Hide thumbs
Also See for VIDAR:
- User manual (188 pages) ,
- Quick installation manual (38 pages) ,
- Installation manual (29 pages)
Advertisement
Table of Contents
Please note that this is only a quick installation guide. For detailed information
!
see the full installation guide (see the link on the back side)
1 INSTALLING THE HARDWARE
1.1 Adjust the bracket by loosening the camera fastening screw on the bottom of the bracket
(with a size 5 Allen key). After the desired position is set, fasten the screw on the bottom.
Do not overtighten the screws. Failures due to inappropriate installation void the
!
warranty.
1.2 Connect the cables to the designated connectors. Seal the unused cable endings with end
sleeves before connecting to power!
Use smooth circular, quality, outdoor-certified cables. Improper cabling voids the
!
warranty!
1.3 Make sure the connecting cable does not lead rainwater drops into
the camera housing!
1.4 Water may enter into the camera inside through not properly sealed connectors. To
maintain the camera's watertightness please make sure that connected cables are
tightened properly and the unused connectors are capped.
1.5 The camera must be cleaned with a damp microfiber cloth and regular glass cleaner.
Do not clean the camera with a high-pressure washer as it may void the warranty!
!
Safe traffic. Verified identity. Enhanced security.
Image analytics perfected –
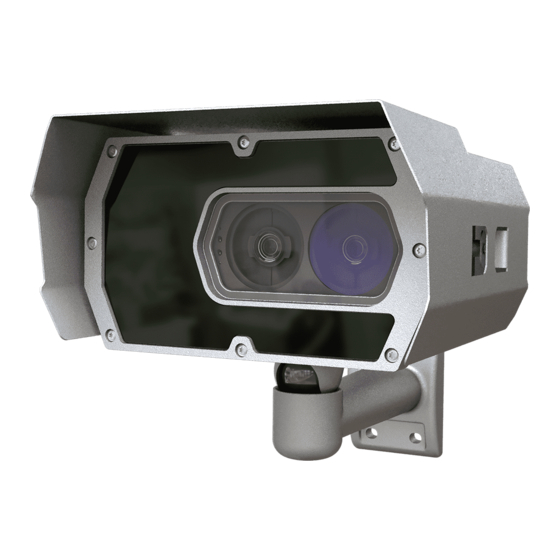
VIDAR
DIGITAL (IP) LPR CAMERA
QUICK INSTALL GUIDE
Document Version: 2023.02.02
since 1991.
Ethernet
Power
12 pin I/O
Advertisement
Table of Contents

Related Manuals for Adaptive Recognition VIDAR


Summary of Contents for Adaptive Recognition VIDAR
- Page 1 Safe traffic. Verified identity. Enhanced security. Image analytics perfected – since 1991. VIDAR DIGITAL (IP) LPR CAMERA QUICK INSTALL GUIDE Document Version: 2023.02.02 Please note that this is only a quick installation guide. For detailed information see the full installation guide (see the link on the back side) 1 INSTALLING THE HARDWARE 1.1 Adjust the bracket by loosening the camera fastening screw on the bottom of the bracket...
- Page 2 Safe traffic. Verified identity. Enhanced security. Image analytics perfected – since 1991. 1.6 Connect the camera to a computer or network switch, then power on the camera. The red and green status LEDs on the camera front should stay on during the booting. After finished, the green status LED flashes two times while the red one turns off signaling that the camera is ready for operation.
- Page 3 Safe traffic. Verified identity. Enhanced security. Image analytics perfected – since 1991. CONTACT INFORMATION ARH Technical Support: https://adaptiverecognition.com/support/ Headquarters: Adaptive Recognition Hungary Service Address: Alkotás utca 41 Adaptive Recognition Hungary HU-1123 Budapest Ipari Park HRSZ 1113/1 Hungary HU-2074 Perbál Phone: +36 1 201 9650...
Need help?
Do you have a question about the VIDAR and is the answer not in the manual?
Questions and answers