Advertisement
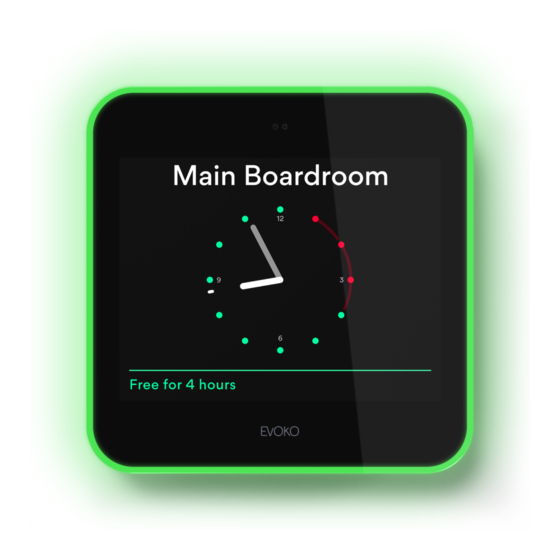
How is the Evoko Liso mounted, powered and connected to the
network?
Evoko Liso can be mounted to both standard walls and glass walls. Mounting kits for both are included in the box and
the cable can be routed to any of the four sides or into the wall. The wall mount has a bayonet mount to snap on the
unit, which also can be secured with a screw.
Note! These instructions are also available as a PDF download at the bottom of this page.
Safety instructions
Read all safety warnings and all instructions. Failure to follow the warnings and instructions may result in serious injury.
Save all warnings and instructions for future reference. A correct mounting is extremely important and this is not the
responsibility of Evoko. Faulty mounting may result in injury to persons or damage to equipment. Evoko will not be
responsible in any way if the product has been mounted incorrectly.
Standard wall mounting instructions
Important! Read the safety instructions carefully before using the mounting instructions. Mounting instructions is
available in multiple languages in the
1. Un-mount the back plate of the device, by carefully turning it counter clock wise. Use a spirit level to adjust it
horizontally. Height from floor to center of device approximately 1500 mm / 5 ft.
2. Use the holes in the back plate to mark out hole positions on the wall.
3. Decide on the direction you want to exit the cables and make sure the hole for the cable exit is facing this direction.
Note! If you plan to route cables into the wall using the big open area in the middle of the back plate we recommend
facing the cable hole either up or down, not sideways.
4. Make sure that the markings are exactly leveled and drill the holes for the mounting bracket. Mount the back plate to
the wall with the screws and route the cables through the appropriate cable channels on the device.
Note! Use 2 – 4 screws depending on the structural capacity of the wall. Always drill holes and use suitable plugs for
wall types such as concrete, plaster etc. Choose a screw type that is suitable for the type of plug and wall concerned.
https://support.biamp.com/Evoko/Liso/Evoko_Liso%2F%2FHome_Frequently_Asked_Questions_Articles/How_is_the_Evoko...
pdf attached to this article.
Updated: Thu, 09 Nov 2023 22:36:56 GMT
Powered by
1
Advertisement
Table of Contents

Summary of Contents for Biamp Evoko Liso
- Page 1 Evoko Liso can be mounted to both standard walls and glass walls. Mounting kits for both are included in the box and the cable can be routed to any of the four sides or into the wall. The wall mount has a bayonet mount to snap on the unit, which also can be secured with a screw.
- Page 2 5. Use guides on foil to make sure bracket is in line with glass wall sticker. Decide on the direction you want to exit the cables and make sure the hole for the cable exit is facing this direction. https://support.biamp.com/Evoko/Liso/Evoko_Liso%2F%2FHome_Frequently_Asked_Questions_Articles/How_is_the_Evoko… Updated: Thu, 09 Nov 2023 22:36:56 GMT...
- Page 3 Note! The Power Supply is not included in the box for environmental reasons (the majority of installations are made with PoE resulting in the Power Supplies being thrown away) but provided free of charge when requested. Evoko Liso- Mounting Instructions.pdf Further reading https://support.biamp.com/Evoko/Liso/Evoko_Liso%2F%2FHome_Frequently_Asked_Questions_Articles/How_is_the_Evoko…...


Need help?
Do you have a question about the Evoko Liso and is the answer not in the manual?
Questions and answers