Advertisement
Setup Guide for:
114-478
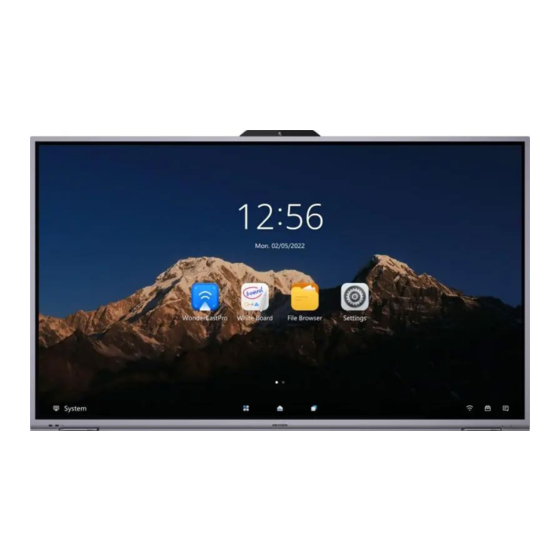
Hikvision DS-D5B65RB/D 65" Smart interactive screen
114-478-75 Hikvision DS-D5B75RB/D 75" Smart interactive screen
114-393
Hikvision DS-D5B86RB/D 86" Smart interactive screen
Quick Start Guide courtesy of the
The information contained in this document is current as of July 2023 and is
intended as a quick reference guide only. Please refer to the Hikvision user
guide for complete details, available on the Ness web site.
https://ness.com.au/114-478
https://ness.com.au/114-478-75
https://ness.com.au/114-393
Interactive Display
Quick Start Setup Guide
Tech Support Team.
Page 1 of 7
Advertisement
Table of Contents

Related Manuals for HIKVISION DS-D5B65RB/D


Summary of Contents for HIKVISION DS-D5B65RB/D
- Page 1 Tech Support Team. The information contained in this document is current as of July 2023 and is intended as a quick reference guide only. Please refer to the Hikvision user guide for complete details, available on the Ness web site.
- Page 2 First time setup & installing Google Play Store. 1. Boot the Interactive display and follow the setup prompts. 2. Click on Upgrade to upgrade the device Firmware if available. a. Click on Remote upgrade to upgrade via the internet. (Requires active internet connection*) 3.
- Page 3 4. Once the APK is on the USB memory stick, insert it into one of the USB ports on the panel. Open the “File Browser” application on the interactive display and navigate to the USB. Open the APK file. ( Ensure you have an active internet connection.) 5.
- Page 4 To activate Google Play Store Google Play Store will be installed on the device, however sign-in will NOT work at this stage. Device activation will be required, you will need the GFS ID. 1. To access the device’s GFS ID, on the panel, go to Settings; it will be located under the ''About”...
- Page 5 Setting up the supplied Hikvision Remote Control Device. (Instructions shown on remote are INCORRECT, image below) 1. On the Hikvision remote, hold down the return button and the “Hamburger” menu button ( ) at the same time for approximately 5-10 seconds to activate pairing mode.
- Page 6 Setting up External input and output device setup. (ie camera, mic) 1. Plug in the external device using the provided USB ports on the panel. a. Go to settings -> Advanced settings and select either Input or Output Devices. Device Optimisation. ( Free-up ram and garbage cleanup 1.
- Page 7 Innovative Electronic Solutions www.ness.com.au National Customer Service Centre Ph: 1300 551 991 techsupport@ness.com.au Sales Branches Ph 02 8825 9222 Ph 03 9875 6400 Ph 07 3399 4910 Ph 08 9328 2511 Ph 08 8152 0000 sales@ness.com.au nessmelb@ness.com.au nessbris@ness.com.au nessper@ness.com.au adelaide@ness.com.au ©...
Need help?
Do you have a question about the DS-D5B65RB/D and is the answer not in the manual?
Questions and answers