Table of Contents
Advertisement
Quick Links
WMTS103:2016
Certificate No. WM 74593
Australian Certification
Services
SEPT2020
SURGE PROTECTION
REQUIRED /
NO EXTENSION CORDS.
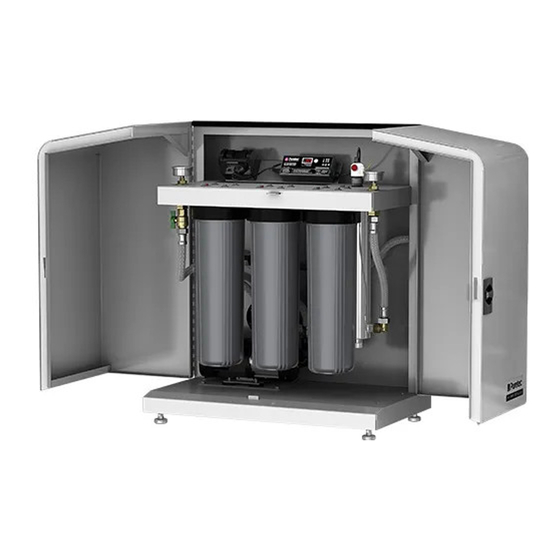
Complete Household Water Filtration & Pressure System
For correct operation & installation, it is essential to observe these instructions.
User Guide
HybridPlus™ Series
DO NOT OVERTIGHTEN.
DO NOT USE
LIQUID SEALANTS.
SURGE PROTECTION
REQUIRED /
NO EXTENSION CORDS.
Advertisement
Table of Contents


Need help?
Do you have a question about the Hybrid-P9 and is the answer not in the manual?
Questions and answers