
Related Manuals for Cuisinart CBK-210C Series


Summary of Contents for Cuisinart CBK-210C Series
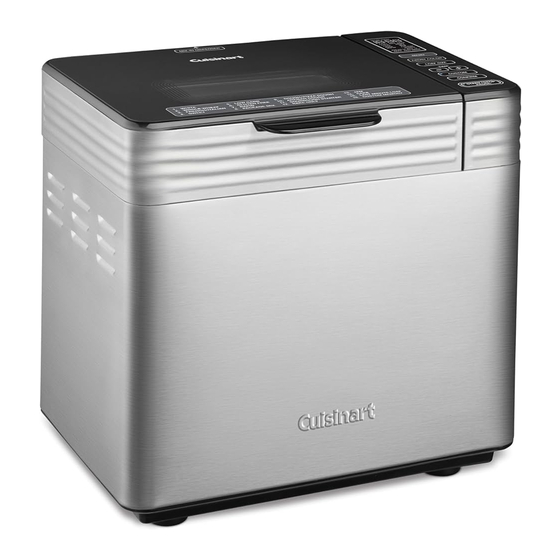
- Page 1 INSTRUCTION BOOKLET Cuisinart Custom Convection Bread Maker CBK-210C SERIES ® For your safety and continued enjoyment of this product, always read the instruction book carefully before using.
-
Page 2: Important Safeguards
IMPORTANT SAFEGUARDS 18. Use of extension cords: A short power-supply cord has been provided to reduce the risk of injury resulting from becoming entangled in or tripping over a longer cord. Extension cords may be used with care. The marked electrical rating of the extension cord should be at least as great as the electrical rating of the When using electrical appliances, especially when children are present, basic safety precautions should appliance. -
Page 3: Table Of Contents
SPECIAL CORD SET INSTRUCTIONS BEFORE FIRST USE Remove all packing material and any promotional labels or stickers from your bread maker. Be sure that all NOTICE parts of your new bread maker have been unpacked before discarding any packing materials. You may want to keep the box and packing materials for use at a later date. -
Page 4: Parts And Features
PARTS AND FEATURES With integrated glass viewing window and handle 2. Control Panel with LCD Display See Control Panel (page 5) for more information 3. Automatic Mix-In Dispenser Located at the back of the unit Removable Dispenser Compartment Handle Assembly Compartment Holder 4. -
Page 5: Control Panel
CONTROL PANEL LCD Display Displays program, crust colour, loaf size, current cooking step, and timer. MENU Button Selects desired cooking program. Refer to the program list on the lid or pages 9–11 for all options and more information. CRUST COLOUR Button Selects a light, medium, or dark crust shade. -
Page 6: Operating Instructions
OPERATING INSTRUCTIONS Remove bread pan from baking chamber by grasping the handle (see figure 1a), turning the pan counterclockwise, and lifting up. It may be helpful to first lift the handle of the bread pan by using the pan hook. To properly attach the kneading paddle, insert onto shaft with wide base facing down (see figure 1b). - Page 7 To access your saved setting, press the MENU button until you reach Menu 16, or press the CUSTOM button to jump directly to it. The Cuisinart ® Custom Convection Bread Maker has a built-in Automatic Mix-In Dispenser so your favourite mix-ins will be added to your dough at the perfect time.
-
Page 8: Power Failure Backup
Still using the oven mitts, flip the pan upside down. Holding the bottom of the bread pan, move the handle Automatic Mix-in Dispenser aside, and shake the pan until the bread is released. The Cuisinart ® Custom Convection Bread Maker has an Automatic Mix-In Dispenser. The dispenser will automatically add up to ¾... -
Page 9: Types Of Breads And Programs
TYPES OF BREADS 8. Package Mix This program is meant for packaged yeast bread mixes intended AND PROGRAMS for bread machines. Mixes for 1-(454 g), 1½-(680 g), and 2-pound (907 g) loaves work best. The Automatic Mix-In Dispenser cannot be used with this program. White The White program uses primarily all-purpose or bread 9. -
Page 10: Programs And Timing
baking is complete (moisture will depend on ingredients of the cake), leave it in the bread maker on Keep 2. WHOLE WHEAT Colour: Light, Medium, Dark Warm for 10 to 15 minutes, and it will continue baking. Size Total Mix-Ins Remove Paddle 15. - Page 11 5. LOW CARB Colour: Light, Medium, Dark 10. ARTISAN DOUGH Total Time Mix-Ins Total Time Displayed Time Elapsed Time 2:59 2:15 1:53 22 mins 11. SOURDOUGH STARTER Total Time 6. GLUTEN FREE Colour: Light, Medium, Dark 16:06 Total Time Mix-Ins Displayed Time Elapsed Time 12.
-
Page 12: Loading Ingredients Into The Bread Pan
MEASUREMENT/CONVERSION CHART 15. LAST MINUTE LOAF Colour: Light, Medium, Dark INGREDIENT CONVERSION CHART Size Total Mix-Ins Remove Paddle Time Displayed Time Elapsed Time Displayed Time Elapsed Time 1½ teaspoons ½ tablespoon 8 tablespoons ½ cup 1½ lb. 1:34 1:31 3 mins 1:18 16 mins 3 teaspoons... -
Page 13: Tips And Hints
TIPS AND HINTS Most recipes require all ingredients to be at room temperature, unless otherwise noted. Always use fresh, top quality ingredients. INGREDIENTS MEASUREMENTS, CAPACITIES, AND SUBSTITUTIONS The most important rule of making bread: Use exact measurements. This is the key to successful bread baking. In general, a 2-cup (500 ml) white flour (all purpose or bread) recipe will produce a loaf that is about 1 pound NOTE: Removing the kneading paddle is an optional step. - Page 14 1-pound (454 g) yeasted loaves. KNEADING/MIXING PROCESS SLICING, SERVING, AND STORING BREAD While the Cuisinart Custom Convection Bread Maker provides a hands-off process, we recommend checking ® Allow breads to cool for a minimum of 30 minutes before slicing and serving.
-
Page 15: Bread Maker Pantry
BREAD MAKER PANTRY Fats (assorted): Add flavour, nutrients, and texture to breads. May be added to just about any bread recipe where such STORING INGREDIENTS flavours are appropriate. Flours and other bread-making ingredients are prone to rancidity and should be stored properly. Buy them Nonfat Dry Milk: in smaller quantities and purchase as needed. -
Page 16: Gluten-Free Ingredients
GLUTEN-FREE INGREDIENTS Guar Gum: Similar to xanthan gum and used interchangeably, guar gum is another thickening agent that helps with the If you thought regular baking was a science, gluten-free baking has its own rules! To make gluten-free bread, structure of the bread. It should be used sparingly because it imparts a starchier flavour to baked goods than a variety of flours and ingredients is necessary to develop a stable and desirable bread that can be used for other gums or thickeners do. -
Page 17: Cleaning And Care
Sorghum Flour: Measuring Cup and Spoon: This is a flour that is high in protein and fiber and is a good substitution for oat flour. Look for “sweet” white The measuring cup and measuring spoon should be hand-washed with warm water and soap. sorghum flour when purchasing. -
Page 18: Troubleshooting
TROUBLESHOOTING QUESTION ANSWER There are a number of factors that could result in a short rise. Be sure that the yeast is fresh and that all ingredients are room temperature (75ºF to 90°F [24°C to 32°C]). If the liquids are too warm or too cold, they will not activate the yeast properly. Be sure the ingredients are put into the baking pan in the Why did my dough/bread not rise well? correct order. - Page 19 START/STOP/PAUSE button. If the indicator light is not flashing, you will not be START/STOP/PAUSE? able to press the START/STOP/PAUSE button. Scan QR code for recipes or visit: https://www.cuisinart.ca/CBK210-recipes.html?lang=en...
-
Page 20: Warranty
LIMITED THREE-YEAR WARRANTY 1-800-472-7606 Address: We warrant that this Cuisinart product will be free of defects in materials or workmanship Cuisinart Canada under normal home use for 3 years from the date of original purchase. This warranty covers 100 Conair Parkway manufacturer’s defects including mechanical and electrical defects.
Need help?
Do you have a question about the CBK-210C Series and is the answer not in the manual?
Questions and answers